Owner’s manual
 Error Codes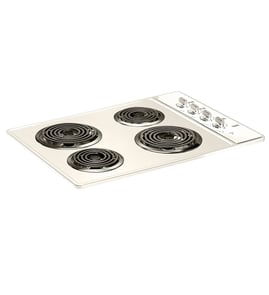






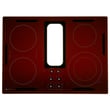
Can you replace the glass top on a GE stove?
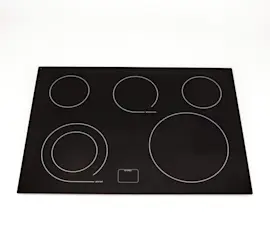
Yes. On a GE electric cooktop like model PP9830SJ1SS, the glass cooking surface can be replaced, but it’s a careful, parts-specific repair: you must shut off power at the breaker, protect wiring and seals, and reinstall the cooktop so it sits flat and vents correctly. See the PP9830SJ1SS owner’s manual for safety and handling guidance.
What to know before you start
Replacing a radiant glass cooktop top is usually needed when the surface is cracked, deeply chipped, or has pitting or indentation from hot sugar or melted plastic (damage that can require glass replacement and service).
- Turn off power at the circuit breaker (cooktops are typically 240V).
- Let the cooktop cool completely; glass and radiant elements stay hot longer than they look.
- Plan for two people; the glass assembly is awkward and can crack if flexed.
- Take photos of every wire connection and routing before disconnecting anything.
- Replace any damaged seals or foam to prevent vibration, air leaks, and rattles.
Basic replacement overview (high level)
- Shut off power and confirm the cooktop is dead.
- Remove the cooktop from the countertop per the PP9830SJ1SS owner’s manual.
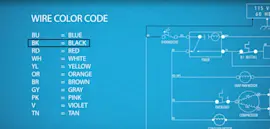
- Label and disconnect wiring to elements, indicator light, and switches.
- Transfer components from the old glass assembly to the new one (as applicable).
- Reinstall, verify the cooktop sits level, then restore power and test each element.
Parts that are commonly involved
These are not “glass top” parts, but they are frequently handled during a glass-top replacement or may be the real cause of a “burner not heating” complaint.
| Symptom | Common related part | Example for PP9830SJ1SS |
|---|---|---|
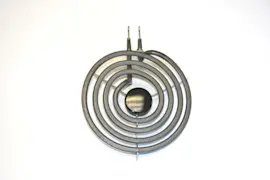
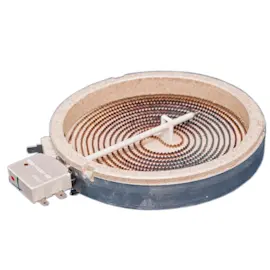
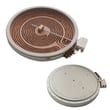
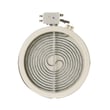
| One element won’t heat | Radiant surface element | Range radiant surface element, 6-in WB30T10129 |
| Element heats erratically | Element control switch | Cooktop element control switch WB24X10176 |
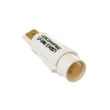
| Hot surface light issue | Indicator light | Cooktop indicator light (model-specific) |
Why it matters
A glass cooktop must stay flat, supported, and properly sealed. Poor fit or pinched wiring can cause uneven heating, nuisance tripping, or damage to the radiant elements and control switches.
Last updated: January 2026
Do Electric Cooktops need special wiring?
Yes. The GE PP9830SJ1SS electric cooktop needs a dedicated, properly grounded 120/240V or 120/208V, 60 Hz branch circuit protected by a 40-amp circuit breaker (or time-delay fuses), with connections made in a junction box per local electrical codes.
What “special wiring” means for this cooktop
For PP9830SJ1SS, “special wiring” is mainly about having the correct circuit, wire type, and connection method.
- Use an individual (dedicated) branch circuit for the cooktop
- Protect the circuit with a 40-amp breaker (or time-delay fuses)
- Connect through a junction box using 3/4-inch flexible conduit
- Follow local codes; in many areas the National Electrical Code (NEC) applies
- If your home has aluminum wiring, use UL-listed copper-to-aluminum connectors
- Leave a service loop so the cooktop can be lifted about 12 inches for service
For the exact electrical requirements and connection steps, follow the PP9830SJ1SS owner's manual.
3-wire vs 4-wire connections (what to expect)
Many installations require a 4-conductor connection in new construction, while some existing installations may be different depending on code and the home’s wiring.
| Item | Typical requirement | Why it matters |
|---|---|---|
| Circuit voltage | 120/240V or 120/208V | Ensures elements heat correctly |
| Circuit protection | 40-amp breaker (or time-delay fuses) | Prevents overheating and nuisance trips |
| Connection method | Junction box + conduit | Protects wiring and meets code |
Why it matters
Electric cooktops draw high current. Correct voltage, breaker size, grounding, and approved connectors help prevent overheating, nuisance breaker trips, and damage to the cooktop’s wiring and controls.
Last updated: January 2026
How do I find my GE cooktop model number?
On your GE PP9830SJ1SS electric cooktop, the model and serial number are printed on a label located under the cooktop, on the side of the vent chamber. This label is the most reliable way to match the correct parts and documentation.
Where to look on model PP9830SJ1SS
Check these common spots in order:
- Under the cooktop (you may need to look from inside the cabinet below)
- On the right side of the vent chamber (downdraft area)
- Near the vent grille and vent filter area (the label is not on top, but this helps you orient where the vent chamber is)
- On the paperwork that came with the cooktop (sometimes the model is printed there, but the label is best)
Use the location diagram and notes in the PP9830SJ1SS owner's manual to confirm the exact label position.
Tips to read the label clearly
- Turn off power at the breaker before reaching under the cooktop
- Use a flashlight and take a phone photo, then zoom in
- Write down both the model number and serial number
- Copy letters and numbers exactly (including any dashes)
Why it matters
The model number identifies the exact GE cooktop configuration (surface elements, control switches, and downdraft vent parts). Using the correct model number helps us match parts like a surface element, element control switch, or vent fan knob without guesswork.
| What to record | Example for this cooktop | What it’s used for |
|---|---|---|
| Model number | PP9830SJ1SS | Matching correct parts and diagrams |
| Serial number | (varies) | Warranty and service identification |
Last updated: January 2026