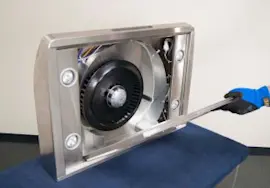
Owner’s manual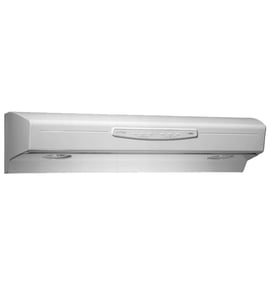

How to clean filters on KitchenAid vent hood?
For KitchenAid model KXU4236YSS2, we clean the metal grease filters by removing them with the spring-release handle, washing them in a dishwasher or hot detergent solution, drying completely, then reinstalling them with the handles facing the front (see the KXU4236YSS2 owner's manual).
- Turn off the fan and lights; let the hood and lamps cool.
- Pull the spring-release handle on the grease filter.
- Pull down to remove the filter.
- Wash the metal filter in the dishwasher or in hot water with detergent.
- Let the filter dry thoroughly.
- Reinstall: handles toward the front, insert into the upper track, pull handle down, push filter up, then release to latch.
This hood tracks fan run time. After about 30 hours of fan use, the display can show “Clean Grease Filter” while the fan is running.
To reset the reminder:
- Press and hold Power Increase for 5 seconds.
Use gentle cleaning to protect the finish.
- Use liquid dish soap and water, or an all-purpose cleaner
- Wipe with a damp soft cloth or nonabrasive sponge
- Rinse with clean water
- Wipe dry to prevent water marks
- Avoid steel wool and soap-filled scouring pads
| Item | How to clean | Key tip |
|---|---|---|
| Metal grease filter | Dishwasher or hot detergent solution | Dry fully before reinstalling |
| Exterior surfaces | Mild soap and water | Wipe dry to avoid water marks |
Clean filters keep airflow strong, reduce grease buildup, and help the blower run efficiently. Resetting the filter reminder also keeps the control display accurate for your maintenance schedule.
Last updated: February 2026
Why is my range hood fan not working but light is?
If your KitchenAid KXU4236YSS2 range hood light works but the fan does not, the hood is getting power but the blower circuit is not starting. The most common causes are a tripped breaker/fuse, a loose wiring connection, a failed electronic control, or a weak blower motor capacitor.
- Reset the tripped circuit breaker or replace a blown household fuse.
- Turn power off, then check for loose or disconnected wiring in the hood wiring/terminal box.
- Confirm the fan is not in a timed-off state; try turning the fan on with the Power Increase button.
- Remove and clean the grease filters; heavy buildup can restrict airflow and make the fan seem “dead.”
- If the display shows filter messages, service the filters (clean grease filter, replace charcoal filter if recirculating).
| Symptom | Most likely cause | What to do next |
|---|---|---|
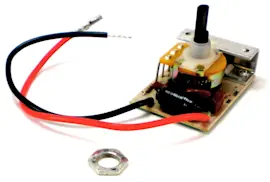
| No fan response at any speed | Failed control board | Inspect connections; replace range hood electronic control WPW10291604 if power and wiring are good |
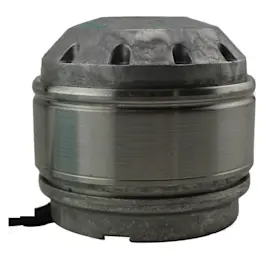
| Fan hums but won’t start | Weak/failed capacitor | Replace range hood blower motor capacitor 8186677 |
| Fan runs intermittently | Loose wiring or failing control | Re-seat connectors; inspect for heat damage |
| Poor airflow but motor runs | Filter restriction or damper issue | Clean filters; inspect damper movement |
- Shut off power at the breaker.
- Remove the filters and access the wiring and blower area.
- Check all wire connectors for tight, clean connections.
- Inspect the capacitor for bulging or leaking (a clear sign it needs replacement).
- If you use a multimeter, check for continuity through the blower motor windings and verify the control is sending power to the motor when the fan is commanded on.
For control operation details and filter maintenance intervals, follow the KXU4236YSS2 owner’s manual.
A non-working fan means smoke, grease, and moisture stay in the kitchen. Fixing the blower circuit quickly helps protect cabinets, improves indoor air quality, and reduces grease buildup inside the hood.
Last updated: February 2026
What are the parts of a range hood called?
On the KitchenAid KXU4236YSS2 under-cabinet range hood, the main parts are the hood canopy (body), venting connection (adapter and damper), blower (fan), filters, lights, and the control panel. These parts work together to capture grease and move smoke and odors out (or recirculate them).
- Hood canopy: the metal body mounted under the cabinet.
- Control panel: the buttons and display for fan speed, light, and timer.
- Blower and blower wheel (fan): pulls air through the hood and pushes it into the ducting.
- Grease filters: washable filters that catch grease before it reaches the blower.
- Charcoal (carbon) filters (recirculating setups): reduce odors when you are not venting outdoors.
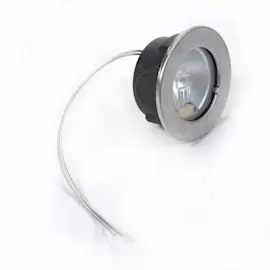
- Lights and lamp housings: illuminate the cooktop.
- Damper and vent transition/adapter: connects the hood to ductwork and helps prevent backdraft.
| Part area | What you may notice | Example part for this model |
|---|---|---|
| Lighting | Dim, flickering, or no light | Range hood light bulb WPW10571723 |
| Recirculating filtration | Odors linger even with fan running | Range hood charcoal filter kit W10272068 |
| Venting/backdraft control | Rattling flap, poor exhaust, outside air coming in | Range hood damper (varies by vent setup) |
| Controls | Fan or light buttons do not respond | Electronic control (varies by revision) |
Knowing the correct part names helps you match symptoms to the right repair. For example, odor problems in a non-vented installation usually point to the charcoal filter kit, while weak airflow in a vented installation often points to the damper, ducting, or blower.
- Check whether your hood is vented (ducted outside) or non-vented (recirculating).
- Look for the grease filter saturation reminder; after about 30 hours of fan use, the display can prompt you to clean the grease filters.
- Use the diagrams and part names in the KXU4236YSS2 owner’s manual to confirm what each component is called on your exact configuration.
Last updated: February 2026