- Kenmore refrigerator water filters
- Whirlpool refrigerator water filters
- Samsung refrigerator water filters
- GE refrigerator water filters
- LG refrigerator water filters
- Frigidaire refrigerator water filters
- KitchenAid refrigerator water filters
- Maytag refrigerator water filters
- Kenmore Elite refrigerator water filters
- Estate refrigerator water filters
- GE Profile refrigerator water filters
- Amana refrigerator water filters
- Bosch refrigerator water filters
- Dacor refrigerator water filters
- Electrolux refrigerator water filters
Top DIY repair help
View All Repair Categories
Appliances
Lawn & Garden
Power Tools
Home Improvement
Sports & Leisure
Heating & Cooling
Quick Links
How to replace a range hood light socket
less than a minute readMar 19Lyle Weischwill
Repair time and Difficulty
15 minutes or less
Tools Required
- Phillips screwdriver
- Work gloves
This DIY repair guide explains how to replace a light socket in a range hood. The light socket connects the light bulb to electrical power. If the light won't turn on, first replace the light bulb. If the light still doesn't work, replace the worn or broken light socket with the manufacturer-approved range hood part.
Use these basic steps to replace a light socket in common Kenmore, Broan, Whirlpool, KitchenAid, Frigidaire and Electrolux range hoods.
Instructions
- 1. Disconnect electrical power
Shut off the house circuit breaker to disconnect electrical power to the range hood.
- 2. Remove the filters and the bottom panel
Pull the latch tabs to release the air filters and pull both filters out of the range hood.
Remove the screws that secure the bottom panel to the range hood frame and pull the bottom panel out of the range hood.
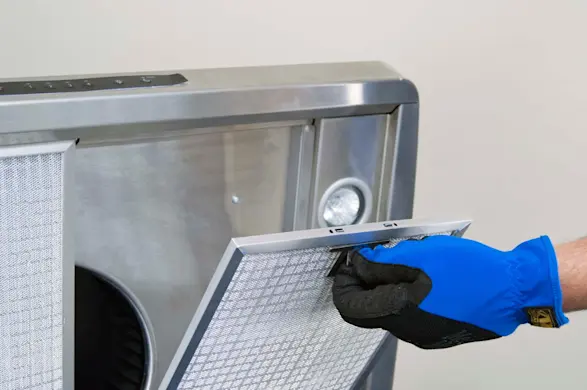
PHOTO: Remove the filters. 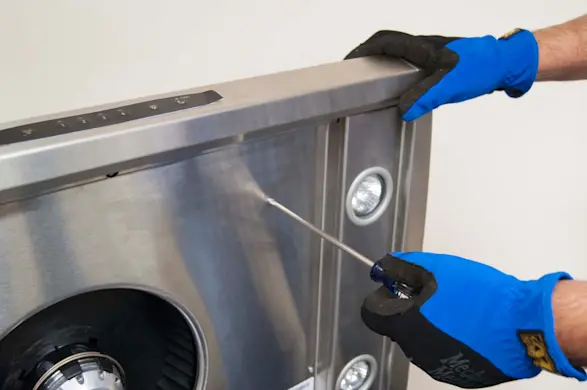
PHOTO: Remove the bottom panel screws. 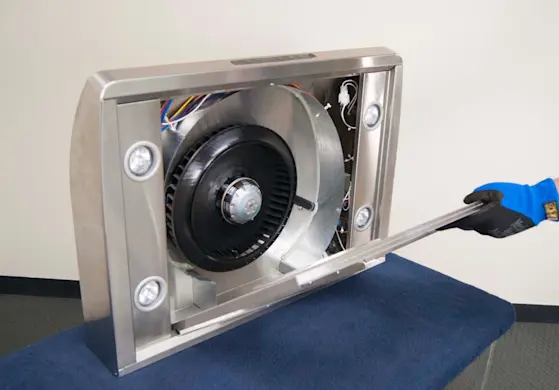
PHOTO: Remove the bottom panel. Warning: Support the bottom panel with your hand when removing the final screw to prevent the bottom panel from falling on the cooktop.
- 3. Remove the side panel
Unplug the wire harness connectors for the light sockets on the side panel.
Pull the front of the side panel inward to release the locking tab and then remove the side panel.
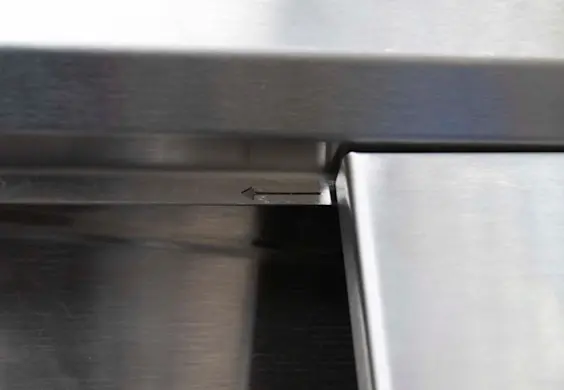
PHOTO: Pull the side panel inward to release it. 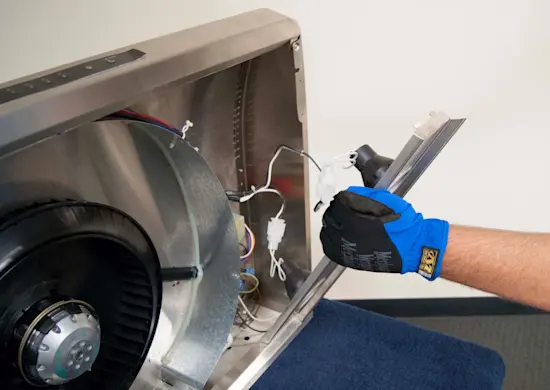
PHOTO: Remove the bottom side panel. 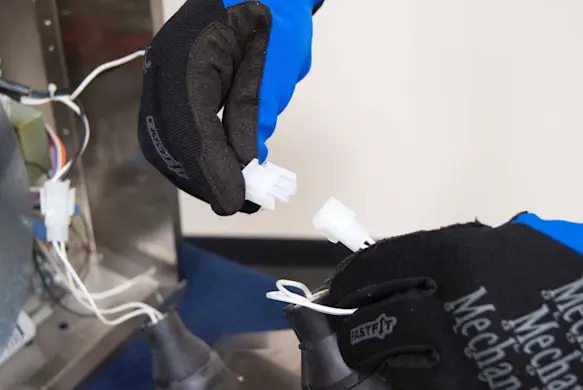
PHOTO: Disconnect the light wires.
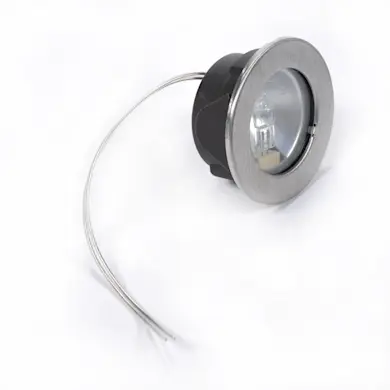
- 4. Remove the light socket
Grip the bottom of the light socket and turn it to the right to release the locking tabs that hold the light socket in the side panel.
Pull the light socket out of the side panel and discard it.

PHOTO: Release the socket from the panel. 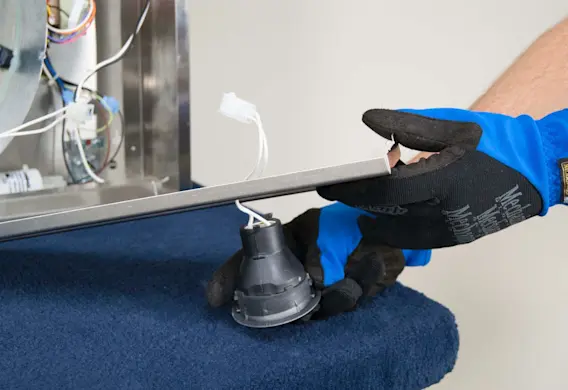
PHOTO: Remove the light socket.
- 5. Install the new light socket
Line up the locking tabs and push the new light socket into the side panel.
Rotate the light socket to the left to lock it into place in the side panel.
- 6. Reassemble the range hood
Reinstall the side panels. Push the back end of the side panels into the frame slots and slide the front end of the side panels outward to snap them into the front brackets.
Plug the wire harness connectors for the light sockets back in.
Slide the bottom panel into place. Secure the bottom panel with the mounting screws.
Reinstall the air filters.
- 7. Restore the electrical power
Reset the house circuit breaker to restore electrical power to the range hood.