- Kenmore refrigerator water filters
- Whirlpool refrigerator water filters
- Samsung refrigerator water filters
- GE refrigerator water filters
- LG refrigerator water filters
- Frigidaire refrigerator water filters
- KitchenAid refrigerator water filters
- Maytag refrigerator water filters
- Kenmore Elite refrigerator water filters
- Estate refrigerator water filters
- GE Profile refrigerator water filters
- Amana refrigerator water filters
- Bosch refrigerator water filters
- Dacor refrigerator water filters
- Electrolux refrigerator water filters
Top DIY repair help
View All Repair Categories
Appliances
Lawn & Garden
Power Tools
Home Improvement
Sports & Leisure
Heating & Cooling
Quick Links
How to replace a range hood electronic control board
less than a minute readFeb 18Lyle Weischwill
Repair time and Difficulty
45 minutes or less
Tools Required
- Phillips screwdriver
- Work gloves
- Towel

This DIY repair guide explains how to replace the electronic control board on a range hood. The electronic control board manages the range hood's components, such as the lights and fan motors.
Because parts other than the electronic control board can cause the same symptoms, have a local range hood repair expert test the range hood circuit board before you invest in a new one. Replace the electronic control board with the manufacturer-approved replacement part if the control board no longer activates the fan motor or lights.
Range hood circuit board replacement varies by model. This procedure shows how to replace the electronic control board in common Kenmore, Broan, Whirlpool, Frigidaire, Electrolux and GE range hoods.
Instructions
- 1. Disconnect electrical power
Shut off the house circuit breaker to disconnect electrical power to the range hood.
Tip: Prepare a padded work surface—lay a towel on the counter or work table where you plan to place the range hood to complete this repair.
- 2. Remove the filters and the bottom panel
Pull the latch tabs to release the air filters and pull both filters out of the range hood.
Remove the screws that secure the bottom panel to the range hood frame and pull the bottom panel out of the range hood.
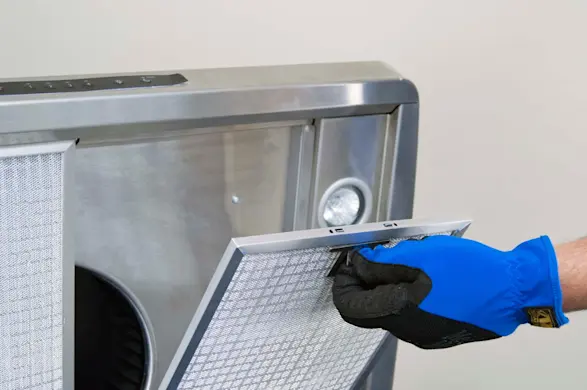
PHOTO: Remove the filters. 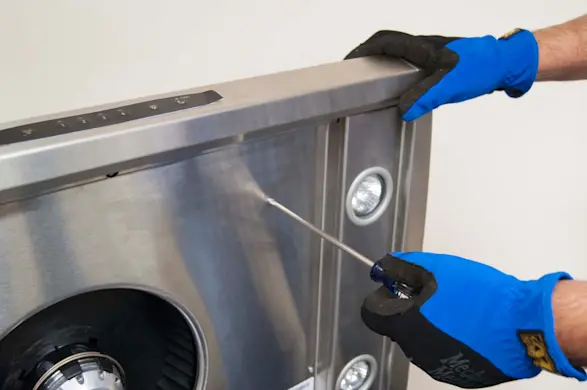
PHOTO: Remove the bottom panel screws. 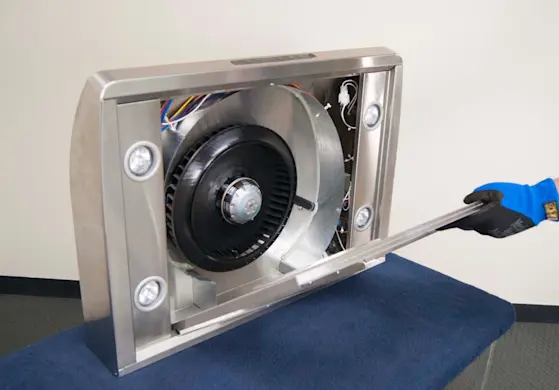
PHOTO: Remove the bottom panel. Warning: Support the bottom panel with your hand when removing the final screw to prevent the bottom panel from falling on the cooktop.
- 3. Remove the side panels
Unplug the wire harness connectors for the light sockets on both side panels.
Pull the front of the side panels inward to release the locking tabs and then remove the side panels.
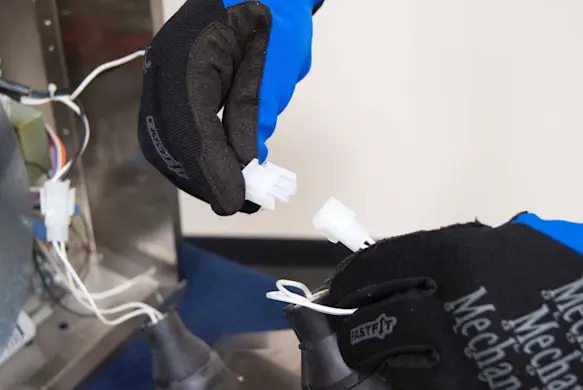
PHOTO: Disconnect the light wires. 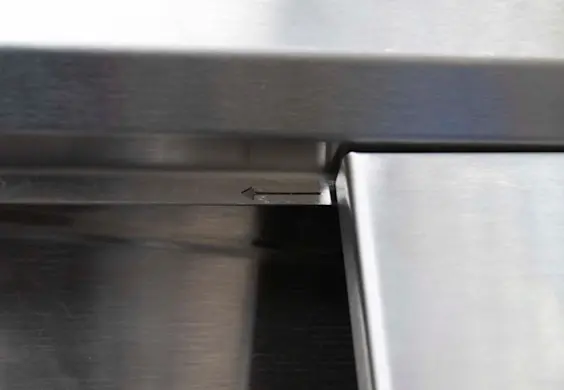
PHOTO: Pull the side panel inward to release it. 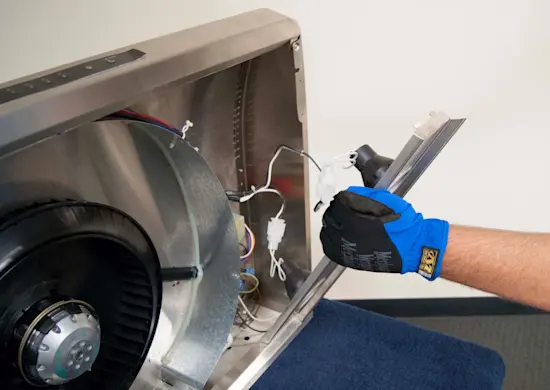
PHOTO: Remove the bottom side panel.
- 4. Pull the range hood from the cabinet
Disconnect the electrical power supply wiring.
Loosen the screws on the power supply wire clamp so that the power supply wires can slide out of the clamp when you pull the range out of the cabinet.
Remove the middle mounting screw. Loosen the mounting screws on the 4 corners by 1/8-inch.
Pull the range hood forward about 1/4-inch to release the corner screw through the keyhole slots.
Carefully pull the range hood down and set it upside down on a padded work surface.
Warning: The range hood is heavy. You might need someone’s help to safely pull it down and set it on a padded work surface.
- 5. Remove the electronic control board
Remove the mounting screws from the electronic control board. Pull the electronic control board out of the control panel and disconnect the wire harness connections.

PHOTO: Remove the control board mounting screws. 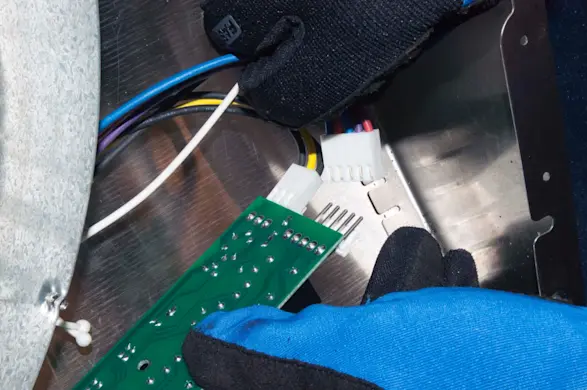
PHOTO: Pull the control board out and disconnect its wires. 
PHOTO: Remove the control board.
- 6. Install the new electronic control board
Connect the wire harness plugs to the new electronic control board.
Carefully slide the new control board into the control panel and line up the mounting holes.
Reinstall the mounting screws.
- 7. Reinstall the range hood
Position the range hood near its location in the cabinet.
Push the power supply wires through the power supply wire clamp.
Slide the range hood into the mounting screws under the cabinet and tighten all the corner mounting screws. Insert the middle mounting screw and tighten it.
Tighten the screws in the power supply wire clamp.
- 8. Reassemble the range hood
Reinstall the side panels. Push the back end of the side panels into the frame slots and slide the front end of the side panels outward to snap them into the front brackets.
Plug the wire harness connectors for the light sockets back in.
Slide the bottom panel into place. Secure the bottom panel with the mounting screws.
Reinstall the air filters.
- 9. Restore the electrical power
Reset the house circuit breaker to restore electrical power to the range hood.