- Kenmore refrigerator water filters
- Whirlpool refrigerator water filters
- Samsung refrigerator water filters
- GE refrigerator water filters
- LG refrigerator water filters
- Frigidaire refrigerator water filters
- KitchenAid refrigerator water filters
- Maytag refrigerator water filters
- Kenmore Elite refrigerator water filters
- Estate refrigerator water filters
- GE Profile refrigerator water filters
- Amana refrigerator water filters
- Bosch refrigerator water filters
- Dacor refrigerator water filters
- Electrolux refrigerator water filters
Top DIY repair help
View All Repair Categories
Appliances
Lawn & Garden
Power Tools
Home Improvement
Sports & Leisure
Heating & Cooling
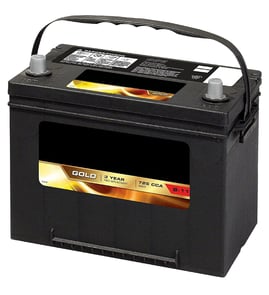
Century Automotive Parts — Browse All Models
You depend on your Century automotive equipment to help you keep your vehicle in top shape. Century makes rugged and dependable automotive equipment but parts can eventually wear out or break. When that happens, depend on Sears PartsDirect to have the Century replacement parts on hand to fix the problem.

Popular maintenance items for Automotive
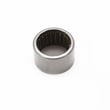
Lawn & Garden Equipment Needle Bearing
Part #532004895
This item is not returnable
In Stock
$20.20
23% OFF Phone Price : $26.20

Qty

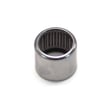
Husqvarna Tiller Input Shaft Needle Bearing
Part #532005020
This item is not returnable
In Stock
$31.23
16% OFF Phone Price : $37.23
Qty
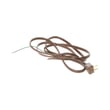
Refrigerator Power Cord
In Stock
$28.25
18% OFF Phone Price : $34.25
Qty
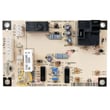
Condensing Unit Defrost Control Board
In Stock
$223.75
5% OFF Phone Price : $235.75
Qty
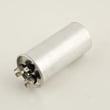
Icp Central Air Conditioner Run Capacitor
In Stock
$33.39
15% OFF Phone Price : $39.39
Qty

Panel
In Stock
$15.95
Qty
Repairing broken wires in Century automotive equipment
- Disconnect the power supply going to the equipment for beginning the repair.
- Wear work gloves to protect your hands and eye protection to prevent eye injury when repairing wires.
- Use proper wire connections for the type of wiring that you're repairing.
- Use a proper wire insulation stripping tool to strip insulation from broken wires.
- Strip the ends of the broken wires and connect the wires using the wire connectors.
Testing an electrical component for continuity in Century automotive equipment
- Always disconnect the power source before testing an electrical component for continuity to avoid damaging or blowing the fuse in the multimeter.
- Plug meter leads into the proper receptacles on the multimeter when checking for continuity through a component.
- Adjust resistance range to the proper setting on the meter before checking for continuity.
- Disconnect the component from the circuit before measuring continuity.
- Touch one meter lead to each circuit spade on the component to measure resistance through the component.
Parts & More
Bottom-Mount Refrigerator
Central Air Conditioner
Electric Range
Ice Cream Maker
Parts
Range Hood
Receiver
Room Air Conditioner
Side-By-Side Refrigerator
Upright Vacuum
Wine & Beverage Cooler