- Kenmore refrigerator water filters
- Whirlpool refrigerator water filters
- Samsung refrigerator water filters
- GE refrigerator water filters
- LG refrigerator water filters
- Frigidaire refrigerator water filters
- KitchenAid refrigerator water filters
- Maytag refrigerator water filters
- Kenmore Elite refrigerator water filters
- Estate refrigerator water filters
- GE Profile refrigerator water filters
- Amana refrigerator water filters
- Bosch refrigerator water filters
- Dacor refrigerator water filters
- Electrolux refrigerator water filters
Top DIY repair help
View All Repair Categories
Appliances
Lawn & Garden
Power Tools
Home Improvement
Sports & Leisure
Heating & Cooling
Quick Links
How to replace the lid switch in a direct-drive top-load washer
less than a minute readMay 20Lyle Weischwill
Repair time and Difficulty
15 minutes or less
Tools Required
- Phillips screwdriver
- Slot screwdriver
- Work gloves
This DIY washer repair guide explains how to replace the lid switch in a top-load washer. The lid switch is a safety device that prevents the washer from going into spin mode when the lid is open. If the lid switch doesn't work, the washer won't spin even when closed. Replace the lid switch with a manufacturer-approved washer part.
Use this repair procedure to replace the lid switch in Kenmore, Whirlpool, Maytag, Roper, Estate and Crosley top-load washers.
We also have instructions for replacing the lid switch/lock on a VMW top-load washer. If you're not sure if your top-load washer has VMW technology, check out our washer FAQsto see how you can tell.
Instructions
- 1. Shut off the electricity
Unplug the power cord from the wall outlet.
Wear work gloves to protect your hands.
- 2. Open the control console
Pull the plastic end caps off the sides of the control console.
Remove the screws at the base of the control console.
Pull the control console slightly forward and then swing it up and over the top of the back panel.
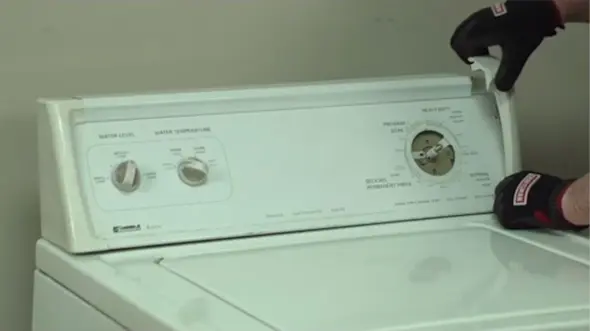
PHOTO: Remove the control panel endcaps. 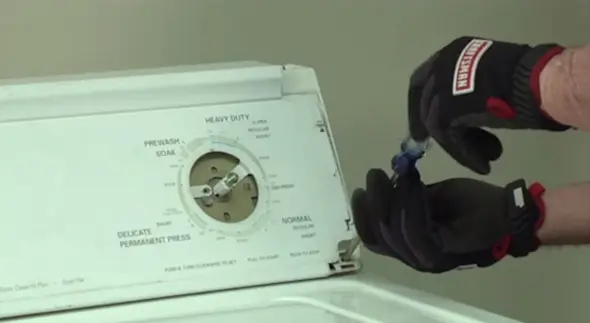
PHOTO: Remove the screws at the base of the control panel. 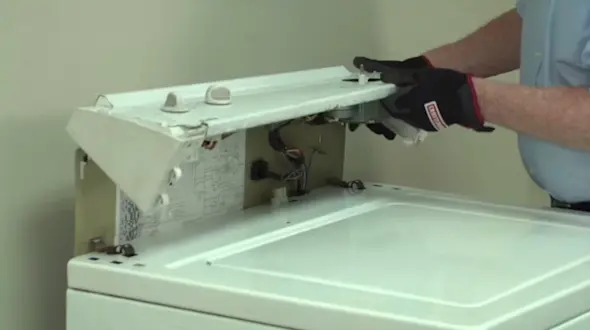
PHOTO: Open the control panel by pulling it slightly forward and then swinging it up and back.
- 3. Remove the cabinet
Unplug the wire harness from the lid switch on the washer’s top panel.
Release the clips that secure the cabinet to the washer’s back panel. Using a slot screwdriver, pry the clips forward to release them from the slots in the top panel.
Lift the back of the cabinet and slide the cabinet forward to remove it from the washer frame.
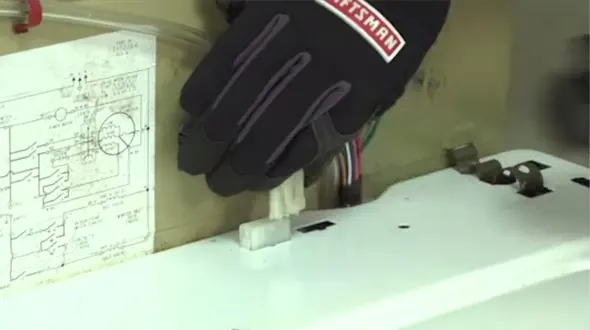
PHOTO: Unplug the wire harness from the lid switch. 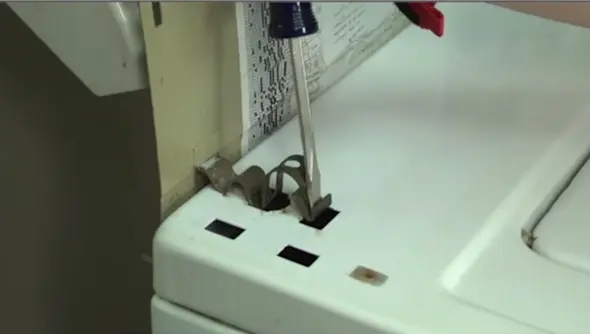
PHOTO: Release the clips that hold the cabinet to the back panel. 
PHOTO: Slide the cabinet forward and remove it from the frame.
- 4. Remove the lid switch
Press in on the lid switch wire harness plug locking tabs to release them and then pull the plug out of the top cabinet panel.
Release the green ground wire by removing the screw that secures it to the cabinet.
Remove the lid switch mounting screws.
Release the lid switch wire harness from the clips and pull the lid switch out of the cabinet.
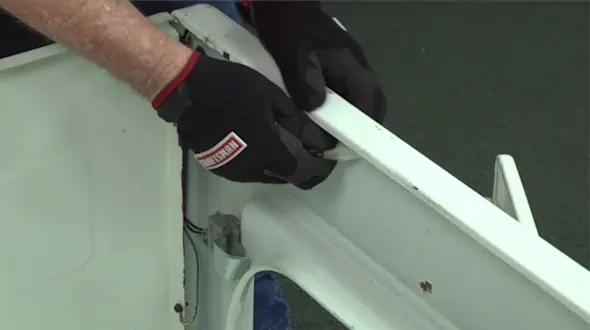
PHOTO: Pull out the lid switch wire harness plug. 
PHOTO: Remove the green ground wire from the washer cabinet. 
PHOTO: Remove the lid switch mounting screws. 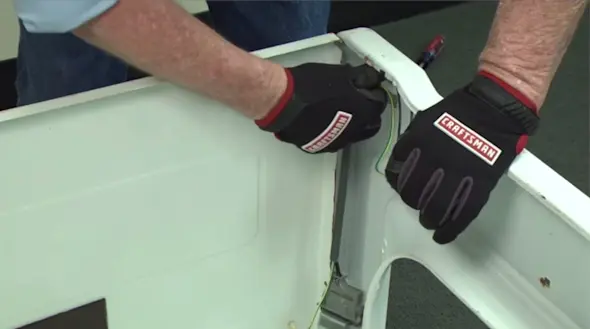
PHOTO: Remove the lid switch from the cabinet.
- 5. Install the new lid switch
Position the new lid switch in the cabinet and reinstall the mounting screws.
Insert the lid switch wire harness into the harness clips and snap the wire harness plug into the cabinet top panel.
Reconnect the green ground wire using the mounting screw.
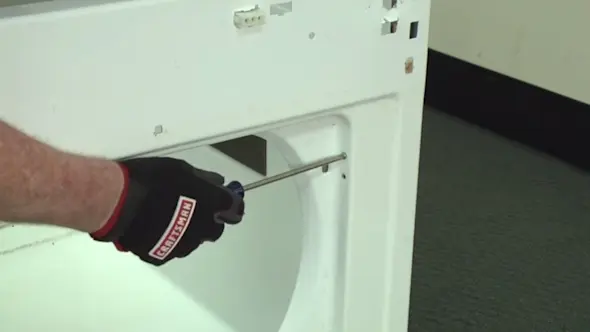
PHOTO: Install the lid switch mounting screws. 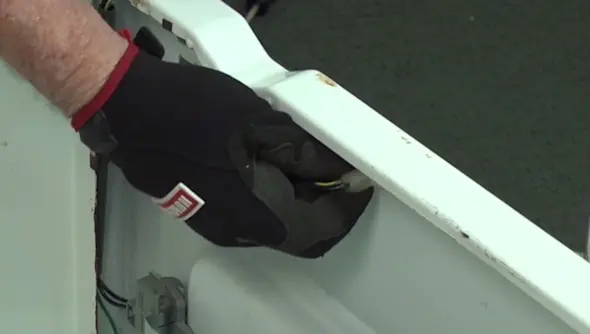
PHOTO: Install the lid switch wire harness plug. 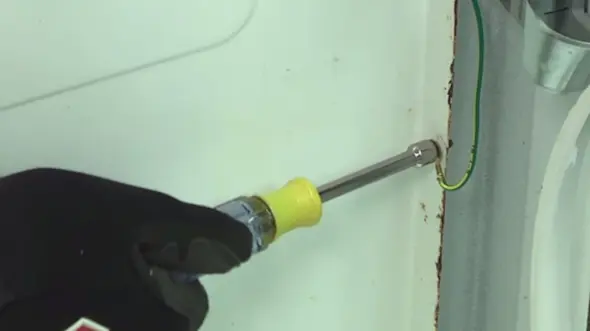
PHOTO: Connect the green ground wire to the cabinet.
- 6. Reinstall the cabinet
Position the cabinet in front of the washer.
Tilt the back of the cabinet up slightly and keep the front lip of the cabinet on the floor. To position the front lip under the washer frame, push the base of the cabinet forward with your foot to slide the front lip of the cabinet under the front base of the washer. Then lower the back of the cabinet so the alignment tabs at the back sides of washer base fit into the holes on the back sides of the cabinet.
Reinstall the spring clips at the top of the cabinet.
Plug the lid switch wire harness back into the receptacle on the top panel of the washer.
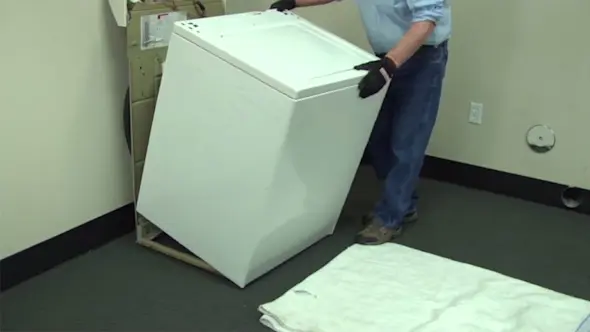
PHOTO: Reinstall the washer cabinet. 
PHOTO: Engage the rear cabinet tabs. 
PHOTO: Reinstall the spring clips at the top of the cabinet. 
PHOTO: Plug in the lid switch wire harness back into the receptacle.
- 7. Reinstall the control console
Flip the control console down and position it properly on the top panel of the washer.
Reinstall the mounting screws at the base of the control console.
Snap the plastic end caps onto the sides of the control console.

PHOTO: Flip the control panel down and close the console. 
PHOTO: Reinstall the control console mounting screws. 
PHOTO: Reinstall the control panel endcaps.
- 8. Restore the power
Plug the washer into the electrical outlet.