- Kenmore refrigerator water filters
- Whirlpool refrigerator water filters
- Samsung refrigerator water filters
- GE refrigerator water filters
- LG refrigerator water filters
- Frigidaire refrigerator water filters
- KitchenAid refrigerator water filters
- Maytag refrigerator water filters
- Kenmore Elite refrigerator water filters
- Estate refrigerator water filters
- GE Profile refrigerator water filters
- Amana refrigerator water filters
- Bosch refrigerator water filters
- Dacor refrigerator water filters
- Electrolux refrigerator water filters
Top DIY repair help
View All Repair Categories
Appliances
Lawn & Garden
Power Tools
Home Improvement
Sports & Leisure
Heating & Cooling
Quick Links
How to replace a dishwasher upper rack height adjuster
less than a minute readNov 09Lyle Weischwill
Repair time and Difficulty
30 minutes or less
Tools Required
- Slot screwdriver
- Work gloves
- Torx screwdriver
This dishwasher repair guide and video shows installation steps for height adjuster parts W10712394, DW2394 and W10712395 on Kenmore 665-series, Whirlpool, KitchenAid and Jenn-Air dishwashers with adjustable upper dishracks. The height adjuster lets you raise and lower the dishrack.
If a wheel bracket is broken, the dishrack sags on one side. Height adjuster replacement kits contain new adjusters for both sides of the rack. Order the kit based on the wheel color of your original height adjuster. Kits W10712394 and DW2394 have gray wheels and kit W10712395 has white wheels.
Instructions
- 1. Remove the upper dishrack
Open the track stops on the upper dishrack rails.
Pull the upper rack from the dishwasher and place it upside down on a work surface.

PHOTO: Open the dishwasher upper rack track stops. 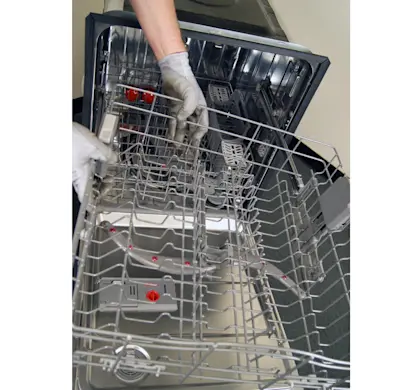
PHOTO: Pull out the upper dishrack.
- 2. Release the wheel assembly mounting clips
Raise the wheels to the maximum height.
Release the top of the long rear clip from the dishrack tine. Push the clip down to the release point and remove it.
Press the tab on the front clip, move the clip up and remove it.
Release the locking tabs on the clip in the middle of the height adjuster and remove the clip.
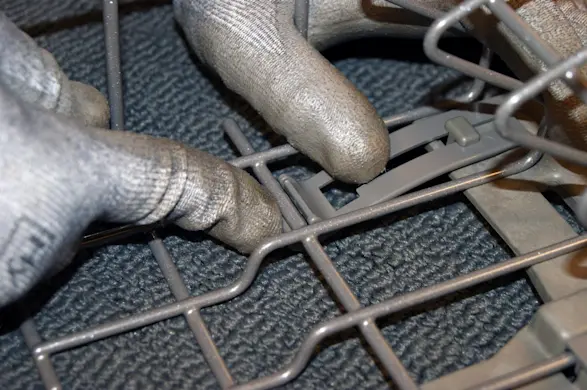
PHOTO: Release the long rear clip. 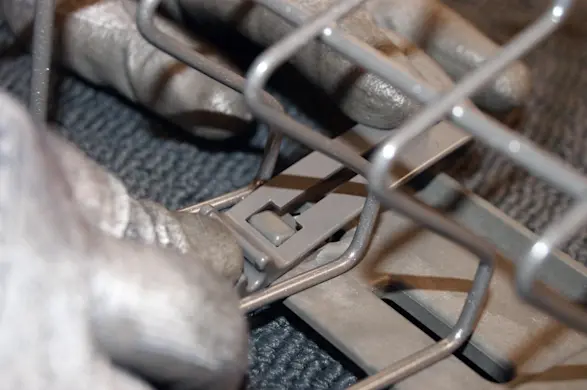
PHOTO: Remove the long rear rack clip. 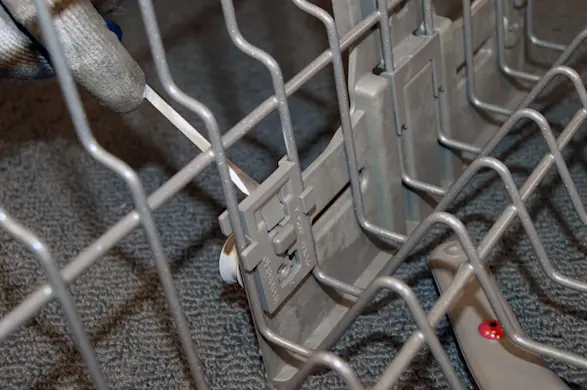
PHOTO: Press the front clip tab. 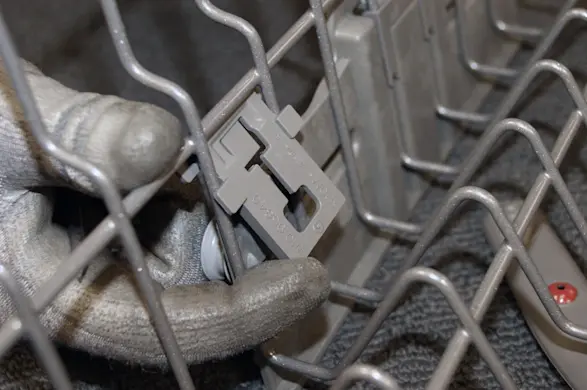
PHOTO: Remove the front clip. 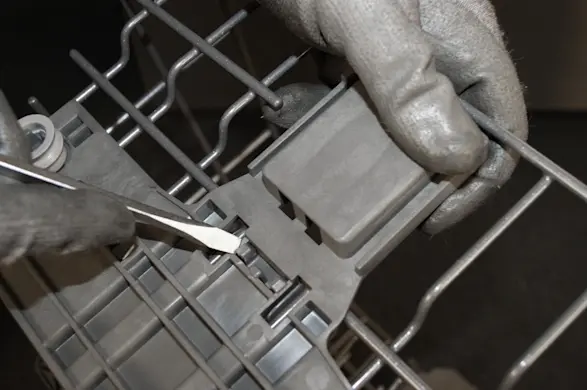
PHOTO: Release the middle clip locking tabs. 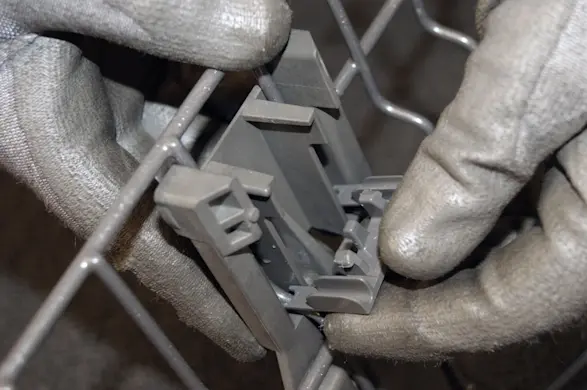
PHOTO: Remove the middle clip.
- 3. Remove the height adjuster
Using a slot screwdriver, pry the housing cover down and out to release the upper tabs on each side.
Pry the bottom of the housing cover out of the 2 lower locking tabs.
Remove the housing cover.
Remove the adjuster housing and wheel assembly.
Repeat this procedure to remove the height adjuster and wheel assembly from the other side of the dishrack.
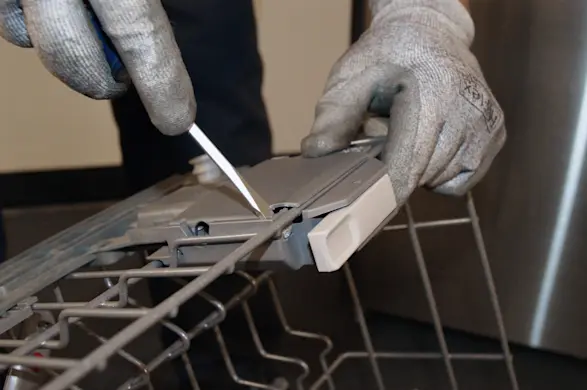
PHOTO: Pry out the top cover tabs. 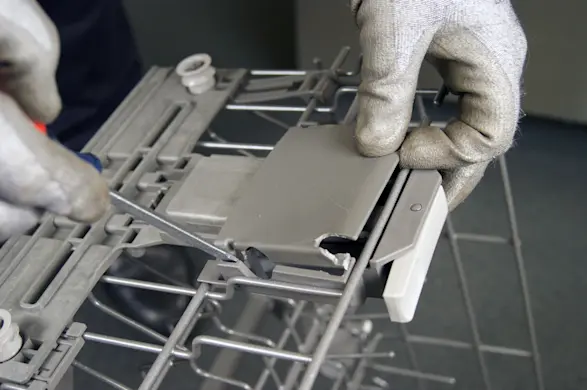
PHOTO: Release the bottom cover tabs. 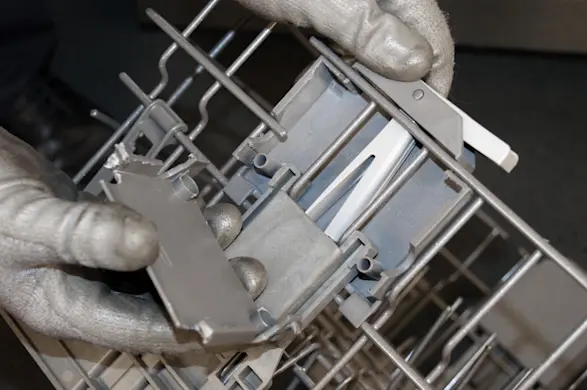
PHOTO: Remove the cover.
- 4. Install the new wheel assembly
Slide the vertical portion of the new wheel assembly between the 4th set of vertical tines (from the back of the dishrack) and rotate the wheel assembly so that it lays flat against the side of the dishrack.
Insert a positioner clip above the rear wheel and snap tab above the wheel into the positioner clip slot.
Install a positioner clip on the front wheel in the same manner.
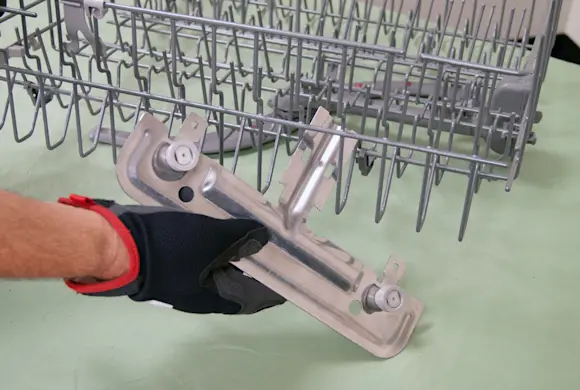
PHOTO: Position the new wheel assembly on the dishrack. 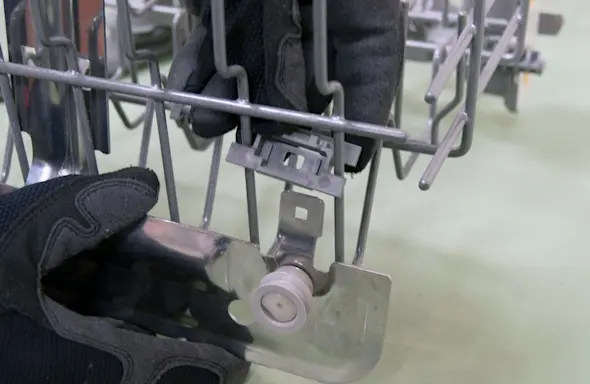
PHOTO: Install the clips.
- 5. Install the new adjuster body
Position the new adjuster body over vertical portion of the wheel assembly and push the vertical portion into the adjuster body slots. Locking tabs at the bottom of the adjuster body engage the wheel assembly once it's fully inserted in the tabs.
Insert the actuator lever into the adjuster body with the thumb pad facing the front of the rack. Two half-circle cutouts on the adjuster body hold the actuator in place.
Push the adjuster body against the inside of the vertical dishrack tines and install the adjuster cover. Engage the top tab of the adjuster cover in the slot at the top of the adjuster body. Push the adjuster cover against the adjuster body and engage the locking tab at the bottom of the cover. Install the adjuster cover mounting screws.
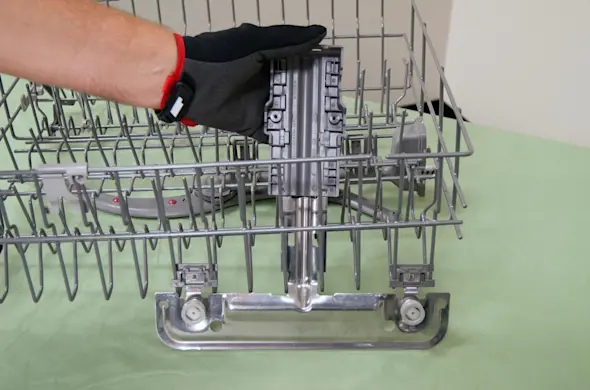
PHOTO: Install the new adjuster body. 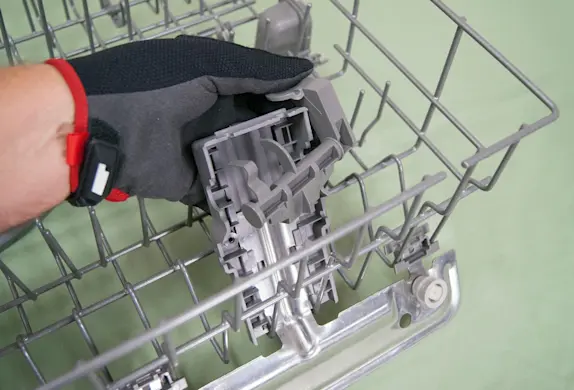
PHOTO: Insert the actuator assembly lever. 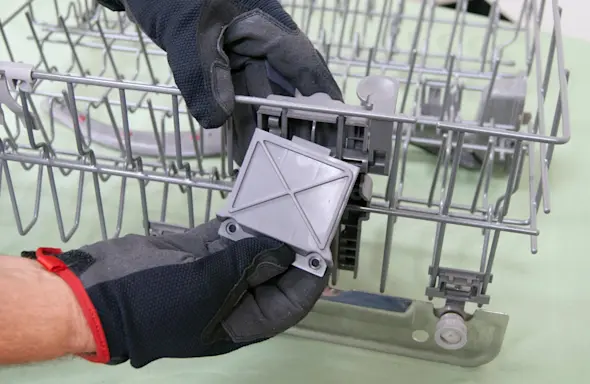
PHOTO: Install the adjuster cover. 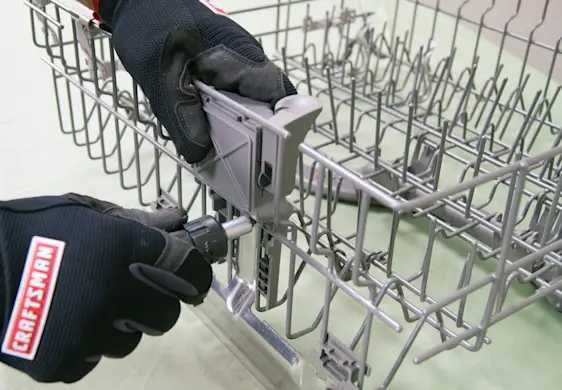
PHOTO: Install the screws.
- 6. Install the height adjuster on the opposite side
Install the new height adjuster and wheel assembly on the opposite side of the dishrack.
- 7. Reinstall the dishrack in the dishwasher
Push the upper dishrack onto its tracks.
Close the track stops on the dishwasher rails.

PHOTO: Reinstall the dishrack in the dishwasher.