- Kenmore refrigerator water filters
- Whirlpool refrigerator water filters
- Samsung refrigerator water filters
- GE refrigerator water filters
- LG refrigerator water filters
- Frigidaire refrigerator water filters
- KitchenAid refrigerator water filters
- Maytag refrigerator water filters
- Kenmore Elite refrigerator water filters
- Estate refrigerator water filters
- GE Profile refrigerator water filters
- Amana refrigerator water filters
- Bosch refrigerator water filters
- Dacor refrigerator water filters
- Electrolux refrigerator water filters
Top DIY repair help
View All Repair Categories
Appliances
Lawn & Garden
Power Tools
Home Improvement
Sports & Leisure
Heating & Cooling
Range Control Panel WPW10206071
Part #WPW10206071

GenuineOEM

ShipsFast

Online Only Price
$386.63
$12.00 OFF Phone Price : $398.63
In Stock
Qty


Zip Codes Near
60169
Edit
Return Policy
60-day return policy
Learn more
Shipping
If you place your order today, your part(s) will arrive by:
Confirm this part fits
Previous part numbers
Part #W10206071
Part #74011866
This Part Also Fits
Part Information
This control panel (part number WPW10206071) is for ranges.
Control panel WPW10206071 houses the selection buttons and display components for the range.
Unplug the range before installing this part. Wear work gloves to protect your hands.
Frequently Bought Together
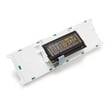
Range Oven Control Board
Part #WP8507P236-60
In Stock
$337.88
$12.00 OFF Phone Price : $349.88
Qty
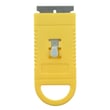
Cooktop Scraper
Part #WA906B
This item is not returnable
In Stock
$7.41
Qty
Refurbished Range Oven Control Board
Part #WP8507P236-60R
In Stock
$130.14
8% OFF Phone Price : $142.14
Qty
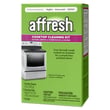
Affresh Cooktop Cleaning Kit
Part #W11042470
This item is not returnable
In Stock
$24.81
Qty
ReviewsJanuary 23, 2022|rgrussel, Brighton, MIOctober 06, 2021|Tim15, Chicago, ILJuly 17, 2021|Djk1, OregonDecember 05, 2020|shur101, Tualatin, OR January 24, 2018|Chuy, Baton Rouge, LAFebruary 20, 2018|JoeG, MassachusettsMarch 01, 2021|Dmar, Zionsville, INJanuary 27, 2021|RobM, Houston, TX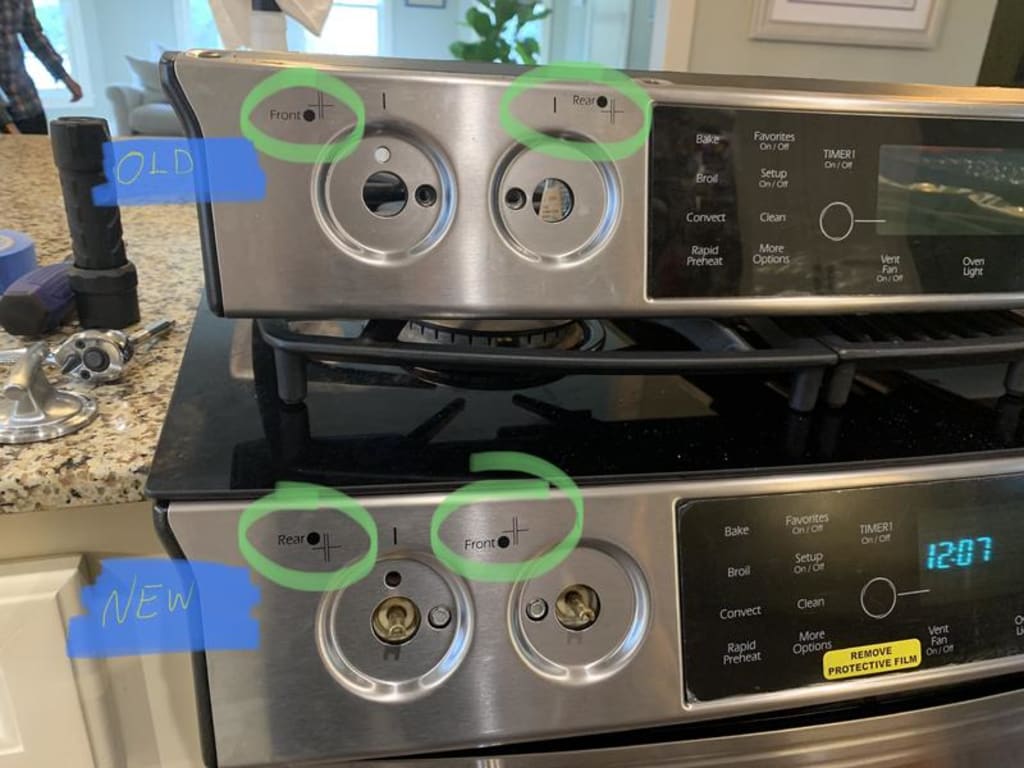
0 Reviews
Easy to install!
This was one of the easiest projects ever. The part was perfect and very easy to install. Solved my problem with the touch pad. The right side of the touch pad was not responding. Switched it out with the new control panel and now it works perfectly.
Ease of InstallationVery Easy
Duration of Installation30 minutes - 1 hour
 verified customer
Yes, I would recommend this to a friend
Was this review helpful?
Easy to install!
It was easy to install and took a maximum of 20 minutes!
Ease of InstallationEasy
Duration of Installation30 minutes - 1 hour
verified customer
Yes, I would recommend this to a friend
Was this review helpful?
Very easy to install
Took less than 15 minutes to replace the old part.
Ease of InstallationVery Easy
Duration of InstallationLess than 30 minutes
verified customer
Yes, I would recommend this to a friend
Was this review helpful?
Hard to find and easy to install!
The customer service person who helped locate the computer control panel for our Jenn-Air (now obsolete) went to the ends of the earth to find it. I cannot thank her enough. It was the difference between throwing out a perfectly awesome 15-year old gas oven workhorse and having to spend thousands to refit our kitchen and replace. For $308 including shipping we have a functioning stove again!

Ease of InstallationVery Easy
Duration of InstallationLess than 30 minutes
verified customer
Yes, I would recommend this to a friend
Was this review helpful?
East to install, saved a bunch of $
Buy parts, YouTube installation steps, avoid expensive repairmen, save $
Ease of InstallationModerate
Duration of Installation30 minutes - 1 hour
verified customer
Was this review helpful?
Straightforward instructions from the internet
Half hour to one hour to install. Remove the oven door for easy access. Turn off power and pull out slide-in oven to expose the screw on each side of panel. Remove those screws, the four screws under the burner control knobs, and the four 1/4-inch hex head screws on the bottom of the control panel. The panel will be constrained by the wiring to the control board. You will likely have to remove all the electrical connectors on the board to gain access to the four sheet metal screws that mount the board to the control panel. The smaller connectors have mechanical latches that must be released in order to remove them. The larger connectors only require brute force. The board has the color of each connector printed on it, and reconnecting each one should be foolproof. Take care not to damage any components on the board. The control panel connects to the control board by means of a ribbon cable. Release the old ribbon cable from the control board using the new part to view the release mechanism. Mount the control board to the new control panel, connect the ribbon cable and reassemble the stove in the reverse order of disassembly. Restore the power, and everything should work normally. If possible,
Ease of InstallationEasy
Duration of Installation30 minutes - 1 hour
verified customer
1 person thought this review was helpful.
Fits well, but burners are mislabeled
The panel fit my stove exactly and I was able to install it easily in about 20 minutes. But after installing, I noticed that the labels for the burners on the left side of the panel are reversed from what they should be. The control knob labeled 'Front' operates the rear burner. The 'Rear' knob operates the front burner. The right side of the panel has them labeled correctly, though. Its annoying, but wasn't worth going through the hassle to return the item.
Ease of InstallationEasy
Duration of Installation30 minutes - 1 hour
verified customer
Yes, I would recommend this to a friend
Was this review helpful?
Quality control...
After all of the buttons stopped working on my Jenn-Air range, I searched the internet and narrowed down the issue to be aged and damaged connection between the control panel (screen and buttons) and the circuit board. Unfortunately, you cannot just replace the panel and must purchase this whole part. FYI - this part includes the metal face and screen ONLY. You have to remove and reuse the existing circuit board. This is not difficult but just be aware in case your problem is with the circuit board. Installation was straightforward and reasonably easy but, after installing, I noted that the markings indicating which knob controls which burner are incorrect on the left side (see picture). The part I received does not match my existing part or the picture on the SearsDirect website. This seems like a simple oversight of someone using the wrong stencil on the wrong side during production but it is quite irritating, especially considering how much this part costs. Otherwise, the new part looks good and works as intended. SearsDirect is shipping me a replacement so hopefully that one has the correct markings.
Ease of InstallationEasy
Duration of Installation30 minutes - 1 hour
verified customer
Was this review helpful?
Average Customer Ratings
Overall Rating
Popular Models Using WPW10206071 Part
Model Number
Model Name