- Kenmore refrigerator water filters
- Whirlpool refrigerator water filters
- Samsung refrigerator water filters
- GE refrigerator water filters
- LG refrigerator water filters
- Frigidaire refrigerator water filters
- KitchenAid refrigerator water filters
- Maytag refrigerator water filters
- Kenmore Elite refrigerator water filters
- Estate refrigerator water filters
- GE Profile refrigerator water filters
- Amana refrigerator water filters
- Bosch refrigerator water filters
- Dacor refrigerator water filters
- Electrolux refrigerator water filters
Top DIY repair help
View All Repair Categories
Appliances
Lawn & Garden
Power Tools
Home Improvement
Sports & Leisure
Heating & Cooling
Quick Links
How to replace a downdraft vent fan control switch
less than a minute readMar 05Lyle Weischwill
Repair time and Difficulty
15 minutes or less
Tools Required
- Work gloves
- Phillips screwdriver
- Wire cutter
- 1/4-inch nut driver
This DIY repair guide explains how to replace a fan control switch on a downdraft vent. Located on the upper right side of the vent, the fan control switch activates the blower fan motor and controls the blower speed. If the fan control switch wears out or breaks, it won't start the fan motor or control the speed. Replace the fan control switch with the manufacturer-approved downdraft ventilation system part.
This repair guide and video shows how to replace the vent fan control switch in Kenmore and Broan downdraft vents.
Instructions
- 1. Disconnect power and remove the downdraft vent from the counter
Unplug the cooktop and the downdraft vent.
Remove the cooktop from the counter. Remove the downdraft vent from the counter. Wear work gloves to protect your hands.
Tip: Use the installation manuals for the cooktop and downdraft vent to guide you when removing the appliances from the counter.
- 2. Remove the gear motor cover
Remove the mounting nuts from the clamp channels and then remove both clamp channels.
Remove the screws from the gear motor cover.
Pull the gear motor cover up.
Disconnect the gear motor wires and then pull the wires out of the gear motor cover.
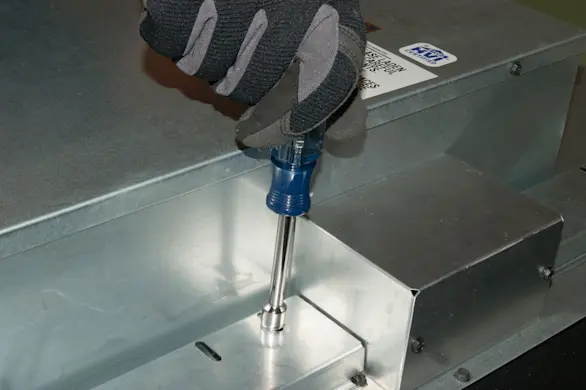
PHOTO: Remove the clamp channel nuts. 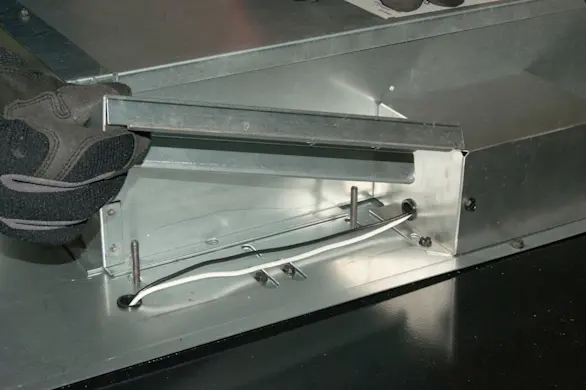
PHOTO: Remove the clamp channels. 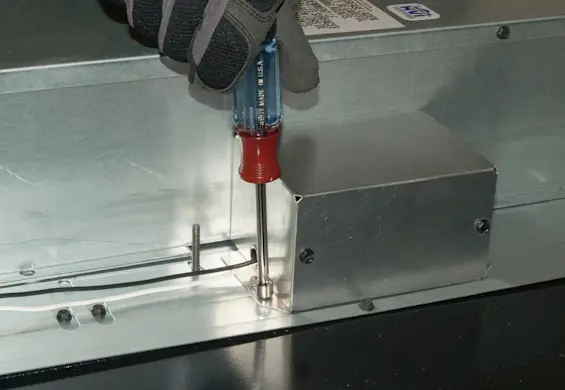
PHOTO: Remove the gearbox cover screws. 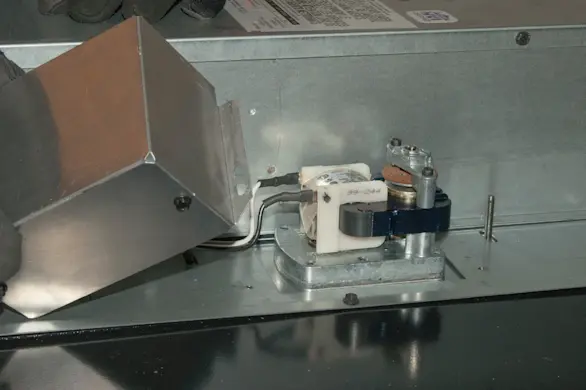
PHOTO: Remove the gear motor cover. 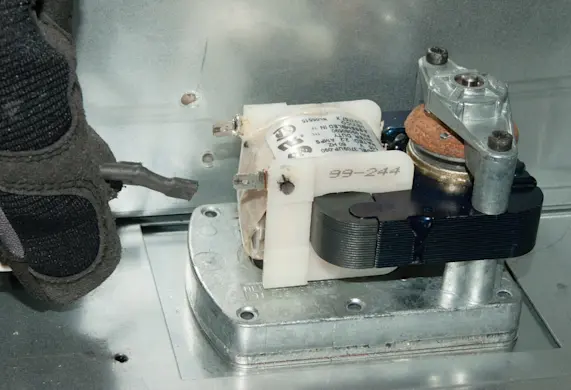
PHOTO: Disconnect the gear motor wires.
- 3. Remove the blower housing assembly
Carefully tilt the top of the blower housing up and disconnect the blower motor wire harness. Remove the blower housing assembly.
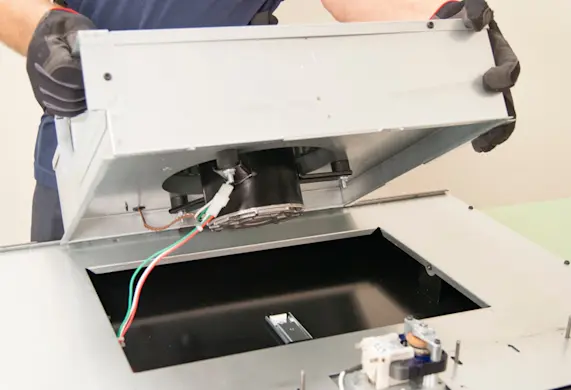
PHOTO: Tilt the blower housing up. 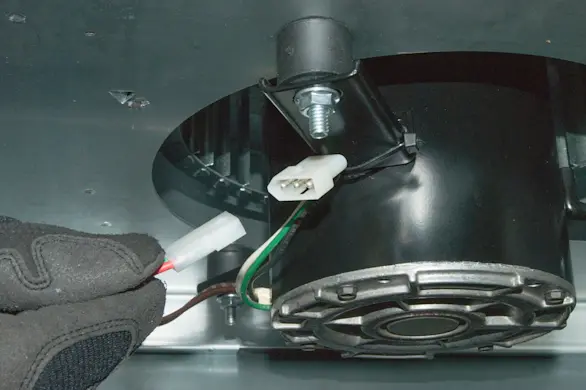
PHOTO: Disconnect the blower motor wires.
- 4. Remove the air box cover
Remove the mounting screws from the air box cover and pull off the air box cover.

PHOTO: Remove the air box cover screws. 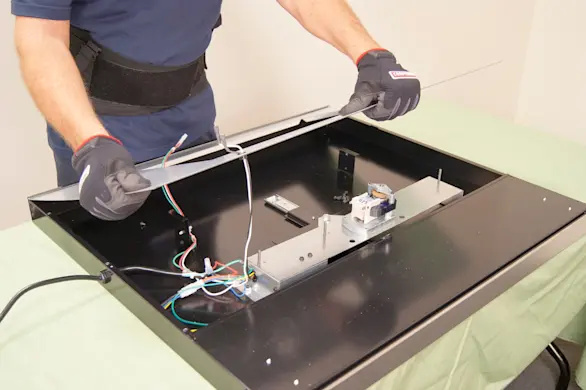
PHOTO: Pull the air box cover off.
- 5. Remove the fan control switch
Unplug the wire harness for the fan control switch.
Cut the wire tie that secures the fan control switch wire harness to the green ground wire.
Pull the air vent up to access the fan control switch.
Remove the mounting screws and pull the switch cover off.
Remove the screws from the switch bracket.
Slide the switch bracket downward and then pull the bracket out.
Pull the knob off the fan control switch stem.
Remove the fan control switch mounting nut.
Pull the fan control switch out of the switch bracket.
Disconnect the up/down switch wires.
Cut off the wire tie from the switch bracket to release the fan control switch wires. Remove the fan control switch.

PHOTO: Unplug the fan control switch wire harness. 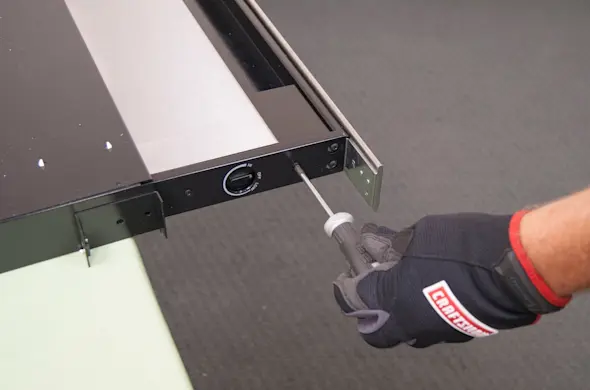
PHOTO: Remove the switch cover screws. 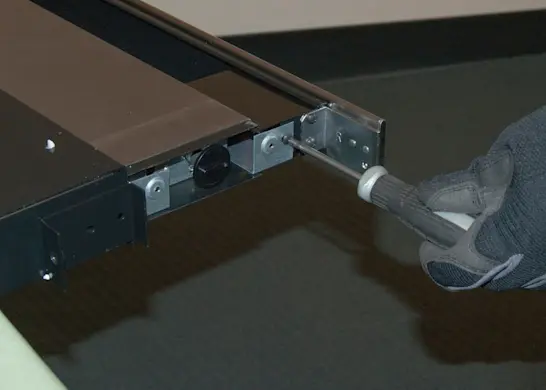
PHOTO: Remove the switch bracket screws. 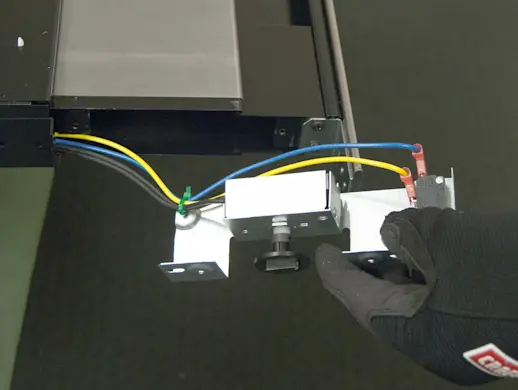
PHOTO: Slide out the switch bracket. 
PHOTO: Pull off the control knob. 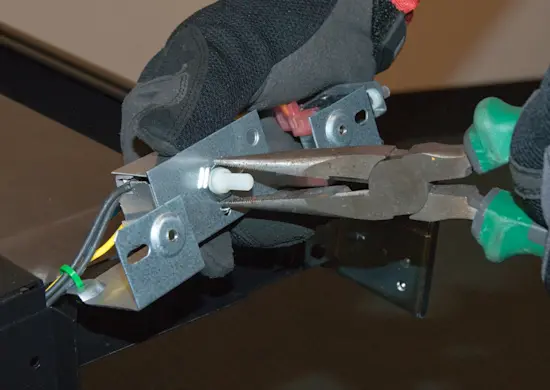
PHOTO: Remove the control switch mounting nut. 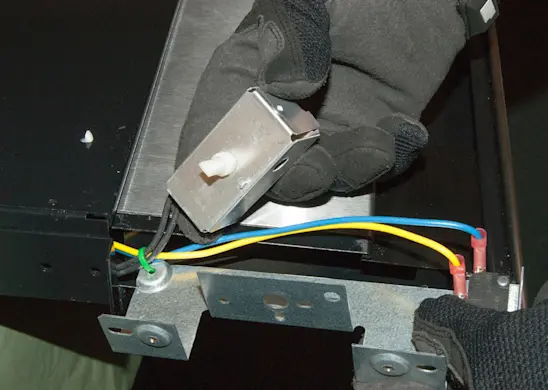
PHOTO: Pull the control switch out. 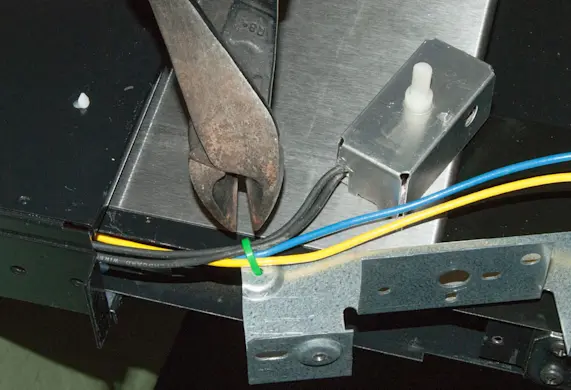
PHOTO: Cut off the switch harness wire tie.
- 6. Install the new fan control switch
Connect the up/down switch wires.
Secure the fan control and the up/down activating switch wires to the switch bracket using a wire tie.
Reinstall the fan control switch on the switch bracket and secure it using the mounting nut.
Reinstall the fan control knob on the stem of the fan control switch.
Slide the switch bracket into the vent and reinstall the bracket screws, leaving the screws loose.
Adjust the switch bracket so that the activation switch lightly touches the membrane pad.
Tighten the bracket screws firmly.
Reinstall the switch cover and secure it using the mounting screws.
Push the air vent down into the air box.
Plug in the fan control switch wire harness.
Connect the fan control switch wire harness to the green ground wire using a wire tie.

PHOTO: Install the new fan control switch in the bracket. 
PHOTO: Install the control knob. 
PHOTO: Reinstall the fan switch bracket. 
PHOTO: Reinstall the fan control switch cover. 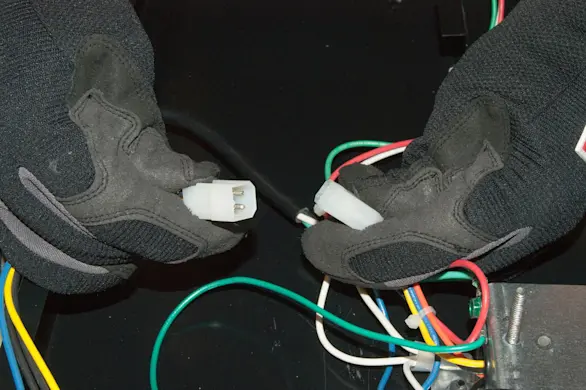
PHOTO: Connect the fan control switch wire harness. 
PHOTO: Wrap the wire tie around the wires. Warning: Don't pinch any switch wires when installing the switch bracket.Tip: There are no threads on the plastic stem of the new switch. Thread the nut straight on and it will create its own threads.Tip: Mounting the switch bracket up too high will keep the switch depressed and the vent will raise and lower continuously when you restore power.
- 7. Reinstall the air box cover
Position the air box cover over the air box and thread the gear motor wires through the grommet in the air box cover.
Secure the air box cover to the air box using the mounting screws.

PHOTO: Reinstall the air box cover. 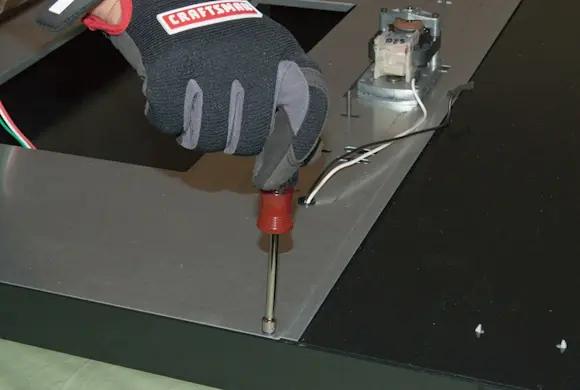
PHOTO: Reinstall the cover screws.
- 8. Reinstall the blower housing assembly
Position the blower housing assembly on top of the air box cover.
Tilt the blower housing assembly up and plug in the blower motor wire harness.
Lower the blower housing assembly into place.
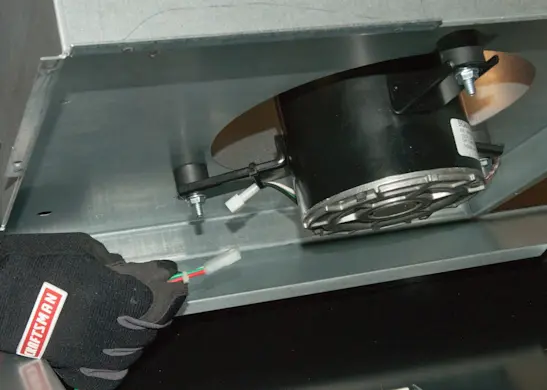
PHOTO: Connect the blower motor wire harness.
- 9. Reinstall the gear motor cover
Thread the wires through the gear motor cover and reconnect the wires to the gear motor.
Position the gear motor cover over the gear motor and reinstall the mounting screws.
Reinstall the clamp channels and secure them using the mounting nuts.

PHOTO: Connect the gear motor wires. 
PHOTO: Reinstall the motor cover and screws. 
PHOTO: Reinstall the clamp channels and nuts.
- 10. Reinstall the downdraft vent and cooktop
Reinstall the downdraft vent and cooktop in the counter.