- Kenmore refrigerator water filters
- Whirlpool refrigerator water filters
- Samsung refrigerator water filters
- GE refrigerator water filters
- LG refrigerator water filters
- Frigidaire refrigerator water filters
- KitchenAid refrigerator water filters
- Maytag refrigerator water filters
- Kenmore Elite refrigerator water filters
- Estate refrigerator water filters
- GE Profile refrigerator water filters
- Amana refrigerator water filters
- Bosch refrigerator water filters
- Dacor refrigerator water filters
- Electrolux refrigerator water filters
Top DIY repair help
View All Repair Categories
Appliances
Lawn & Garden
Power Tools
Home Improvement
Sports & Leisure
Heating & Cooling
Quick Links
How to replace a downdraft vent blower motor
less than a minute readMar 05Lyle Weischwill
Repair time and Difficulty
15 minutes or less
Tools Required
- Work gloves
- 1/4-inch nut driver
- 3/8-inch nut driver
- 7/16-inch nut driver
- 5/32-inch Allen wrench
This DIY repair guide explains how to replace a blower motor in a downdraft vent. The blower motor, located in the housing on the air box, turns the fan blade that draws smoke and moisture away from the cooktop. Replace the blower motor with the manufacturer-approved downdraft ventilation system part if the motor is worn or locked up.
Use these basic repair steps to replace the blower motor in common Kenmore, Broan, GE, Whirlpool, KitchenAid, Frigidaire and Electrolux downdraft vents.
Instructions
- 1. Disconnect power and remove the downdraft vent from the counter
Unplug the cooktop and the downdraft vent.
Remove the cooktop from the counter. Remove the downdraft vent from the counter. Wear work gloves to protect your hands.
Tip: Use the installation manuals for the cooktop and downdraft vent to guide you when removing the appliances from the counter.
- 2. Remove the gear motor cover
Remove the mounting nuts from the clamp channels and then remove both clamp channels.
Remove the screws from the gear motor cover.
Pull the gear motor cover up. Disconnect the gear motor wires and then pull the wires out of the gear motor cover.

PHOTO: Remove the clamp channel nuts. 
PHOTO: Remove the clamp channels. 
PHOTO: Remove the gearbox cover screws. 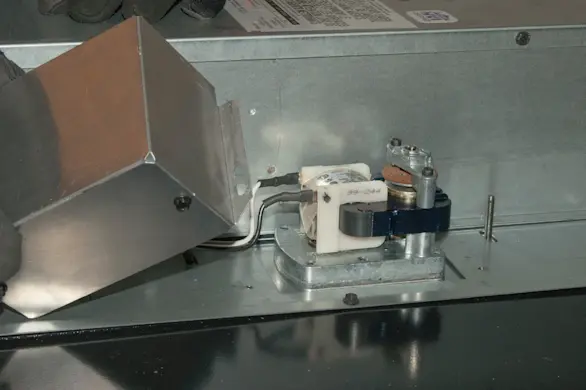
PHOTO: Remove the gear motor cover. 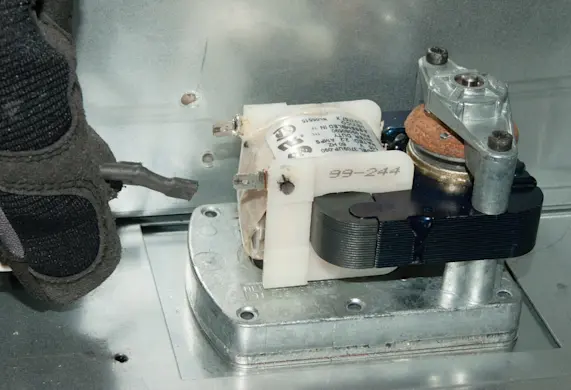
PHOTO: Disconnect the gear motor wires.
- 3. Remove the blower housing cover
Remove the mounting screws from the blower housing cover and pull the cover off.
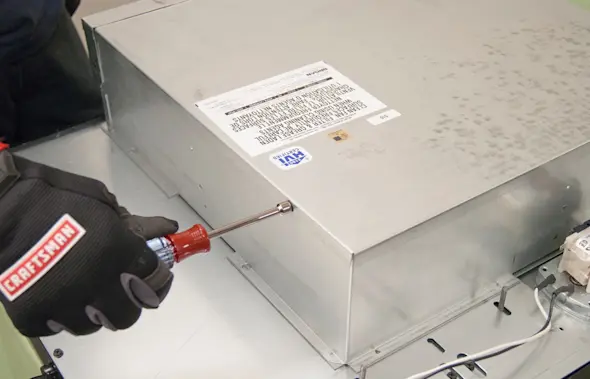
PHOTO: Remove the blower housing cover screws. 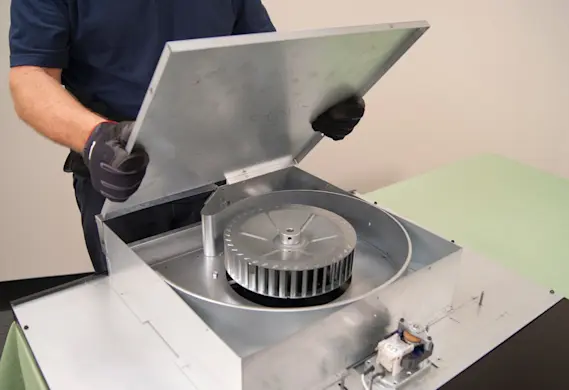
PHOTO: Remove the blower housing cover.
- 4. Remove the blower motor
Loosen the Allen-head set screw and lift the blower fan wheel blade off the blower motor shaft.
Pull the rubber boot up on the motor capacitor.
Place a slot screwdriver with an insulated handle across the capacitor leads to make sure it no longer has an electrical charge.
Disconnect the wires from the capacitor.
Pull the wires out of the boot.
Carefully tilt the top of the blower housing up and disconnect the blower motor wire harness.
Flip the blower housing assembly over and lay it on the air box.
Pull the capacitor wires through the blower housing grommet.
Remove the motor mounting nuts and pull the blower motor out.

PHOTO: Loosen the fan blade set screw. 
PHOTO: Remove the fan blade.
- 5. Install the new blower motor
Position the new blower motor on the mounting studs and reinstall the mounting nuts.
Thread the capacitor wires through the blower housing grommet.
Flip the blower housing assembly upright and position it on top of the air box cover.
Tilt the blower housing assembly up and plug in the blower motor wire harness.
Lower the blower housing assembly into place.
Feed the capacitor wires through the rubber boot.
Connect the wires to the capacitor.
Reinstall the rubber boot on the capacitor.
Align the flat part of the motor shaft with the set screw on the blower wheel and push the blower wheel down.
Position the blower wheel 1/8-inch above the top of the motor shaft and tighten the set screw.
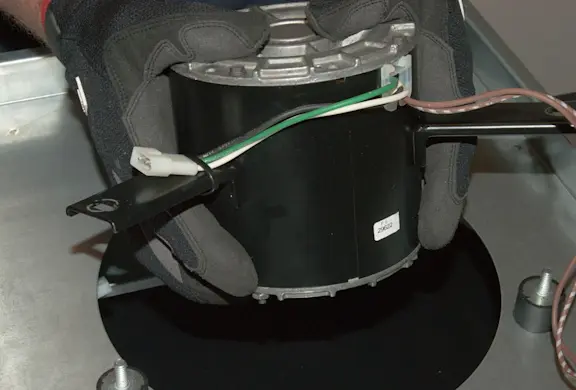
PHOTO: Install the new blower motor. 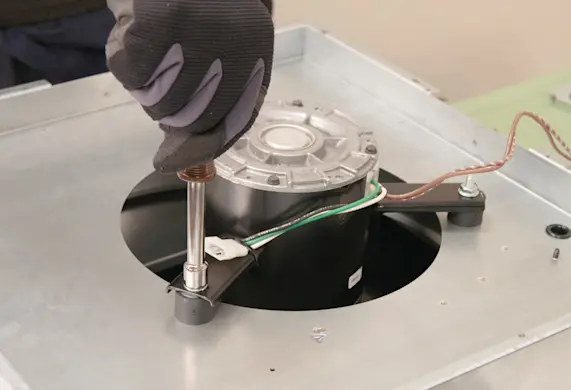
PHOTO: Install and tighten the mounting nuts. 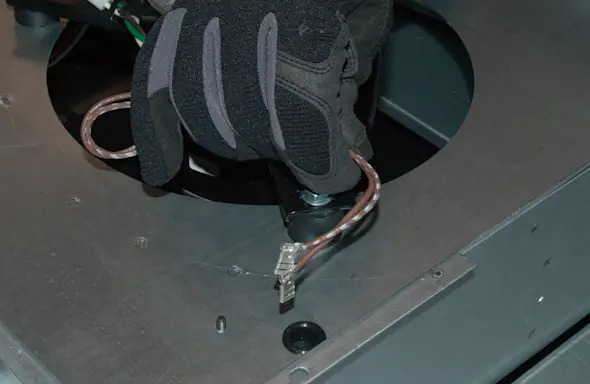
PHOTO: Thread the motor capacitor wires through the grommet. 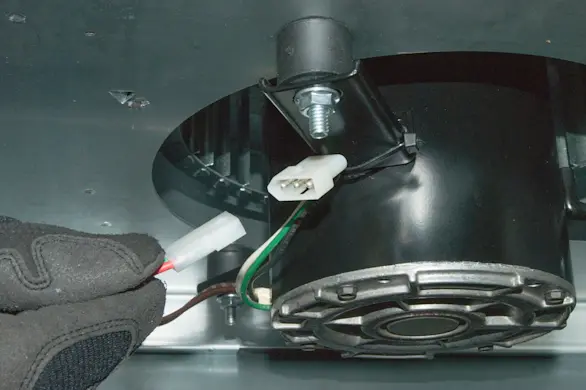
PHOTO: Plug in the motor wire harness. 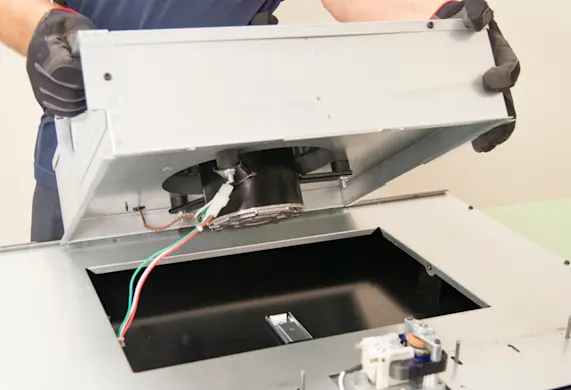
PHOTO: Lower the blower housing into position. 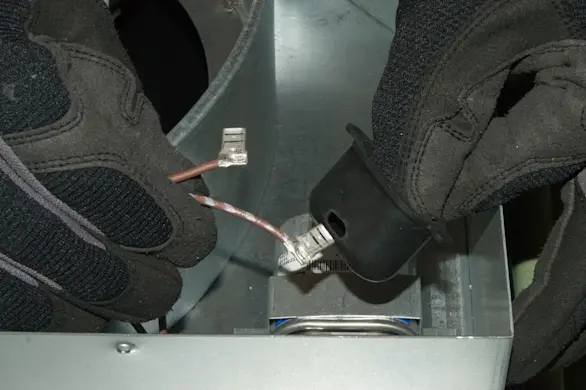
PHOTO: Feed the motor capcitor wires through the rubber boot. 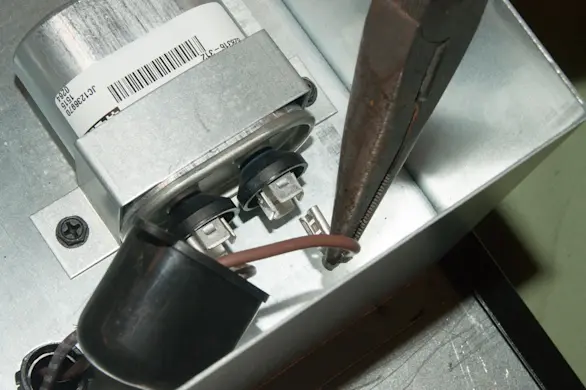
PHOTO: Connect the motor capacitor wires. 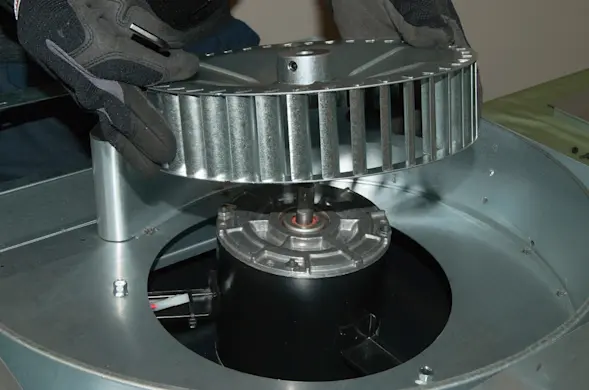
PHOTO: Reinstall the blower wheel blade. 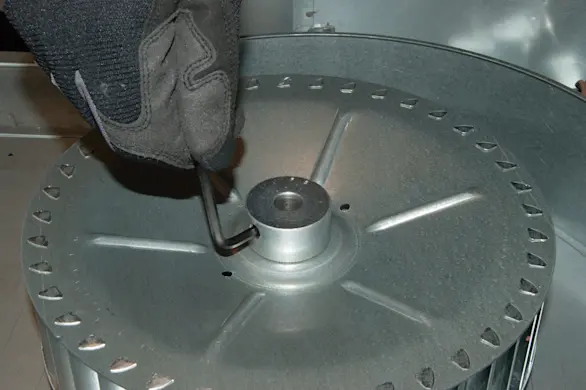
PHOTO: Tighten the blower wheel set screw.
- 6. Reinstall the blower housing cover
Place the blower housing cover over the blower housing and reinstall the mounting screws.

PHOTO: Reinstall the blower housing cover. 
PHOTO: Reinstall the blower housing cover screws.
- 7. Reinstall the gear motor cover
Thread the wires through the gear motor cover and reconnect the wires to the gear motor.
Position the gear motor cover over the gear motor and reinstall the mounting screws.
Reinstall the clamp channels and secure them using the mounting nuts.

PHOTO: Reconnect the gear motor wires. 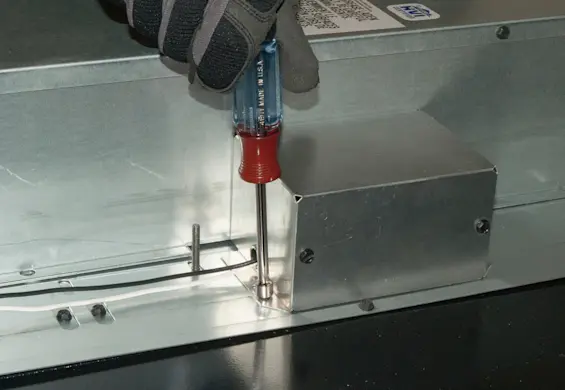
PHOTO: Reinstall the gear motor cover screws. 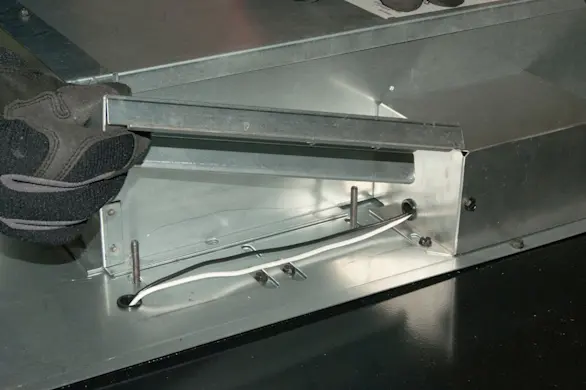
PHOTO: Reinstall the channel clamps. 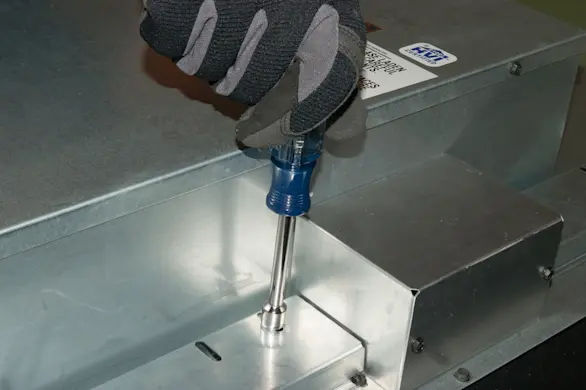
PHOTO: Reinstall the channel clamp nuts.
- 8. Reinstall the downdraft vent and cooktop
Reinstall the downdraft vent and cooktop in the counter following the directions in the installation guides.
- 9. Restore power
Plug in the power cords for the downdraft blower and the cooktop.