- Kenmore refrigerator water filters
- Whirlpool refrigerator water filters
- Samsung refrigerator water filters
- GE refrigerator water filters
- LG refrigerator water filters
- Frigidaire refrigerator water filters
- KitchenAid refrigerator water filters
- Maytag refrigerator water filters
- Kenmore Elite refrigerator water filters
- Estate refrigerator water filters
- GE Profile refrigerator water filters
- Amana refrigerator water filters
- Bosch refrigerator water filters
- Dacor refrigerator water filters
- Electrolux refrigerator water filters
Top DIY repair help
View All Repair Categories
Appliances
Lawn & Garden
Power Tools
Home Improvement
Sports & Leisure
Heating & Cooling
Quick Links
How to replace a band saw on-off switch
less than a minute readMar 05Lyle Weischwill
Repair time and Difficulty
15 minutes or less
Tools Required
- Phillips screwdriver
- Work gloves
This DIY repair guide explains how to replace the on/off switch on a band saw. The on/off switch turns the drive motor on and off when you push the switch. If the on/off switch breaks, the band saw motor either won't start or won't turn off. Replace the on/off switch using the manufacturer-approved band saw part.
This basic procedure works on common Craftsman, Ryobi, Wen and Rikon band saws.
Instructions
- 1. Shut off the electricity
Unplug the band saw’s power cord from the wall outlet.
- 2. Remove the on/off switch
Remove the mounting screws from the on/off switch housing.
Pull the switch housing off and disconnect the wires from the switch.
Remove the on/off switch from the switch housing.
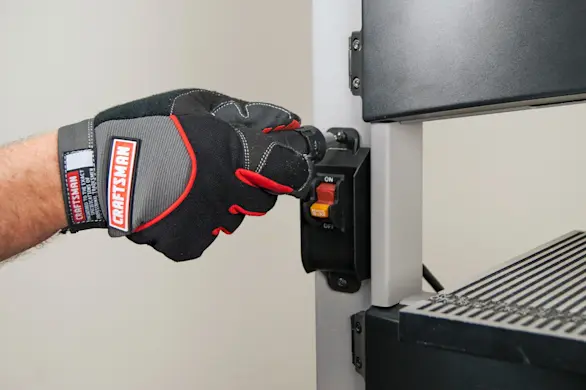
PHOTO: Remove the screws. 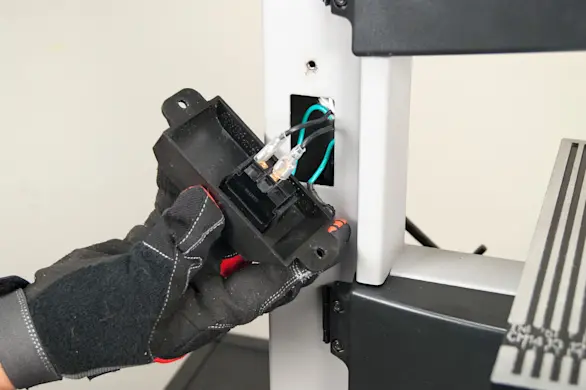
PHOTO: Pull the switch housing off. 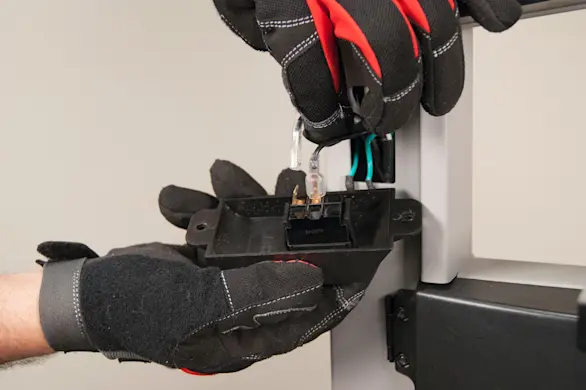
PHOTO: Disconnect the wires from the switch. 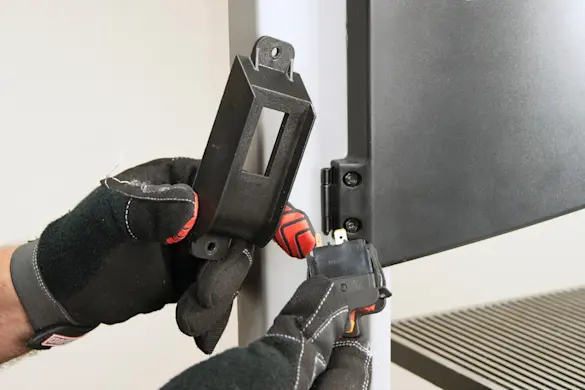
PHOTO: Remove the switch.
- 3. Install the new on/off switch
Push the new on/off switch into the housing.
Connect the wires to the new on/off switch.
Reattach the switch housing to the band saw cabinet using the mounting screws.
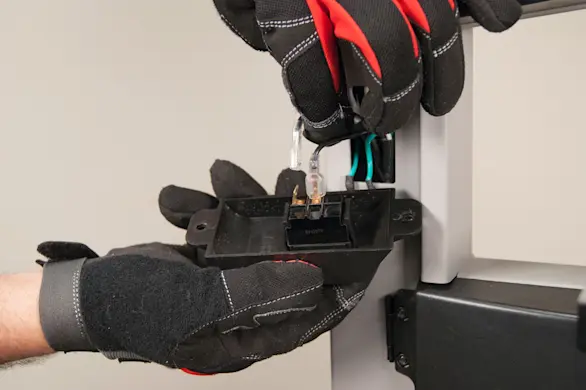
PHOTO: Connect the wires to the new switch. 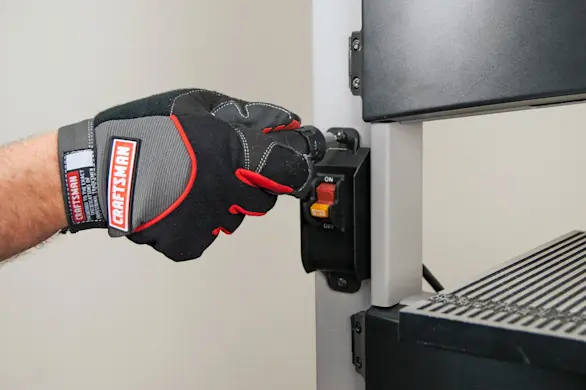
PHOTO: Reattach the housing.
- 4. Restore power
Plug the band saw into the electrical outlet.