- Kenmore refrigerator water filters
- Whirlpool refrigerator water filters
- Samsung refrigerator water filters
- GE refrigerator water filters
- LG refrigerator water filters
- Frigidaire refrigerator water filters
- KitchenAid refrigerator water filters
- Maytag refrigerator water filters
- Kenmore Elite refrigerator water filters
- Estate refrigerator water filters
- GE Profile refrigerator water filters
- Amana refrigerator water filters
- Bosch refrigerator water filters
- Dacor refrigerator water filters
- Electrolux refrigerator water filters
Top DIY repair help
View All Repair Categories
Appliances
Lawn & Garden
Power Tools
Home Improvement
Sports & Leisure
Heating & Cooling
Quick Links
How to adjust an elliptical reed switch
less than a minute readAug 06Lyle Weischwill
Repair time and Difficulty
15 minutes or less
Tools Required
- Work gloves
- Slot screwdriver
- Phillips screwdriver
- Allen wrench
The reed switch is attached to the frame, where it senses a magnet on the rotating pulley to detect the elliptical's speed. The reed switch transmits the speed signal to the console, which displays the speed. If the console doesn't display the correct speed, the reed switch may not be close enough to detect the magnet as it passes. Adjust the reed switch alignment following the steps in this DIY repair guide.
This repair guide covers ProForm, Weslo, NordicTrack and Image elliptical exercisers.
Instructions
- 1. Release the lower upright cover
Pry up the lower upright cover using a slot screwdriver.
Slide the lower upright cover up on the upright to release it from the side shields.
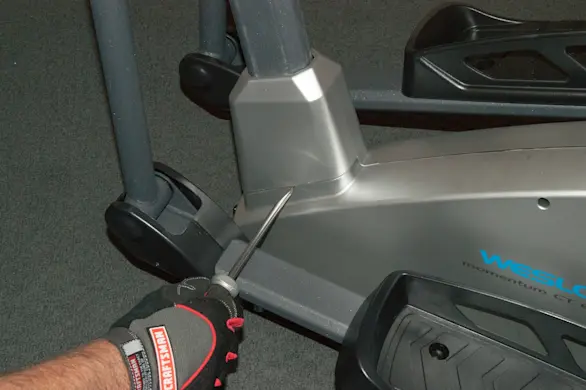
PHOTO: Pry the cover up to release. 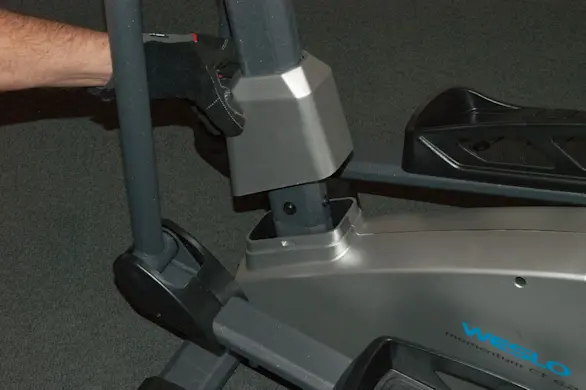
PHOTO: Slide the cover up.
- 2. Remove the left pedal arm
Remove the left pedal arm cover screw and pull the left pedal arm cover off.
Using an Allen wrench, remove the screw from the left crank arm by turning it clockwise because it is reverse threaded.
Pull the left pedal arm and washers off the crank arm shaft and push the pedal arm forward.
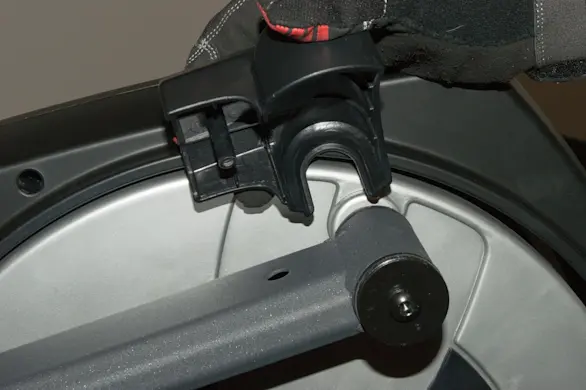
PHOTO: Remove the left pedal arm cover. 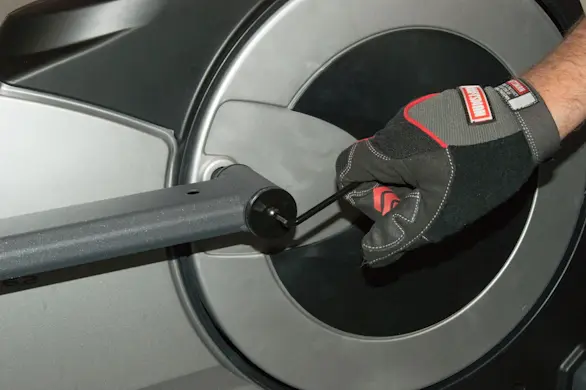
PHOTO: Remove the Allen screw. 
PHOTO: Pull the pedal arm off.
- 3. Remove the left shield
Remove the screws from the left and right side shields.
Remove the left side shield.
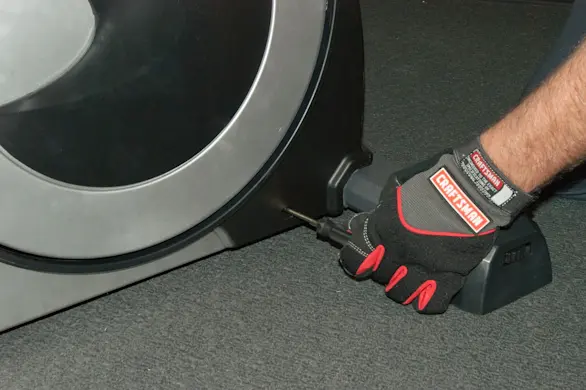
PHOTO: Remove the screws. 
PHOTO: Remove the left shield.
- 4. Adjust the reed switch
Loosen but don't remove the reed switch mounting screw.
Rotate the pulley to align the magnet with the reed switch.
Adjust the reed switch gap to about 1/8-inch from the pulley magnet.
Tighten the reed switch mounting screw.
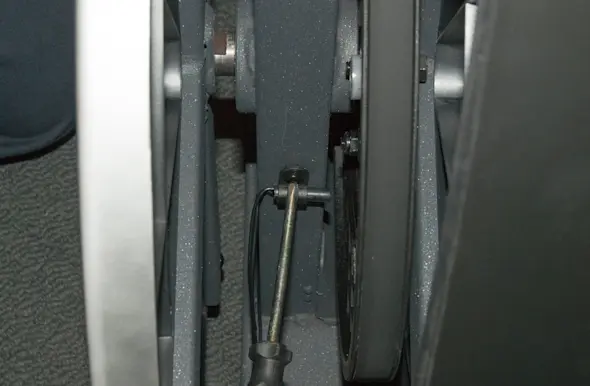
PHOTO: Loosen the reed switch screw.
- 5. Test the reed switch
With the console off, rotate the pulley to move the magnet past the reed switch to see if the display lights up.
If the display lights up, the reed switch is properly detecting the magnet and the adjustment is complete.
Readjust the reed switch if the console does not light up.
- 6. Reinstall the left shield
Line up the side shields.
Reinstall the shield mounting screws.
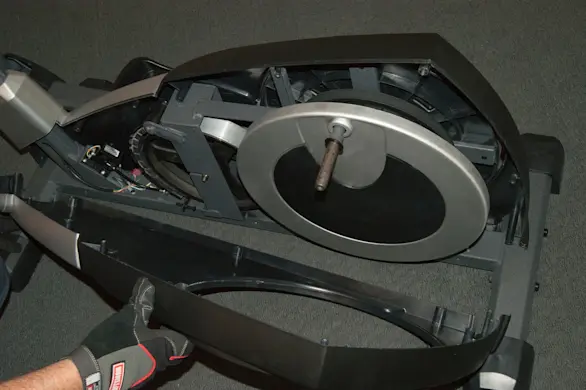
PHOTO: Reinstall the side shield. 
PHOTO: Reinstall the screws.
- 7. Reinstall the left pedal arm
Push the left pedal arm over the end of the crank arm shaft.
Reinstall the D-washer on the crank arm shaft.
Slide the lock washer and flat washer on the Allen screw.
Reinstall the Allen screw into the crank arm and tighten it counterclockwise because it's reverse-threaded.
Position the pedal arm cover over the crank arm shaft.
Reinstall the pedal arm mounting screw.

PHOTO: Reinstall the pedal arm. 
PHOTO: Reinstall the D-washer. 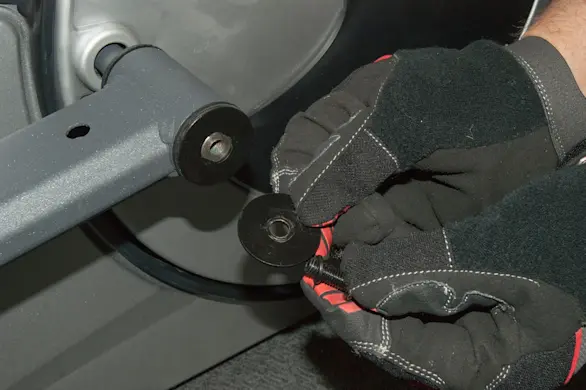
PHOTO: Reinstall the Allen screw. 
PHOTO: Reinstall the pedal arm cover and screw.
- 8. Reinstall the lower upright cover
Slide the lower upright cover down the upright and snap it over the side shields.

PHOTO: Reinstall the upright cover.