How to replace a dehumidifier sensor assembly
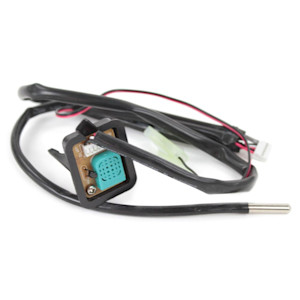
This DIY repair guide explains how to replace the sensor assembly in a dehumidifier. The sensor assembly includes the humidistat; the evaporator thermistor; and the wire harness and connectors that attach to the collection bucket float switch and electronic control board. The humidistat and evaporator thermistor sense humidity and evaporator temperatures respectively, and send signals to the electronic control board. If the dehumidifier won't cycle correctly because of a malfunctioning sensor assembly, replace the assembly with the manufacturer-approved dehumidifier part.
Use this repair procedure to replace the sensor assembly in Kenmore and LG dehumidifiers.
Instructions
- 01.
Disconnect power
Unplug the power cord from the wall outlet.
- 02.
Remove the collection bucket
Pull the water collection bucket out of the front of the dehumidifier case.
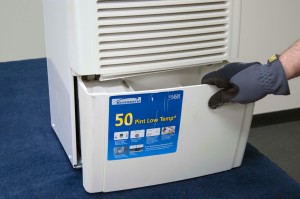
PHOTO: Remove the collection bucket.
- 03.
Remove the air filter
Pull the air filter out of the bottom of the front grille.
Tip: Clean the air filter if it’s dirty.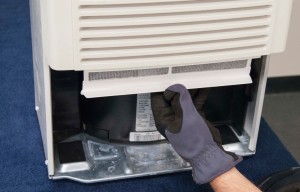
PHOTO: Remove the air filter.
- 04.
Remove the front grille
Remove the 2 screws at the bottom of the front grille that secure it to the frame.
Lift the front grille carefully up and off of the front of the frame and set the front grille down in front of the dehumidifier. The wire harness for the user interface control board is still attached on the back of the front grille. Keep the front grill directly in front of the dehumidifier to avoid damaging the user interface control board wire harness.
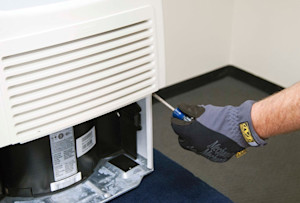
PHOTO: Remove the screws.
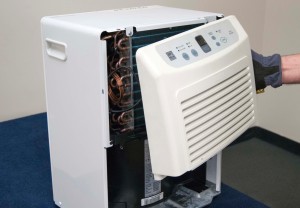
PHOTO: Pull the front grille up and off.
- 05.
Remove the back panel
Remove the screws that secure the back panel to the dehumidifier.
Carefully pry out a bottom corner of the back panel and pull the back panel off of the dehumidifier.
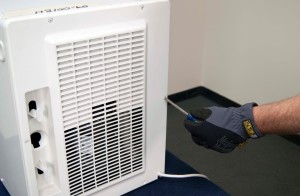
PHOTO: Remove the screws holding back panel.
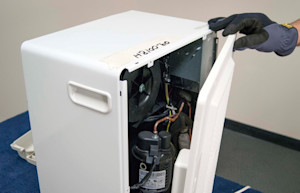
PHOTO: Remove the back panel.
- 06.
Remove the outer case
Remove the screws that secure the outer case to the humidifier.
Pull the outer case off the dehumidifier.
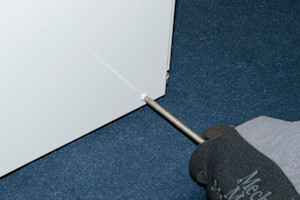
PHOTO: Remove the side screws.
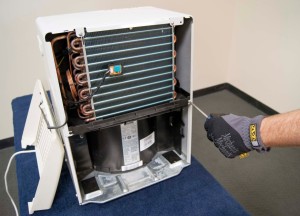
PHOTO: Remove the front screws.
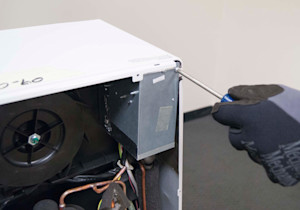
PHOTO: Remove the screw from the control box.
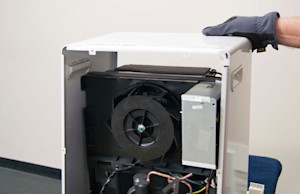
PHOTO: Remove the outer case from the dehumidifier.
- 07.
Remove the sensor
Disconnect the sensor wire harness from the electronic control board.
Pull the wire harness off of the collection bucket float switch.
Pull the evaporator thermistor out of the copper sleeve on the side of the evaporator coil.
Remove the humidity sensor from the evaporator fins.
Pull the sensor assembly out of the dehumidifier.
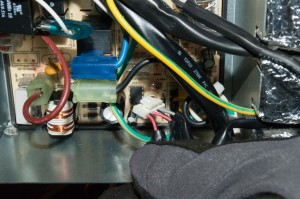
PHOTO: Disconnect the wire harness from the electronic control board.
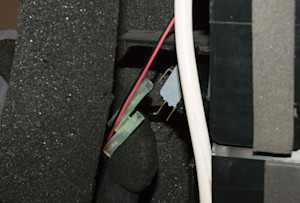
PHOTO: Disconnect the wire harness from the collection bucket float switch.
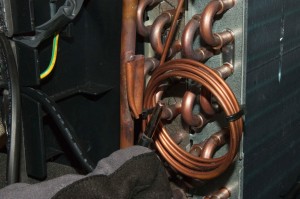
PHOTO: Pull the thermistor out of the evaporator.
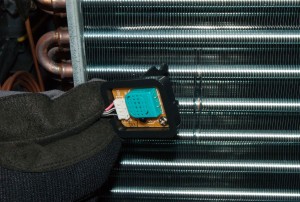
PHOTO: Pull the humidity sensor off of the evaporator.
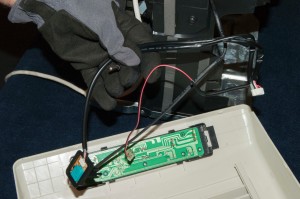
PHOTO: Pull the sensor assembly out.
- 08.
Install the new sensor
Push the humidity sensor into place on the front of the evaporator fins.
Install the evaporator thermistor inside the copper sleeve on the evaporator.
Connect the wire harness to the collection bucket float switch.
Plug the wire harness for the sensor into the electronic control board.
- 09.
Reassemble the dehumidifier
Position the outer case on the dehumidifier and secure it using the mounting screws.
Reinstall the back panel on the dehumidifier and secure it with the mounting screws.
Place the front grille on the dehumidifier and secure it with the mounting screws.
Push the filter back onto the front grille.
Reinstall the collection bucket in the front of the dehumidifier.
- 10.
Restore power
Plug the dehumidifier back into the wall outlet.
Most common symptoms to help you fix your dehumidifiers
Choose a symptom to see related dehumidifier repairs.
Main causes: dehumidifier too small for the space, bad humidity sensor, faulty evaporator thermistor, low refrigerant, b…
Main causes: clogged drain hose, drain hose not properly connected…
Main causes: lack of electrical power, wiring failure, electronic control board failure, user interface control failure…
Main causes: room temperature below 65 degrees Fahrenheit, control system failure…
Main causes: weak or dead batteries, out of range, radio frequency interference…
Main causes: dirty air filter, clogged grill, dehumidifier placed too close to the wall, dehumidifier too small for the …
Main causes: collection bucket not installed, collection bucket full of water…
Main causes: loose fan motor mounting screws, loose compressor mounting bracket screws, bad fan, faulty compressor…
Main causes: collection bucket not installed correctly, cracked collection bucket, loose drain hose connection…
Most common repair guides to help fix your dehumidifiers
These step-by-step repair guides will help you safely fix what’s broken on your dehumidifier.
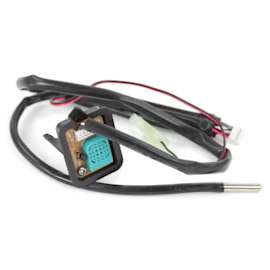
How to replace a dehumidifier sensor assembly
If the humidifier sensor doesn’t properly detect humidity or evaporator temperature, install a new sensor assembly, foll…
How to replace a dehumidifier user interface control board
If the dehumidifier doesn’t respond when you try to set it, follow these steps to replace it.…
How to replace a dehumidifier electronic control board
If the dehumidifier won’t power up because the control board has failed, use the steps in this repair guide to replace t…
Effective articles & videos to help repair your dehumidifiers
Use the advice and tips in these articles to get the most out of your dehumidifier.
Learn some of the most common symbols found in a wiring diagram and what they mean.…
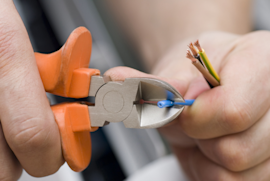
Learn how to repair broken, frayed or damaged wires in your appliances.…
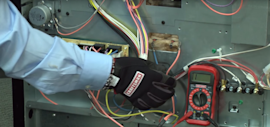
Learn how to use a multimeter to check for wiring problems in an appliance that's not working…
