- Kenmore refrigerator water filters
- Whirlpool refrigerator water filters
- Samsung refrigerator water filters
- GE refrigerator water filters
- LG refrigerator water filters
- Frigidaire refrigerator water filters
- KitchenAid refrigerator water filters
- Maytag refrigerator water filters
- Kenmore Elite refrigerator water filters
- Estate refrigerator water filters
- GE Profile refrigerator water filters
- Amana refrigerator water filters
- Bosch refrigerator water filters
- Dacor refrigerator water filters
- Electrolux refrigerator water filters
Top DIY repair help
View All Repair Categories
Appliances
Lawn & Garden
Power Tools
Home Improvement
Sports & Leisure
Heating & Cooling
Quick Links
How to replace the seat switch on a riding lawn mower
less than a minute readFeb 18Lyle Weischwill
Repair time and Difficulty
15 minutes or less
Tools Required
- Wrench set
- Slot screwdriver
- Work gloves
This DIY riding mower repair guide gives step-by-step instructions for replacing the seat switch on most riding lawn mowers. The seat switch is a safety device that shuts off the engine if it doesn't detect someone in the seat when the tractor starts moving. If the seat switch breaks, it won’t sense that you’re in the seat and will stop the engine when you release the brake. Replace a broken seat switch on your lawn tractor with a manufacturer-approved riding lawn mower part if it's defective.
Use this repair procedure to replace the seat switch in Craftsman, MTD, Troybilt, Husqvarna, Murray, Snapper, Cub Cadet and Ariens lawn tractors and riding mowers.
If you’re not sure the seat switch is the problem, follow the steps in this troubleshooting video to test the seat switch.
Instructions
- 1. Disconnect the battery
Park the tractor on a level surface and set the parking brake.
Turn the ignition switch off and remove the key.
Wear work gloves to protect your hands.
Lift the seat.
Remove the bolt connecting the negative cable to the battery and tuck the cable away from the battery so it doesn't touch the battery post.
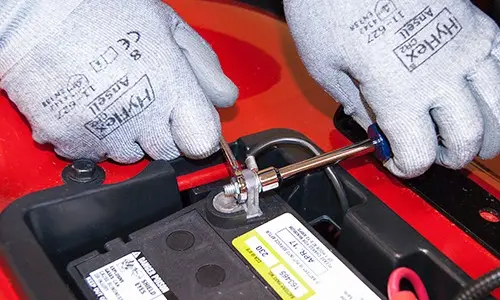
PHOTO: Disconnect the negative battery cable.
- 2. Remove the seat
Remove the retaining bolt and washer from the seat bottom.
Press the seat adjustment lever and slide the seat fully forward.
Release the locking tab and pull the seat off the bracket while supporting the seat adjustment lever.
Remove the seat adjustment lever.
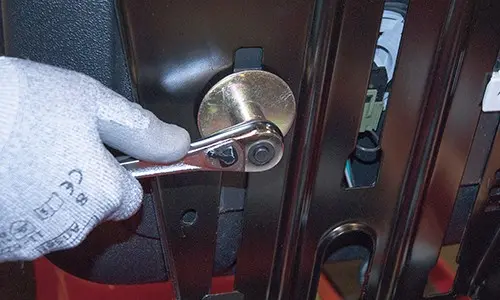
PHOTO: Remove the seat mounting bolt.
- 3. Remove the old seat switch
Disconnect the wire harness from the seat switch.
Rotate the seat switch counterclockwise to release it and pull it off the seat.
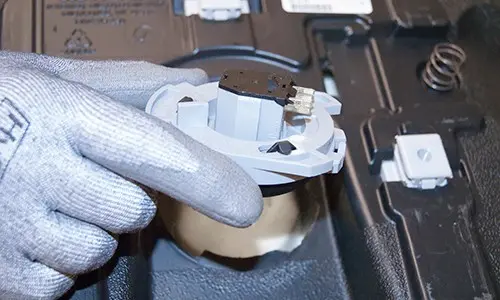
PHOTO: Rotate the seat switch counterclockwise to release it.
- 4. Install the new seat switch
Push the new seat switch into the seat bottom and rotate the switch clockwise to lock it in place.
Connect the wire harness to the switch.
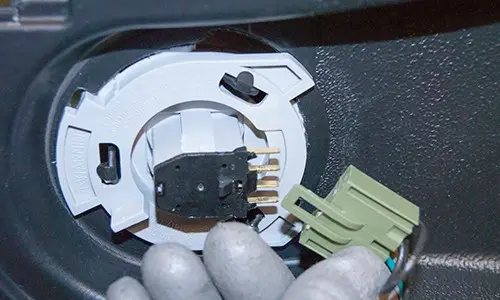
PHOTO: Connect the seat switch wire harness.
- 5. Reinstall the seat
Reinstall the adjustment lever and support it while you snap the seat back into the bracket.
Reinstall the retaining bolt and washer.
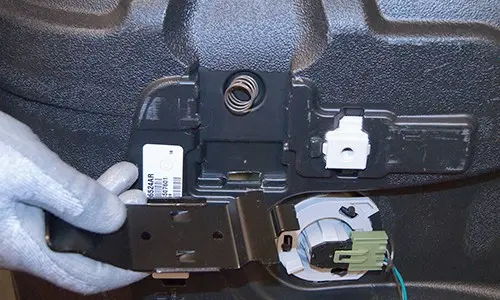
PHOTO: Reinstall the adjustment lever.
- 6. Reconnect the battery
Reconnect the negative cable to the negative battery terminal.
Lower the seat.