- Kenmore refrigerator water filters
- Whirlpool refrigerator water filters
- Samsung refrigerator water filters
- GE refrigerator water filters
- LG refrigerator water filters
- Frigidaire refrigerator water filters
- KitchenAid refrigerator water filters
- Maytag refrigerator water filters
- Kenmore Elite refrigerator water filters
- Estate refrigerator water filters
- GE Profile refrigerator water filters
- Amana refrigerator water filters
- Bosch refrigerator water filters
- Dacor refrigerator water filters
- Electrolux refrigerator water filters
Top DIY repair help
View All Repair Categories
Appliances
Lawn & Garden
Power Tools
Home Improvement
Sports & Leisure
Heating & Cooling
Quick Links
How to replace a snowblower auger drive cable
less than a minute readMay 20Lyle Weischwill
Repair time and Difficulty
15 minutes or less
Tools Required
- Socket set
- Ratchet
- Work gloves
- Safety glasses
The snowblower auger drive cable connects the control lever to the engagement lever on the snowblower's auger drive system. If the auger won’t engage, it's often because the auger drive cable is damaged, worn, or broken. Replace the auger drive cable with a manufacturer-approved snowblower part if it's defective. This step-by-step repair guide shows you how to install the new auger drive cable.
Use these steps to replace the auger drive cable in many Craftsman, Toro, MTD, Murray, Husqvarna, Troybilt and Ariens snowblowers.
Instructions
- 1. Disconnect the spark plug wire
Pull the spark plug wire straight up and off the plug.
- 2. Remove the belt cover
Using a socket and ratchet, remove the bolt that fastens the belt cover to the frame of the snow blower and lift off the belt cover.

PHOTO: Remove the belt cover bolt. 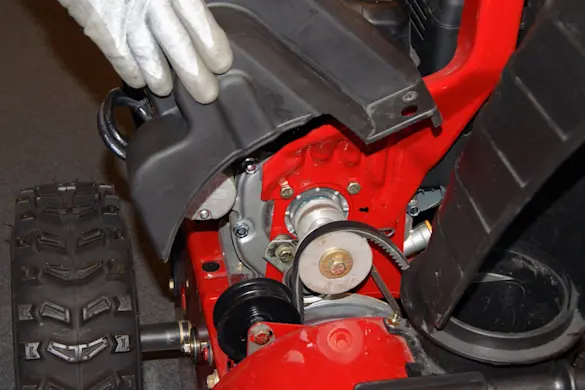
PHOTO: Remove the belt cover.
- 3. Detach the cable from the control lever
Remove the top bolt from the cable guide pulley bracket on the left, rear side of the snow blower frame. Loosen the bottom bolt and pull the bracket away from the frame enough to relieve tension on the cable. Pull the Z-fitting out of the control lever.

PHOTO: Remove the bolts from the bracket. 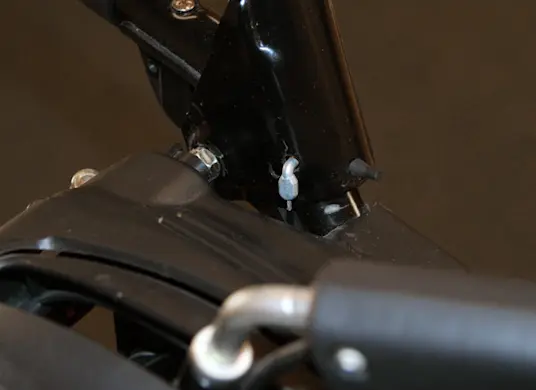
PHOTO: Z-fitting on control lever.. 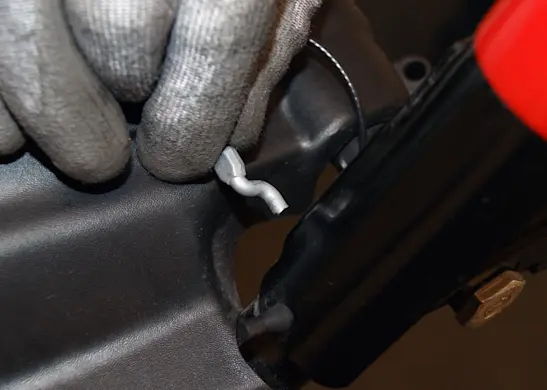
PHOTO: Remove the cable from the lever.
- 4. Detach the cable from the cable guide pulley
Unfasten the bolt from the cable guide pulley. Remove the pulley to release the cable.
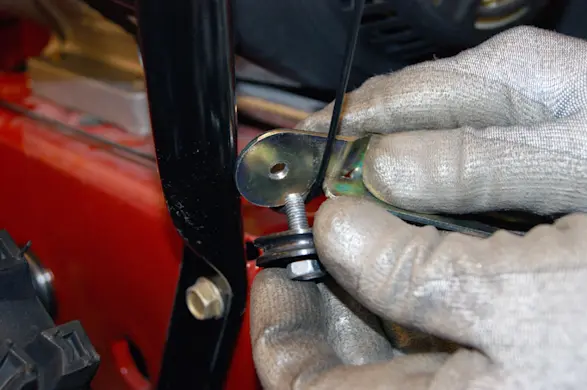
PHOTO: Remove the bolt from the cable guide pulley. 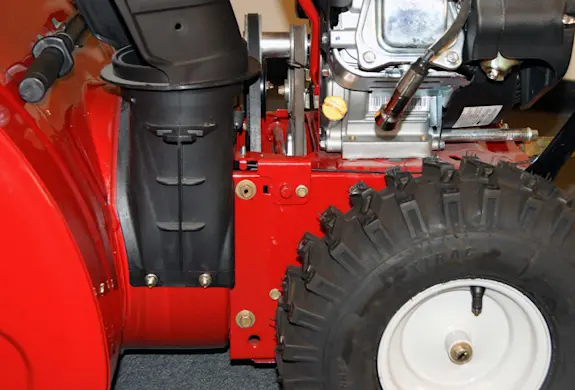
PHOTO: Release the cable.
- 5. Release the cable from the 90-degree bracket
Unfasten the bolt that secures the 90-degree bracket to the frame. Remove the bolt from the pulley on the 90-degree bracket to release the cable.

PHOTO: The 90-degree bracket on the frame. 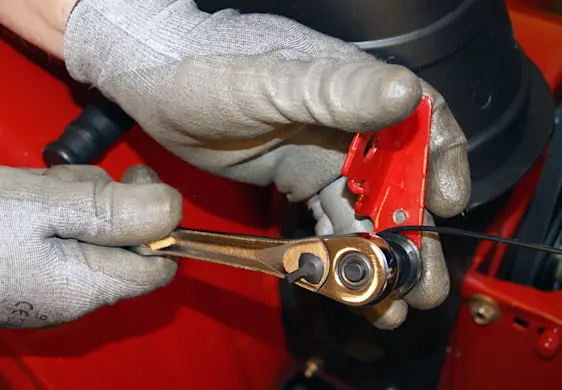
PHOTO: Remove the 90-degree bracket. 
PHOTO: Remove the cable pulley.
- 6. Disconnect the cable
Unhook the cable from the belt idler pulley. Pull the cable free.

PHOTO: Unhook the cable from the idler pulley.
- 7. Install the new cable
Connect the Z-fitting of the new cable to control lever. Feed the new cable through the rear cable guide pulley and reinstall the bolt in the pulley.
Route the new cable through the 90-degree pulley and reinstall the bolt in the pulley. Hook the new cable to the belt idler pulley.
- 8. Reinstall the 90-degree bracket
Position the 90-degree pulley bracket on the frame and reinstall the bolt that secures it.
- 9. Complete the installation
Reinstall the rear cable guide bracket and fasten the top bolt in the bracket. Position the rear bracket so the cable has a little slack in it.
- 10. Test the cable
Reinstall the belt cover and reconnect the spark plug wire. Following the instructions in your owner's manual, check and adjust the auger cable tension.