How to replace a treadmill walking belt
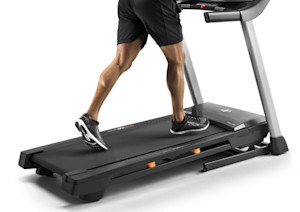
This DIY repair guide explains how to replace the walking belt on a treadmill. The walking belt slides across the walking board as the front and rear rollers rotate the belt. A worn walking belt slows down or sticks during use. Replace a worn treadmill walking belt with the manufacturer-approved treadmill part.
Use this repair guide and video to replace the treadmill walking belt on ProForm, Weslo, Lifestyler, Weider and Horizon treadmills.
This video explains how to replace the walking belt on a treadmill.
Instructions
- 01.
Shut off the electricity
Remove the key and unplug the treadmill’s power cord from the wall outlet.
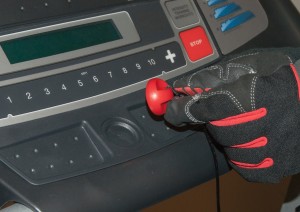
PHOTO: Remove the key.
- 02.
Remove the motor hood
Remove the screws securing the motor hood to the belly pan.
Pull the motor hood forward and remove it from the treadmill frame.
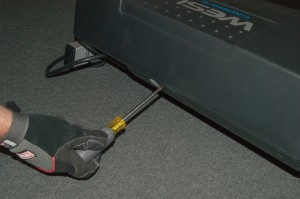
PHOTO: Remove the motor hood screws.
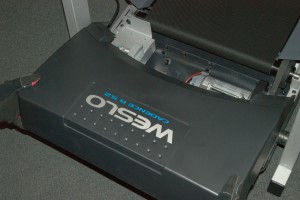
PHOTO: Remove the hood.
- 03.
Remove the right side foot rail
Fold the treadmill up and engage the latch.
Remove the screws from under the walking board that fasten the right side foot rail to the walking platform.
Release the latch and unfold the treadmill.
Lift the right foot rail up and off.
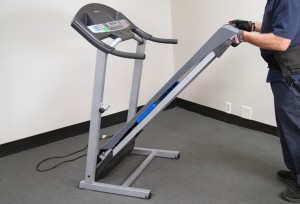
PHOTO: Fold the treadmill up.
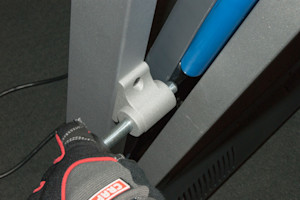
PHOTO: Engage the latch.
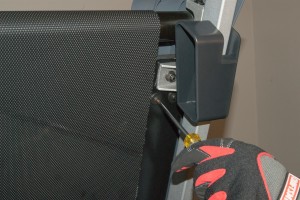
PHOTO: Remove the foot rail screws.
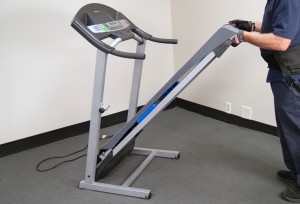
PHOTO: Fold the treadmill down.
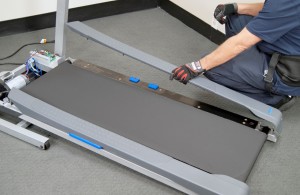
PHOTO: Remove the right side foot rail.
- 04.
Remove the walking belt
Turn the right side roller adjustment Allen screw to release the walking belt tension.
Lift the rear roller up and out of the mounting bracket.
Remove the front roller adjustment nut and screw.
Lift the front roller up and out of its mounting bracket.
Fold the treadmill up and engage the latch.
Remove the front and rear corner screws that fasten the right side of the walking board to the frame.
Release the latch and unfold the treadmill.
Lift and hold the right side of the walking platform up and slide the walking belt off the walking board and belt rollers.
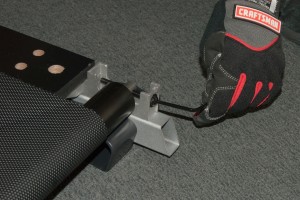
PHOTO: Release the belt tension.
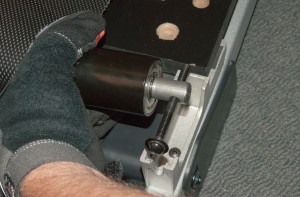
PHOTO: Lift out the rear roller.
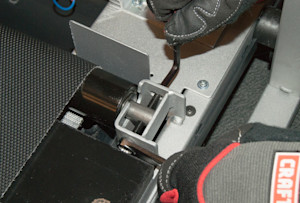
PHOTO: Remove the front roller screw.

PHOTO: Fold the treadmill up.
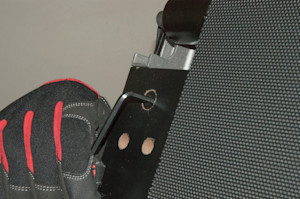
PHOTO: Remove the right side corner screws.
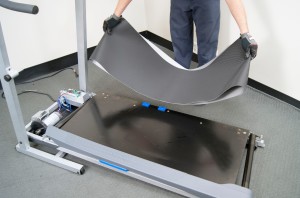
PHOTO: Remove the walking belt.
- 05.
Install the new walking belt
Lift the right side of the walking board up and slide the new walking belt over the walking board and belt rollers.
Fold the treadmill up and engage the latch.
Reinstall the right front and right rear mounting screws to fasten the platform to the frame.
Release the latch and unfold the treadmill.
Position the front roller in the mounting bracket and reinstall the mounting screw and nut in their original position.
Position the rear roller adjustment screw with the washers to outer side of the rear roller-mounting bracket.
Rotate the adjustment screw to apply tension to the belt.
When properly tensioned, you should be able to lift the edge of the walking belt 2-3 inches.
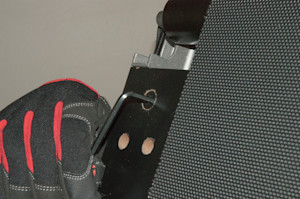
PHOTO: Reinstall the walking board mounting screws.
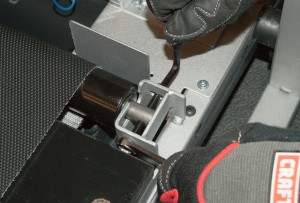
PHOTO: Reinstall the front roller.
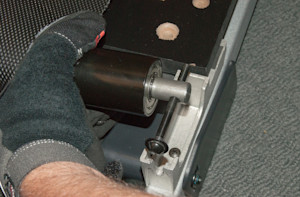
PHOTO: Reinstall the rear roller.
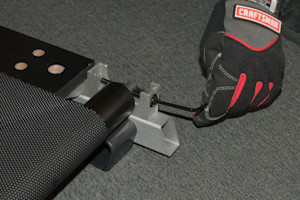
PHOTO: Apply tension to the belt.
- 06.
Reinstall the right foot rail
Reinstall the right side foot rail and mounting screws.
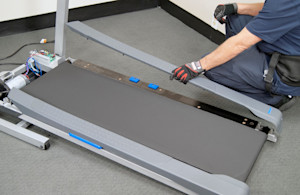
PHOTO: Reinstall the side foot rail.
- 07.
Reinstall the motor hood
Release the latch and unfold the treadmill.
Slide the motor hood onto the frame.
Reinstall the motor hood mounting screws.
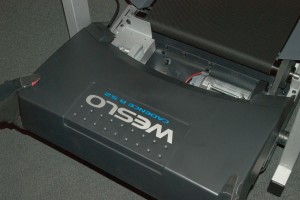
PHOTO: Reinstall the motor hood.
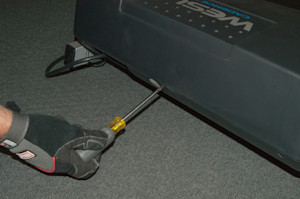
PHOTO: Reinstall the hood mounting screws.
- 08.
Restore power
Plug the treadmill into the electrical outlet.
- 09.
Check belt tracking
Do not walk on the treadmill while checking and adjusting the belt tracking.
Put the key in and start the treadmill. Set the speed to the slowest setting and let it run for a minute or so.
If the belt is not tracking in the center, remove the key and unplug the power cord.
Use the Allen wrench supplied with the treadmill and adjust the rear rollers as needed to center the walking belt.
If the belt is tracking to the left of center, turn the left roller adjustment screw clockwise 1/2 of a turn.
If the belt is tracking to the right of center, turn the left roller adjustment screw counter clock-wise 1/2 of a turn.
After adjustment, restore power and recheck the tracking.
Repeat until belt is tracking in the center.
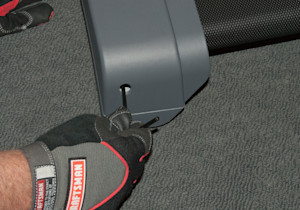
PHOTO: Adjust the belt tracking.
- 10.
Shut off the electricity
Remove the key and unplug the treadmill’s power cord from the wall outlet.
- 11.
Lubricate the walking board
Lift the sides of the treadmill belt and evenly apply silicone lubricant to the walking board.
Tip: Spread the silicone with a wood paint stirrer or similar flat item.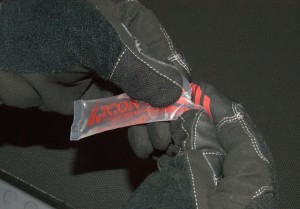
PHOTO: Apply silicone lubricant to the walking board.
- 12.
Restore power and disperse the lubricant
Plug the treadmill into the electrical outlet.
Run the treadmill for several minutes on medium speed to disperse the lubricant evenly over the walking board.
Walk on the belt for a few minutes to evenly spread the silicone lubricant across the walking board.
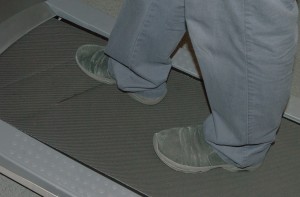
PHOTO: Walk on the treadmill to spread the lubricant.
Symptoms for treadmills
Choose a symptom to see related treadmill repairs.
Main causes: no power, bad power cord, tripped or faulty overload switch, bad power switch, wiring failure, bad motor co…
Main causes: rear roller out of alignment, damaged walking belt, bad roller…
Main causes: missing safety key, bad control console, wiring failure, faulty motor control board, bad drive motor…
Main causes: faulty sensors, wiring failure, bad control console…
Main causes: bad control console, wiring failure, bad motor control board…
Main causes: damaged walking belt, improper belt tension, lack of belt lubricant, bad drive motor…
Main causes: damaged walking belt, improper belt tension, bad roller bearing…
Repair guides for treadmills
These step-by-step repair guides will help you safely fix what’s broken on your treadmill.
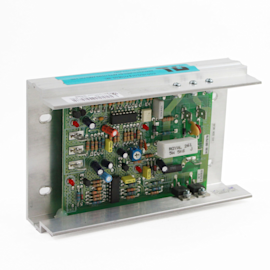
How to replace a treadmill motor controller
Your treadmill motor won't run with a defective motor controller. Replace the motor controller if it doesn't operate the…

How to replace a treadmill walking belt
A worn walking belt will begin to slow down during use. If your treadmill walking belt is worn out, replace it using the…

How to replace a treadmill drive motor
A defective drive motor won't run when activated by the motor controller. Replace the treadmill drive motor if it doesn'…
Effective articles & videos to help repair your fitness & exercise
Use the advice and tips in these articles and videos to get the most out of your treadmill.

Get answers to frequently asked questions about Sears and Sears PartsDirect.…