- Kenmore refrigerator water filters
- Whirlpool refrigerator water filters
- Samsung refrigerator water filters
- GE refrigerator water filters
- LG refrigerator water filters
- Frigidaire refrigerator water filters
- KitchenAid refrigerator water filters
- Maytag refrigerator water filters
- Kenmore Elite refrigerator water filters
- Estate refrigerator water filters
- GE Profile refrigerator water filters
- Amana refrigerator water filters
- Bosch refrigerator water filters
- Dacor refrigerator water filters
- Electrolux refrigerator water filters
Top DIY repair help
View All Repair Categories
Appliances
Lawn & Garden
Power Tools
Home Improvement
Sports & Leisure
Heating & Cooling
Quick Links
How to replace a leaf blower carburetor
less than a minute readMay 20Lyle Weischwill
Repair time and Difficulty
15 minutes or less
Tools Required
- Torx screwdriver
- Needle-nose pliers
- Work gloves
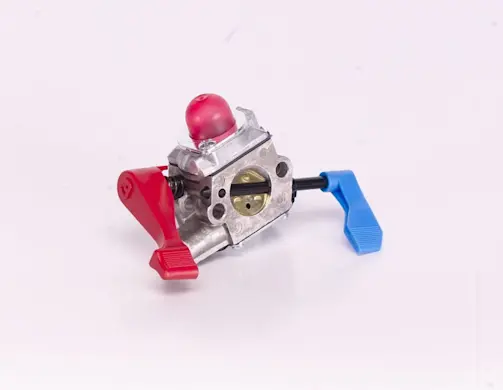
This DIY repair guide shows how to replace a carburetor in a leaf blower. The carburetor mixes fuel and air in the right proportions so that the spark plug can ignite the mixture inside the cylinder, powering the engine. If the leaf blower engine won't start even though there's fuel in the tank, the carburetor could be the problem. You could rebuild the carburetor, but many people find it easier to replace it, using a manufacturer-approved gas leaf blower part.
Use this process to replace the carburetor on common Craftsman, Husqvarna, MTD, Weed Eater, Troybilt and Poulan leaf blowers.
If you prefer to rebuild the carburetor, follow the step-by-step instructions in How to Rebuild a Leaf Blower Carburetor.
Instructions
- 1. Drain the fuel tank
In a well-ventilated area, remove the fuel cap and empty the fuel from the fuel tank into an approved storage container.
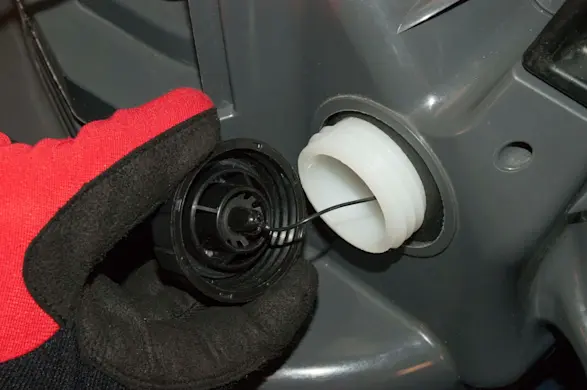
PHOTO: Drain the fuel tank.
- 2. Disconnect the spark plug wire
To ensure that the leaf blower can’t start, disconnect the wire from the spark plug.
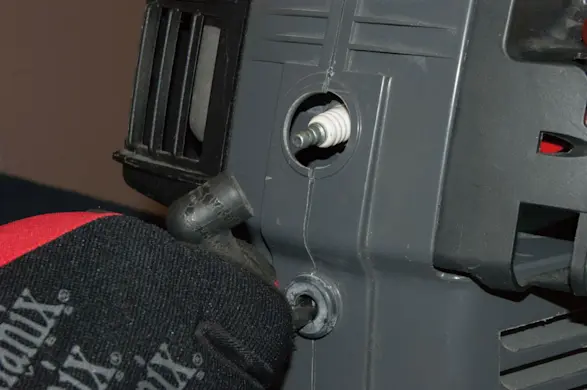
PHOTO: Disconnect the wire from the spark plug.
- 3. Remove the air filter cover
Remove the screws from the air filter cover and then remove the air filter cover.
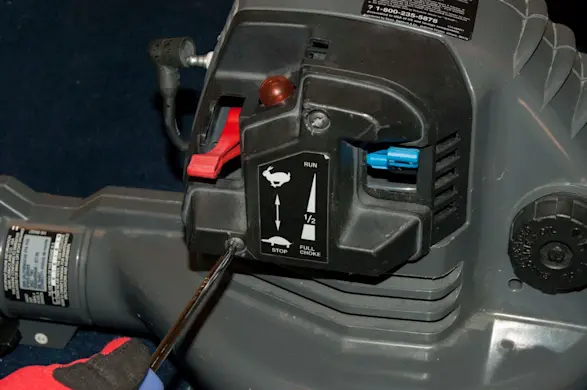
PHOTO: Remove the air filter cover screws. 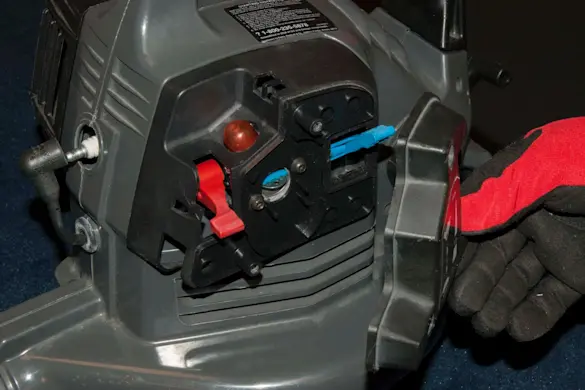
PHOTO: Remove the air filter cover.
- 4. Remove the carburetor
Remove the carburetor mounting screws.
Pull out the air box and release it from the carburetor throttle and choke lever.
Note the configuration of the small and large fuel lines on the carburetor so you can reconnect them correctly later and then remove the fuel lines from the carburetor.
Discard the carburetor.
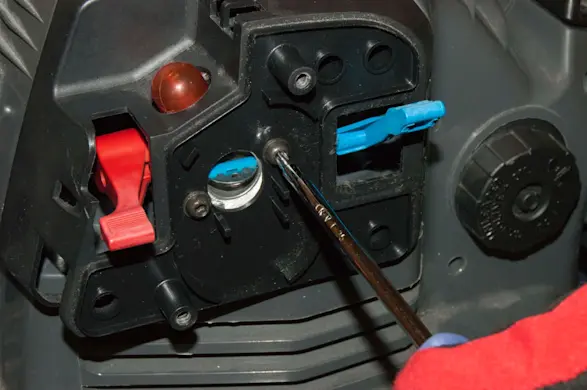
PHOTO: Remove the carburetor mounting screws. 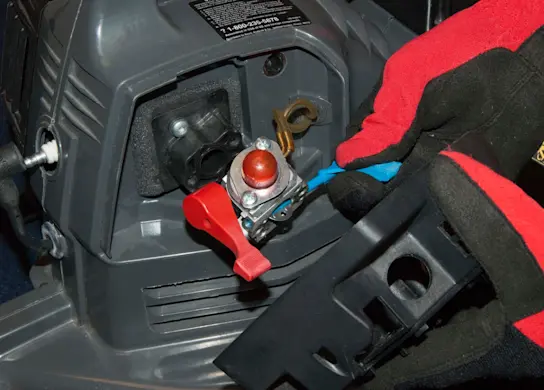
PHOTO: Pull off the air box. 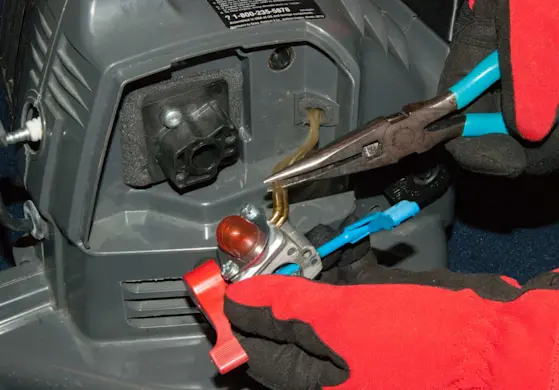
PHOTO: Remove the fuel lines from the carburetor. 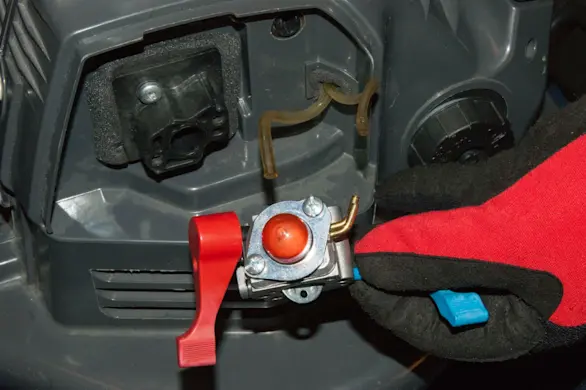
PHOTO: Remove the carburetor.
- 5. Install the new carburetor
Push the fuel lines onto the proper connections on the carburetor.
Insert the carburetor into the air box with the throttle and choke levers positioned properly.
Position the carburetor on the side of the engine and reinstall the mounting screws.
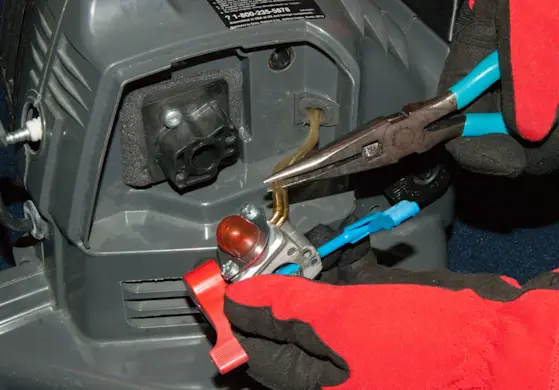
PHOTO: Reconnect the fuel lines. 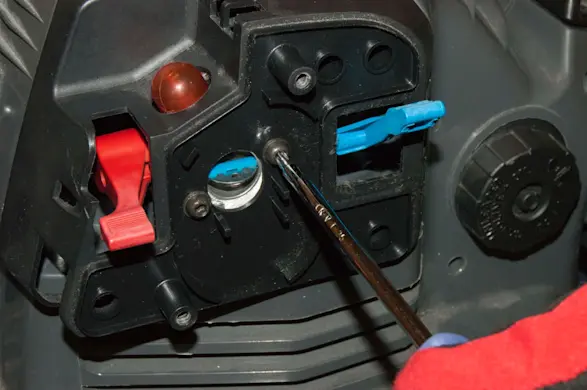
PHOTO: Reinstall the carburetor mounting screws.
- 6. Reinstall the air filter cover
Position the air filter cover over the carburetor and secure it with the mounting screws.
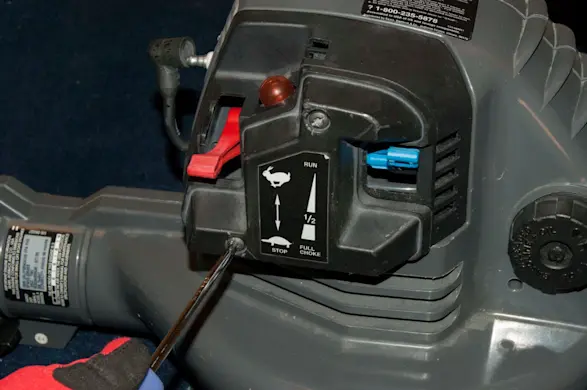
PHOTO: Reinstall the air filter cover.
- 7. Connect the spark plug
Reattach the spark plug wire.
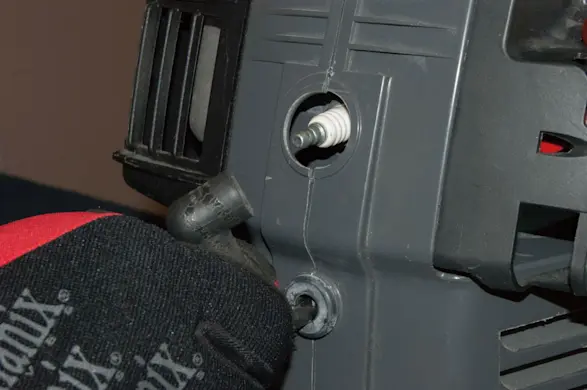
PHOTO: Reattach the spark plug wire.