- Kenmore refrigerator water filters
- Whirlpool refrigerator water filters
- Samsung refrigerator water filters
- GE refrigerator water filters
- LG refrigerator water filters
- Frigidaire refrigerator water filters
- KitchenAid refrigerator water filters
- Maytag refrigerator water filters
- Kenmore Elite refrigerator water filters
- Estate refrigerator water filters
- GE Profile refrigerator water filters
- Amana refrigerator water filters
- Bosch refrigerator water filters
- Dacor refrigerator water filters
- Electrolux refrigerator water filters
Top DIY repair help
View All Repair Categories
Appliances
Lawn & Garden
Power Tools
Home Improvement
Sports & Leisure
Heating & Cooling
Quick Links
How to replace a dispenser core control board in a side-by-side refrigerator
less than a minute readFeb 18Lyle Weischwill
Repair time and Difficulty
45 minutes or less
Tools Required
- Phillips screwdriver
- Slot screwdriver
- Work gloves
- Grounding strap (optional)
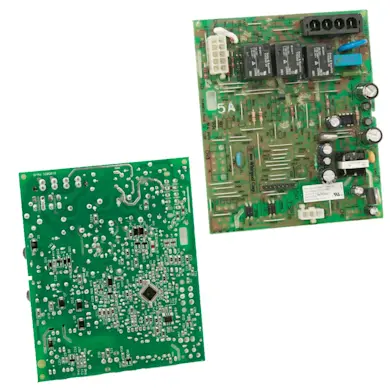
This DIY repair guide gives step-by-step instructions for replacing the dispenser core control board in a side-by-side refrigerator. The dispenser core control board is part of the fast-fill ice and cold water system; it connects to the dispenser motor, ice door motor and ice door heaters. The core control prevents water and ice from being dispensed if the freezer door is open. If ice and water are dispensed when the door is open, it's most likely that the core control board has failed. Replace the core control board using the manufacturer-approved side-by-side refrigerator part that fits your model.
Use this procedure on Kenmore, Whirlpool and KitchenAid refrigerators. The basic procedure for disassembling a dispenser also works on some GE, Samsung, Maytag, Amana, Frigidaire, Electrolux and Haier refrigerators.
Instructions
- 1. Disconnect the electrical power
Properly store food that could deteriorate while the refrigerator is shut off and then unplug the refrigerator or shut off the circuit breaker for the refrigerator.
- 2. Remove the drip tray from the dispenser
Slide the bottom drip tray out until it stops at the locking tabs. Lift the back of the tray to free the lock. Slide the drip tray out.

PHOTO: Remove the drip tray.
- 3. Remove the dispenser housing
Remove the 2 screws at the back of the dispenser housing. To remove it, carefully pull on the bottom of the housing while lifting the top.

PHOTO: Remove the dispenser housing base screws. 
PHOTO: Pull the dispenser housing out.
- 4. Disconnect the wires
Release the locking tab and disconnect the wires from the back of the dispenser housing. Remove the dispenser housing.
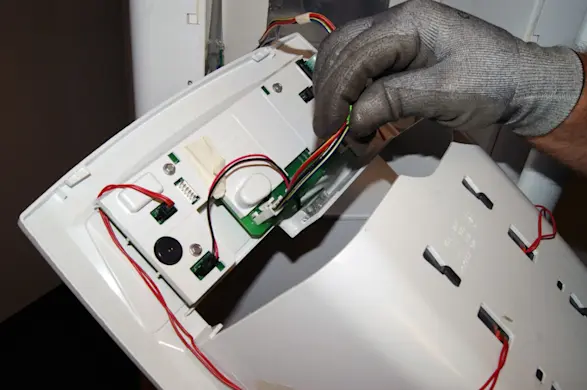
PHOTO: Turn the housing around to access the wiring connections. 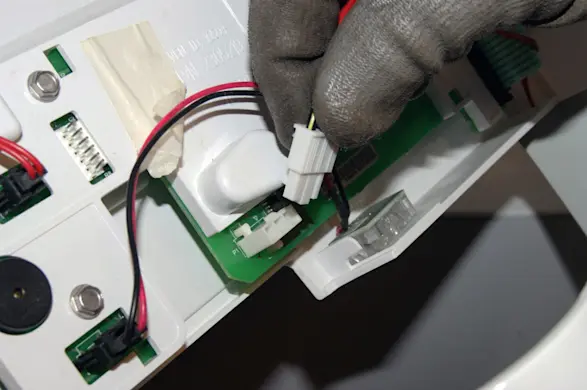
PHOTO: Disconnect the dispenser housing wires.
- 5. Remove the core control board
Lift the plastic flap that covers the control board and tape it out of the way. Take a digital photograph of the wiring connections or otherwise document them so you can connect them correctly later.
Release the locking tabs and disconnect the wires from the core control board—use a slot screwdriver to release the locking tabs if necessary.
Release the mounting tabs and pull the core control board from the door.
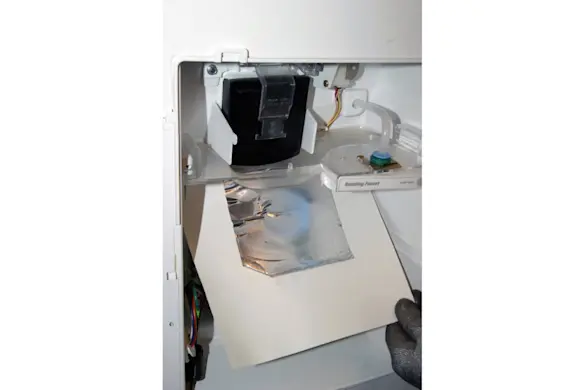
PHOTO: Lift the plastic cover. 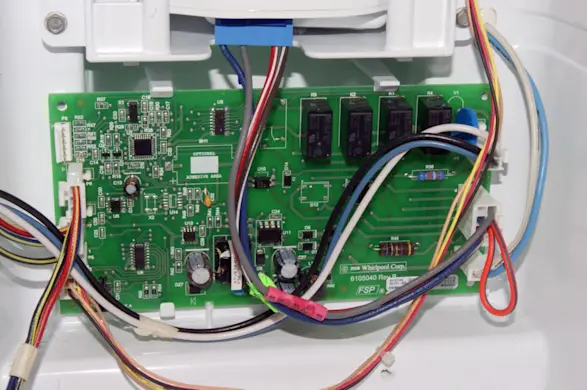
PHOTO: Take a digital photo or the wiring connections. 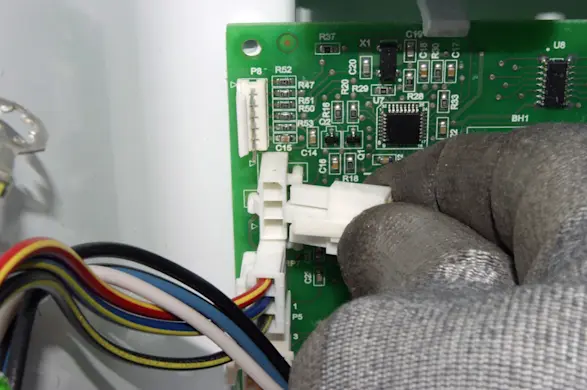
PHOTO: Disconnect the wires. 
PHOTO: Release the control board locking tabs. 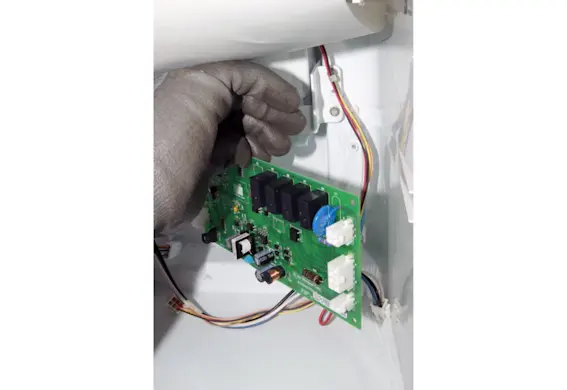
PHOTO: Remove the control board.
- 6. Install the new core control board
Position the new core control board in the door and snap it into place. Using your labels or digital photograph as a guide, correctly connect the wires to the new core control board. Reposition the plastic flap.
Warning: Before handling the new core control board, touch the metal refrigerator cabinet or wear a grounding strap to prevent static from damaging the component.
- 7. Reconnect the wire harness on the back of the dispenser housing
Reconnect the wire harness to the back of the dispenser housing. Push the dispenser housing into the door and secure it with the 2 mounting screws.
Tip: If your model has a green ground wire, reconnect it.
- 8. Restore electrical power
Push the drip tray into place and snap it into the locking tabs. Plug in the refrigerator or turn on the house circuit breaker to restore power.