Preventing trash compactor odors


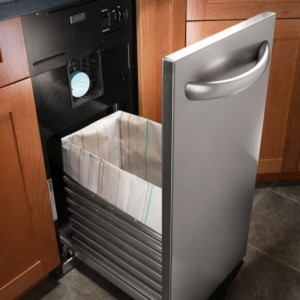
Trash compactors save you trips to the garbage can by compressing your kitchen trash into a small, tidy package. But taking out the trash less often means it stays longer in the kitchen, giving it more of a chance to, well, stink. Fortunately, trash compactor odors are easy to prevent.
The first step to preventing offensive odors is to never put raw meat or fish into the compactor. Ditto fruit rinds and skins. And it goes without saying that animal waste and bathroom trash don't belong in the kitchen compactor (or anywhere in the kitchen, for that matter). A good rule: if you wouldn't leave it overnight in the kitchen trash can, don't put it in the trash compactor.
Many compactors have features to reduce or prevent odors, such as charcoal filters or air-freshening discs. Replace the filter or disc every 6 months.
You can also prevent odors by periodically giving the compactor a good cleaning. Unplug the trash compactor before starting and wear rubber gloves to protect your hands. Follow label directions for all cleaning products.
Open the drawer, remove the bag and take it out to the trash.
Following the instructions in the owner's manual, remove the drawer from the cabinet.
Vacuum loose debris from inside the cabinet.
Wash the drawer and inside the cabinet with a soft cloth, mild detergent and warm water. Dry the surfaces thoroughly with a soft cloth.
Clean the ram with an anti-bacterial cleaner or degreaser and then thoroughly dry with a soft cloth.
Clean exterior surfaces with an appliance cleaner.
If your trash compactor has problems more serious than bad smells, our trash compactor repair guides can help.
Most common symptoms to help you fix your trash compactors
Choose a symptom to see related trash compactor repairs.
Main causes: broken drive gear and sprocket chain, stripped power nuts, faulty top limit and directional switch…
Main causes: stuck foot pedal, bad momentary start switch, power switch failure…
Main cause: broken top limit and directional switch…
Main cause: faulty drawer tilt switch …
Main causes: stripped or broken power nuts, broken or disconnected drive gear and sprocket chain, damaged drive parts…
Main causes: bent drawer support rollers, damaged trash container…
Main causes: lack of power, faulty drawer safety switch, bad power switch, momentary start switch failure, bad drive mot…
Most common repair guides to help fix your trash compactors
These step-by-step repair guides will help you safely fix what’s broken on your trash compactor.

How to replace a trash compactor motor centrifugal switch
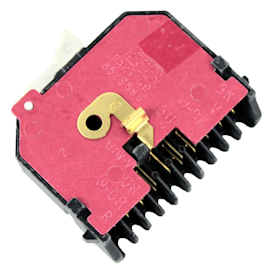
If the trash compactor ram won’t return to the top position, replace the motor centrifugal switch by following the instr…

How to replace a trash compactor momentary start switch
The momentary start switch starts the motor when you lift the foot pedal. This repair guide shows how to replace the swi…

How to replace a trash compactor power switch
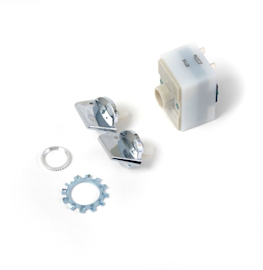
If the trash compactor won’t power up, use the steps in this repair guide to replace the power switch.…
Effective articles & videos to help repair your trash compactors
Use the advice and tips in these articles and videos to get the most out of your trash compactor.

Learn about all the convenient features on our Sears PartsDirect website that make your parts purchases easier.…

Get answers to frequently asked questions about Sears and Sears PartsDirect.…

Learn some of the most common symbols found in a wiring diagram and what they mean.…