- Kenmore refrigerator water filters
- Whirlpool refrigerator water filters
- Samsung refrigerator water filters
- GE refrigerator water filters
- LG refrigerator water filters
- Frigidaire refrigerator water filters
- KitchenAid refrigerator water filters
- Maytag refrigerator water filters
- Kenmore Elite refrigerator water filters
- Estate refrigerator water filters
- GE Profile refrigerator water filters
- Amana refrigerator water filters
- Bosch refrigerator water filters
- Dacor refrigerator water filters
- Electrolux refrigerator water filters
Top DIY repair help
View All Repair Categories
Appliances
Lawn & Garden
Power Tools
Home Improvement
Sports & Leisure
Heating & Cooling
Quick Links
How to replace the thermistor in a top-freezer refrigerator
less than a minute readMar 19Lyle Weischwill
Repair time and Difficulty
15 minutes or less
Tools Required
- Work gloves
- Nut driver set
This DIY repair guide gives instructions for replacing the thermistor in a top-freezer refrigerator. The thermistor is inside the control box and detects the temperature in the fresh-food section of the refrigerator. The thermistor sends a signal to the electronic control board to tell it what the refrigerator temperature is. If the thermistor fails, the refrigerator won't stay at the temperature you set, resulting in items either freezing or spoiling because it's too cold or too warm. Replace the thermistor with a manufacturer-approved refrigerator part.
Watch our troubleshooting video to determine whether the thermistor in your refrigerator is working.
This guide shows how to replace the thermistor in some Kenmore and Frigidaire top-freezer refrigerators. Although the location of the thermistor may differ, the same basic replacement procedure can also be used for some Whirlpool, GE, Maytag, Amana, KitchenAid, Samsung, LG, Gibson, Crosley and Haier refrigerators.
Instructions
- 1. Shut off the power
Unplug the power cord from the wall outlet.
- 2. Remove the control box
Remove the screw that secures the control box to the ceiling of the refrigerator compartment.
Pull the control box forward to disengage the tabs at the back of the control box.
Pull the control box down and unplug the control box wire harness from the ceiling of the refrigerator compartment.
Remove the control box and place it on a work table.
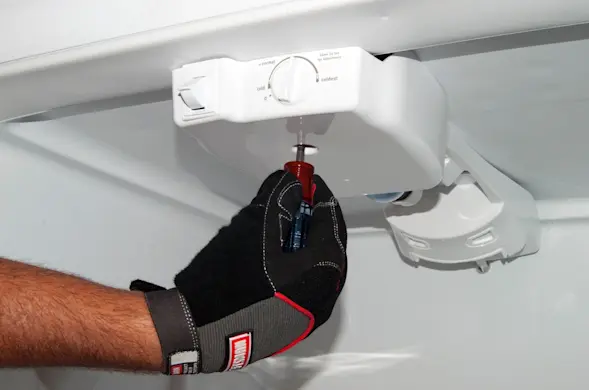
PHOTO: Remove the control box screw. 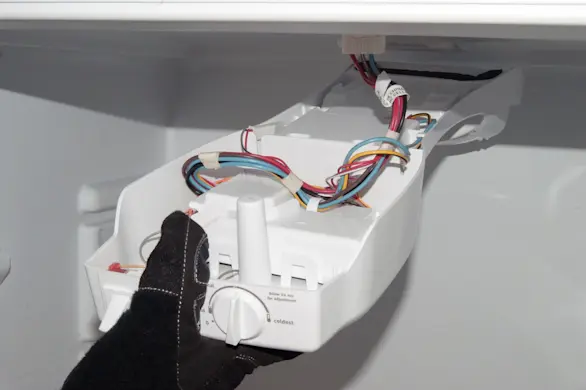
PHOTO: Pull the control box down. 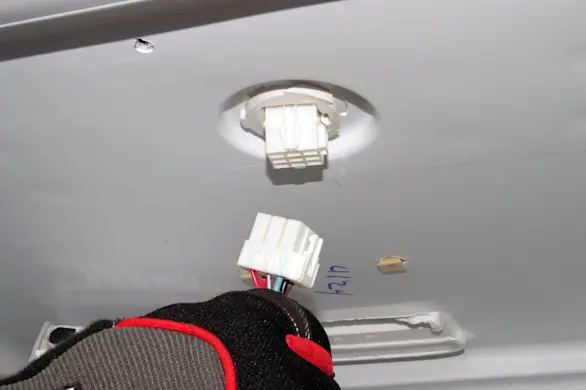
PHOTO: Unplug the wire harness.
- 3. Remove the thermistor
Pull the thermistor out of the support bracket.
Unplug the thermistor wire harness.
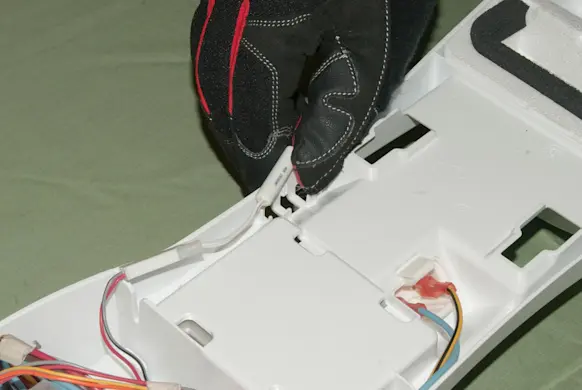
PHOTO: Pull the thermistor out of the bracket. 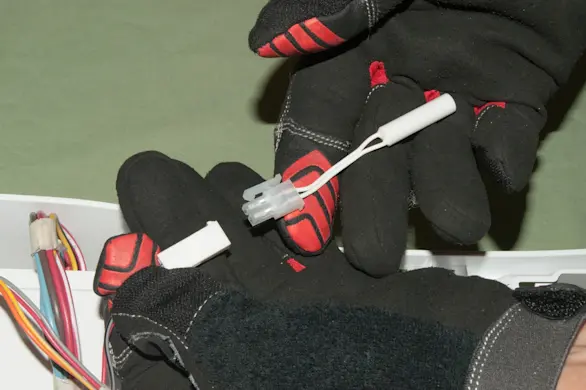
PHOTO: Unplug the wire harness.
- 4. Install the new thermistor
Connect the new thermistor to the wire harness.
Push the new thermistor into the support bracket.
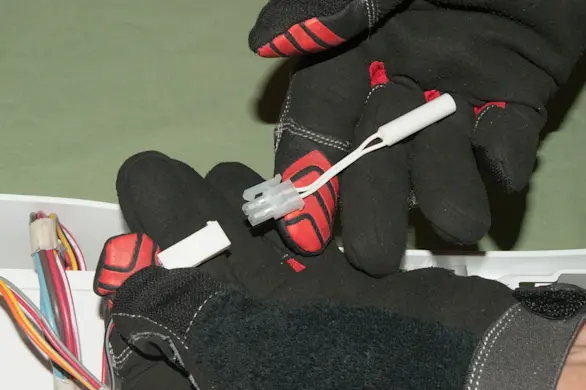
PHOTO: Plug in the thermistor wire harness. 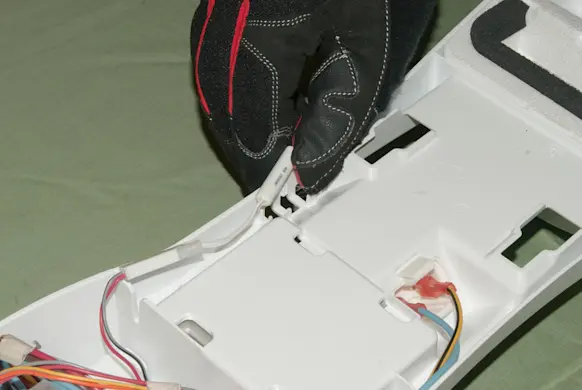
PHOTO: Install the new thermistor.
- 5. Reinstall the control box
Plug the control box wire harness into the refrigerator compartment ceiling connector.
Line up the drain tube spout at the back of the control box with the drain hole in the upper back wall of the refrigerator compartment.
Push the control box back across the ceiling of the refrigerator compartment, inserting the drain tube into the drain hole and engaging the tabs at the back of the control box.
Reinstall the screw that secures the control box to the ceiling of the refrigerator compartment.
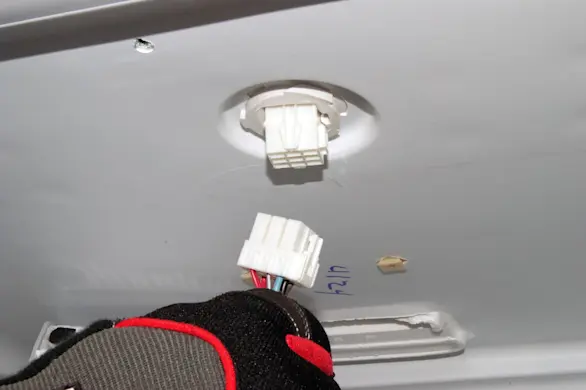
PHOTO: Plug in the wire harness. 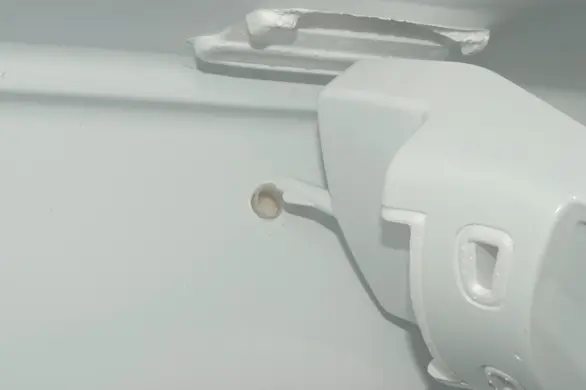
PHOTO: Line up the drain tube. 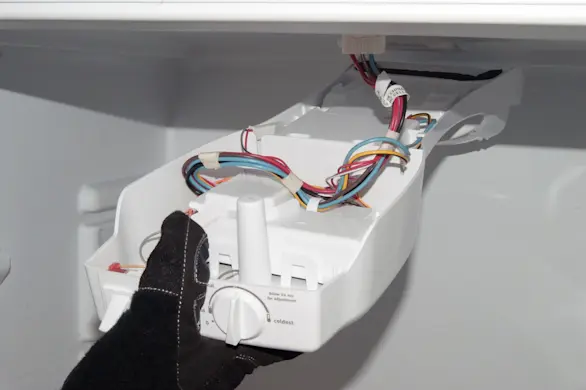
PHOTO: Reinstall the control box. 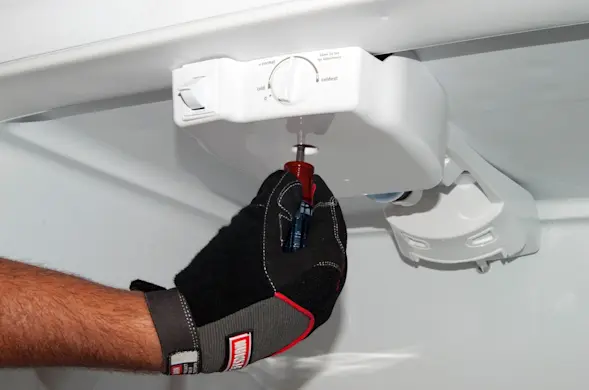
PHOTO: Reinstall the screw.
- 6. Restore electrical power
Plug in the refrigerator to restore power.