- Kenmore refrigerator water filters
- Whirlpool refrigerator water filters
- Samsung refrigerator water filters
- GE refrigerator water filters
- LG refrigerator water filters
- Frigidaire refrigerator water filters
- KitchenAid refrigerator water filters
- Maytag refrigerator water filters
- Kenmore Elite refrigerator water filters
- Estate refrigerator water filters
- GE Profile refrigerator water filters
- Amana refrigerator water filters
- Bosch refrigerator water filters
- Dacor refrigerator water filters
- Electrolux refrigerator water filters
Top DIY repair help
View All Repair Categories
Appliances
Lawn & Garden
Power Tools
Home Improvement
Sports & Leisure
Heating & Cooling
Quick Links
How to replace a range spark igniter electrode
less than a minute readMar 19Lyle Weischwill
Repair time and Difficulty
45 minutes or less
Tools Required
- 1/4-inch nut driver
- Phillips screwdriver
- Slot screwdriver
- Work gloves
This DIY repair guide gives instructions on how to replace the spark igniter electrode for the surface burner on a freestanding gas or dual-fuel range, but can be adapted to a built-in range as well. Replace the spark igniter electrode with a manufacturer-approved range part if you see physical damage or if the spark won't light the burner because the ceramic insulation below the electrode tip cracks.
This basic procedure works for Kenmore, Frigidaire, Whirlpool, Maytag, Amana, GE, LG and Samsung ranges.
Instructions
- 1. Shut off power and gas
If necessary, pull the range away from the wall to get access to the power outlet and gas supply valve. Unplug the power cord from the wall outlet and then close the gas supply shut-off valve.
- 2. Remove the grates, burner caps and burner heads
Remove all the cooktop grates and then lift the gas burner caps off the burner heads. Set these parts aside.
Using a 1/4-inch nut driver, remove any nuts that secure the gas burner heads in place. Remove the burner heads from the cooktop.

PHOTO: Remove the caps from the burners. 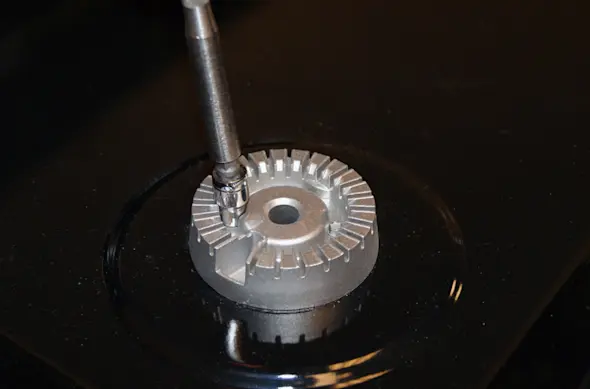
PHOTO: Remove the screw from the burner head. 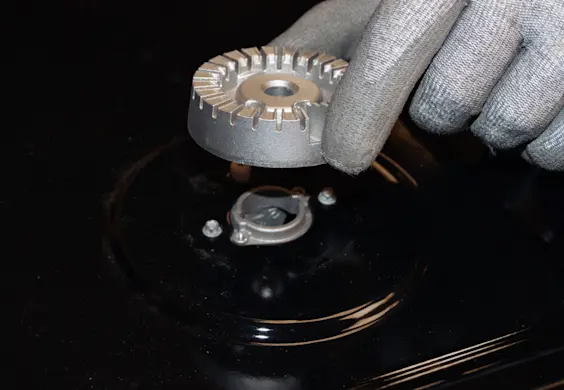
PHOTO: Pull off the burner head. Tip: Mark the burner caps with a note indicating their location (Left Front, Right Front, Left Rear, Right Rear).
- 3. Remove the cooktop
Remove the screws that secure the top of the cooktop to the top of the burner orifice holders.
To pop the cooktop out of the 2 mounting clips under its front edge, position a slot screwdriver or stiff putty knife between the front of the range frame and the cooktop, about 3" from the side of the range. Push the tool straight into the gap and lift slightly to release the clip that holds that side of the cooktop. Repeat for the other side.
Lift the front of the cooktop and then carefully remove the cooktop without disturbing the burner orifice holders. Set the cooktop aside.

PHOTO: Remove the screws that hold down the cooktop. 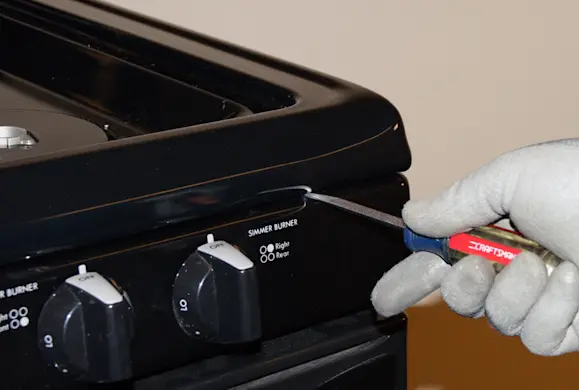
PHOTO: Release the clips that hold down the front of the cooktop. 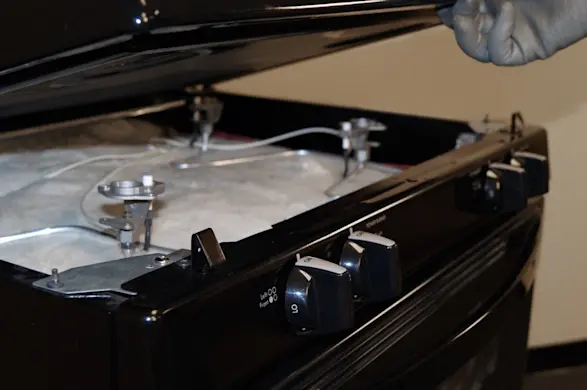
PHOTO: Lift up the front of the cooktop. 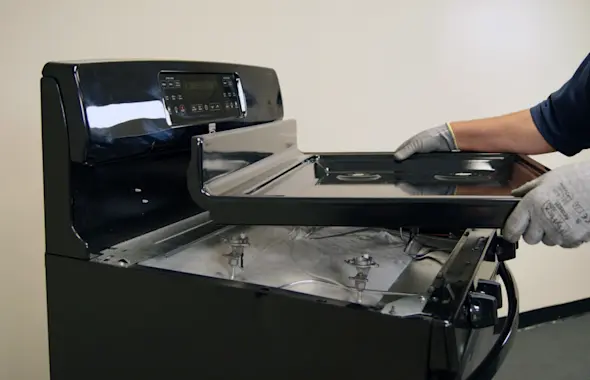
PHOTO: Pull off the cooktop.
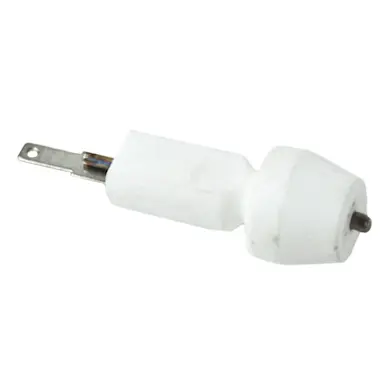
- 4. Remove the spark igniter electrode
Carefully disconnect the wire that's attached to the bottom of the spark igniter electrode.
Release the metal clip from the bottom of the gas burner orifice holder and remove the clip.
Remove the spark igniter electrode from the burner orifice holder assembly and discard it.
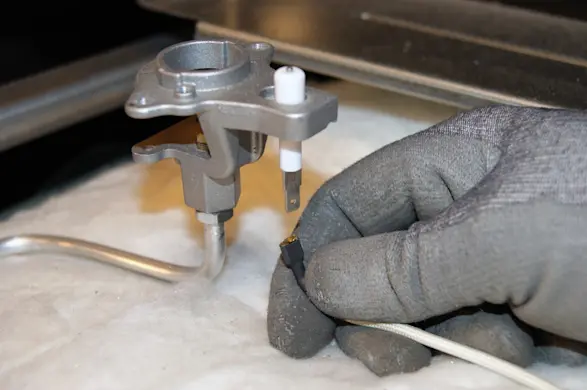
PHOTO: Pull the electrode wire. 
PHOTO: Remove the retaining clip. 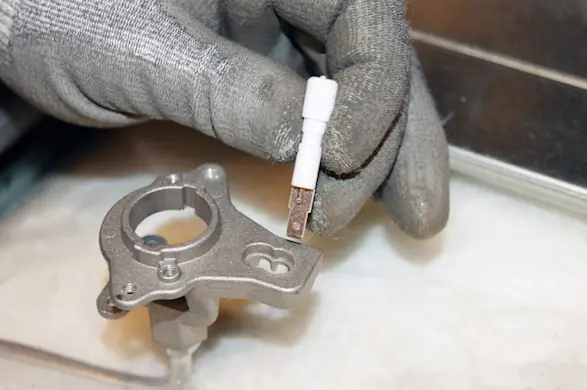
PHOTO: Remove the electrode.
- 5. Install the new spark electrode
Push the new igniter electrode into the burner orifice holder assembly. Fasten it with the metal clip.
Push the wire onto the connection spade at the bottom of the new electrode.
- 6. Reattach the cooktop
Position the cooktop on the top of the range and snap it into the mounting clips on the front lip of the range.
Insert the screws into the holes that secure the cooktop to the gas burner tube orifice holders. You may need to move the burner tube orifice holders around slightly to line up the holes and insert the screws. Tighten all screws firmly.
- 7. Reinstall the burner heads, burner caps and grates
Position the burner heads in the correct locations, screw them into place and tighten the screws firmly.
Cover the burner heads with the burner caps in the correct locations.
Set the grates into place on the cooktop,
- 8. Reconnect gas and power and slide the range into place
Plug the range back into the wall outlet and the open the gas supply valve.
Slide the range into position, making sure the rear foot of the range properly engages the anti-tip bracket.
Warning: The anti-tip bracket must be properly engaged so the range won't tip forward. Refer to the installation instructions for details about the anti-tip bracket.