CONFIRM THE PART FITS
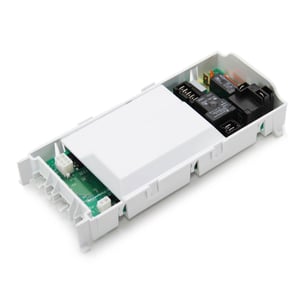
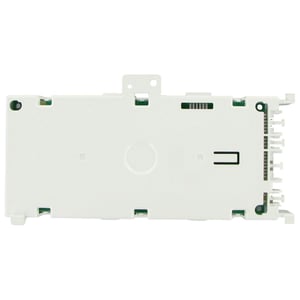
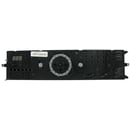
Dryer Electronic Control Board (replaces W10111620) WPW10111620
Part #WPW10111620
Part Information
Special details: Replace electronic control board WPW10111620 if you see the error code F-01 on the display. You may also need to replace the electronic control board if the console won't light up and the dryer is plugged into a working outlet.
This electronic control board (part number WPW10111620) is for dryers.
Electronic control board WPW10111620 manages the functions of the dryer such as drying time and temperature.
Unplug the dryer before installing this part. Wear work gloves to protect your hands.
Frequently Used Together
- $55.89 |8% OFF MSRP : $61.00
- $28.67 |20% OFF MSRP : $36.00
- $90.02
- $7.69 |49% OFF MSRP : $15.00
- $100.92 |9% OFF Phone Price : $110.92
- $12.65 |40% OFF MSRP : $21.00
- $42.73 |10% OFF Phone Price : $47.73
- $40.44 |11% OFF Phone Price : $45.44
- $51.04 |32% OFF MSRP : $75.00
Top models using the same part
| Model Name | Model Number | Diagram Name |
|---|---|---|
| Model #YMEDB800VQ0 Maytag dryer | YMEDB800VQ0 | |
| Model #YMEDB800VU0 Maytag dryer | YMEDB800VU0 | |
| Model #MEDB850WQ0 Maytag dryer | MEDB850WQ0 | |
| Model #YMEDB850WL1 Maytag dryer | YMEDB850WL1 | |
| Model #MEDB850WQ1 Maytag dryer | MEDB850WQ1 | |
| Model #MGDB850WR1 Maytag dryer | MGDB850WR1 | |
| Model #MEDB850WB1 Maytag dryer | MEDB850WB1 | |
| Model #MEDB800VU0 Maytag dryer | MEDB800VU0 | |
| Model #YMEDB850WB1 Maytag dryer | YMEDB850WB1 | |
| Model #MGDB800VU0 Maytag dryer | MGDB800VU0 |
Reviews
exact fit for my machine
Very easy to install.
CPaige, Undisclosed
Did you find this review helpful?
- Ease of Installation
- Very Easy
- Duration of Installation
- 30 minutes - 1 hour
Easy install
Part was installed as instructed, following photos taken of old part. Checked wires several times. Immediately, the dryer began to make loud explosions and exhibit flashes somewhere inside, which it had not done before.
cgmartine, Beaumont, Ca
Did you find this review helpful?
- Ease of Installation
- Easy
- Duration of Installation
- 30 minutes - 1 hour
The way repairs should be!
Surprisingly, the best troubleshooting information was found in the documentation included with the dryer. The Internet mostly failed on this one. Once I found the troubleshooting guide inside the control panel area, it immediately told me what to replace. Had I just checked there first, I would have saved time and money. As it turns out, the damage to the control board was very obvious, both visually and olfactorily. The heating element relay on the control board had welded the contacts and begun to overheat. This caused the heating element to be on any time the dryer was running, which was causing the clothes to get extremely hot. Thankfully, we discovered the issue before too many cycles. This is where the internet missed it. 95% of the suggestions were related to one or more of the thermostats. Although it would have been cheaper to replace the burned relay, I didn't have access to quality soldering equipment, so I elected to replace the entire board. Fortunately, the engineers made swapping the board a five minute job. Just remove a handful of connectors and one screw, push the magic release tab on the plastic housing and the board slides right out. It is accessible without opening the guts of the dryer, through the control panel area on top. The board itself is mounted to a plastic shell which protects the board when handling it. Overall, this was a very easy repair.
BJinPass, Pass Christian, MS
1 person thought this review was helpful.
- Ease of Installation
- Very Easy
- Duration of Installation
- Less than 30 minutes
