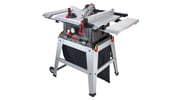
Craftsman
Power Tool

Model # 351219071 Official Craftsman mortiser

Here are the diagrams and repair parts for Official Craftsman 351219071 mortiser, as well as links to manuals and error code tables, if available.

There are a couple of ways to find the part or diagram you need:

  • Click a diagram to see the parts shown on that diagram.
  • In the search box below, enter all or part of the part number or the part’s name.

Not all parts are shown on the diagrams—those parts are labeled NI, for “not illustrated”.

We encourage you to save the model to your profile, so it’s easy to access parts and manuals for your appliance whenever you log in.

For DIY troubleshooting advice and repair guides, visit our repair help section.

Model diagram and schematic

SEARCH WITHIN THIS MODEL

?

This is the number corresponding to the part on the diagram / schematic

Search
ALL PARTS
Showing 10 of 101 parts  |

6 Hex Key OR90806
#NI

Mortiser diagram

6 hex key

Part #OR90806

The manufacturer no longer makes this part, and there's no substitute part

Chisel 26417
#NI

Mortiser diagram

Chisel

Part #26417

The manufacturer no longer makes this part, and there's no substitute part

T-wrench OR93330
#57

Mortiser diagram

T-wrench

Part #OR93330

The manufacturer no longer makes this part, and there's no substitute part

Guide Rod OR93345
#86

Mortiser diagram

Guide rod

Part #OR93345

The manufacturer no longer makes this part, and there's no substitute part

Switch Key OR93305
#8

Mortiser diagram

Switch key

Part #OR93305

The manufacturer no longer makes this part, and there's no substitute part

Chisel And Bit OR93356
#NI

Mortiser diagram

Chisel and bit

Part #OR93356

The manufacturer no longer makes this part, and there's no substitute part

Label OR93764
#30

Mortiser diagram

Label

Part #OR93764

The manufacturer no longer makes this part, and there's no substitute part

Flat Washer STD851004
#65

Mortiser diagram

Flat washer

Part #STD851004

The manufacturer no longer makes this part, and there's no substitute part

Depth Rod OR93308
#12

Mortiser diagram

Depth rod

Part #OR93308

The manufacturer no longer makes this part, and there's no substitute part
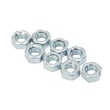
M Hex Nut STD840610
M hex nut

Part #STD840610

The manufacturer no longer makes this part, and there's no substitute part

Symptoms for electric ranges

Main causes: faulty surface element, burner control switch failure, temperature limiter not working properly, loose wiri…

Main causes: impact from dropping an item on the glass surface, ceramic glass surface flaw, surface element temperature …

Repair guides for electric ranges

How to replace a range hidden bake element

How to replace a range hidden bake element

These step-by-step instructions guide you through replacing the oven hidden bake element in an electric range.…

Repair difficulty
Time required
 30 minutes or less
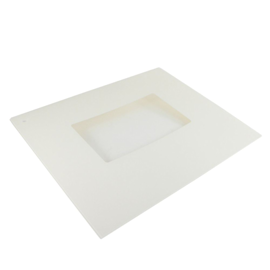
How to replace an electric range oven door outer glass panel

How to replace an electric range oven door outer glass panel

Learn how to replace a damaged outer window panel on your oven door with these step-by-step instructions. …

Repair difficulty
Time required
 45 minutes or less
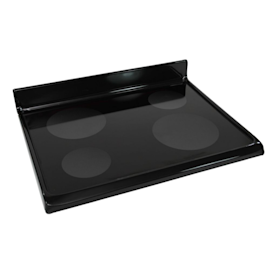
How to replace a range glass cooktop

How to replace a range glass cooktop

These step-by-step instructions explain how to replace a damaged ceramic glass cooktop on an electric range. …

Repair difficulty
Time required
 45 minutes or less

Articles and videos for electric ranges

How is cooking on an electric range different than cooking on a gas stove?

How is cooking on an electric range different than cooking on a gas stove?

Learn about the differences between cooking on gas and electric stoves.…

Coil surface element on range not heating video

Coil surface element on range not heating video

Learn how to troubleshoot a coil surface element on your stove that won't heat.…

Quick tips and fixes: range hot surface light troubleshooting video

Quick tips and fixes: range hot surface light troubleshooting video

This short, animated video shows you why the hot surface light on your range always stays on—and how to fix it.…