How to replace a stand mixer phase control board
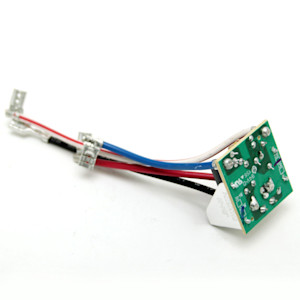
This DIY repair guide gives instructions for replacing the phase control board in a stand mixer. The phase control board works with the governor and control plate to control motor speed. If the mixer won't run or doesn't maintain the set speed, the phase control board could be the problem. Replace a malfunctioning phase control board with the manufacturer-approved stand mixer part.
This repair procedure shows how to replace the phase control board in KitchenAid and Whirlpool stand mixers.
Replacing a stand mixer phase control board video.
Instructions
- 01.
Shut off the electricity
Unplug the power cord.
- 02.
Remove the end cover
Remove the end cover mounting screw and pull off the end cover.
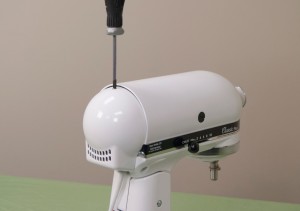
PHOTO: Remove the end cover screw.
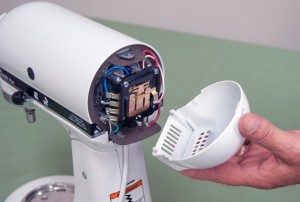
PHOTO: Remove the end cover.
- 03.
Disconnect the wires from the control plate
Take a digital photo of the wires connected to the control plate to document their location. Disconnect the wires from the control plate.
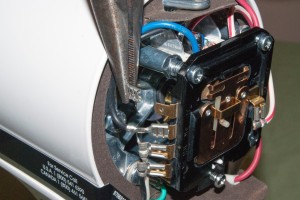
PHOTO: Remove the control plate wires.
- 04.
Remove the control plate
Carefully disconnect the spring from the bottom of the control plate and hook the spring onto a shop towel to prevent the spring from sucking back into the upper housing.
Loosen but don't remove the jam nuts on the control plate upper mounting screws.
Unscrew and release the control plate upper mounting screws from the upper housing mounting posts.
Pull the control plate off.
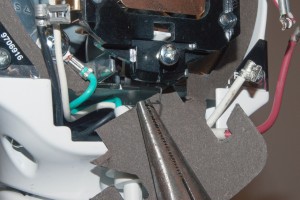
PHOTO: Disconnect the spring.
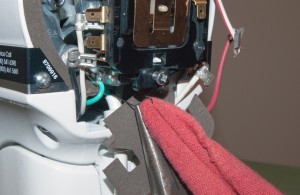
PHOTO: Hook the spring to a shop towel.
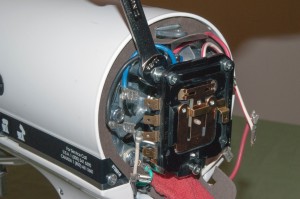
PHOTO: Loosen the jam nuts.
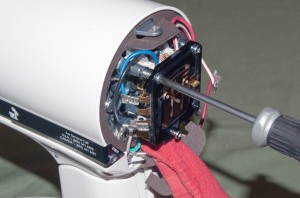
PHOTO: Remove the top screws.
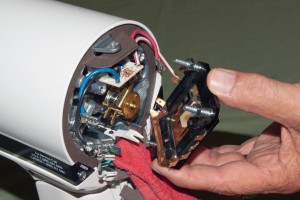
PHOTO: Remove the control plate.
- 05.
Remove the phase control board
Remove the phase control board mounting screw and pull off the phase control board.
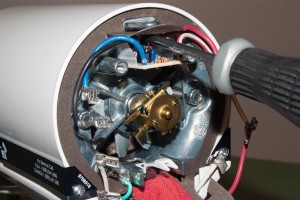
PHOTO: Remove the screw.
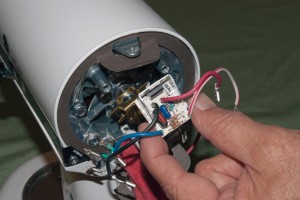
PHOTO: Remove the phase control board.
- 06.
Install the new phase control board
Position the new phase control board in the upper housing and reinstall the mounting screw.
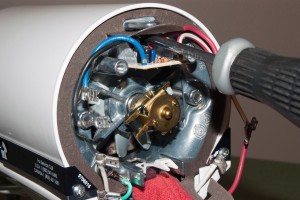
PHOTO: Install the new phase control board.
- 07.
Reinstall the control plate
Position the control plate in the upper housing and line up the upper mounting screw holes.
Reinstall the upper mounting screws. Tighten the screws evenly until 3/8-inch of the screw remains visible.
Leave the jam nuts loose until you check and adjust the mixer speed in a later step.
Reinstall the spring on the bottom of the control plate.
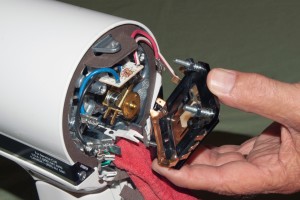
PHOTO: Reinstall the control plate.
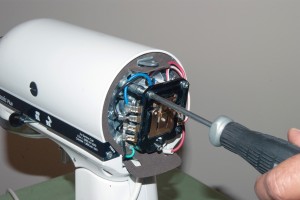
PHOTO: Reinstall the stop screws.
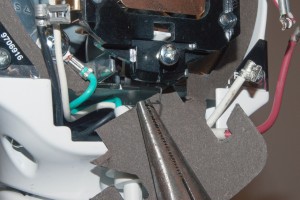
PHOTO: Reinstall the spring.
- 08.
Reconnect the control plate wires
Using your digital photo as a guide, reconnect the wires to the control plate.
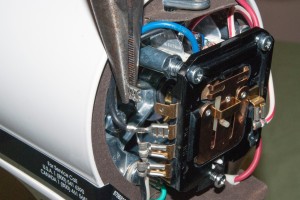
PHOTO: Reinstall the control plate wires.
- 09.
Reinstall the end cover
Position the end cover on the upper housing and line up the screw holes. Reinstall the end cover mounting screw.
Warning: Do not pinch any wires when reinstalling the end cover.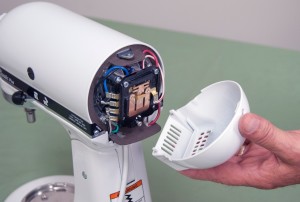
PHOTO: Reinstall the end cover.
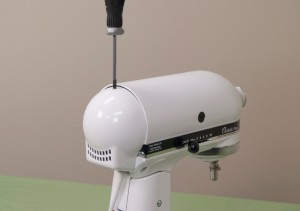
PHOTO: Reinstall the screw.
- 10.
Restore power
Reconnect the power cord.
- 11.
Check and adjust the speed control
Hold a finger next to the beater shaft to count revolutions.
Start the mixer at stir speed.
Count the orbital revolutions of the beater shaft for 15 seconds. At stir speed, the beater shaft should hit your finger 15 times indicating that the shaft is spinning at 60 RPM.
If the mixer is spinning too fast, unplug the mixer and evenly rotate the control plate upper mounting screws in. Rotate the screws out to increase speed.
One full revolution of the screws adjusts the speed about 5 RPM.
After adjusting the speed, reassemble the mixer and test the speed again.
Continue adjusting and checking the speed until the mixer runs at 60 RPM at stir speed.
Once the correct stir speed is set, unplug the mixer and tighten the jam nuts on the control plate upper mounting screws.
Reinstall the end cover and restore power.
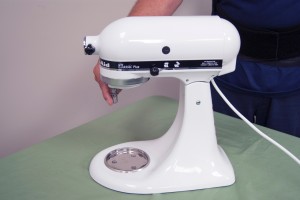
PHOTO: Check beater orbital speed.
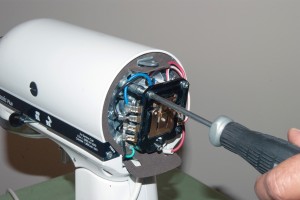
PHOTO: Adjust mixer speed.

PHOTO: Reinstall the end cover.

PHOTO: Reinstall the screw.
Most common symptoms to help you fix your stand mixers
Choose a symptom to see related stand mixer repairs.
Main causes: bad wiring connections, faulty speed control plate, electronic control board failure…
Main causes: phase control board failure, wiring connection problem, faulty electronic control board…
Main causes: bad lubricating grease, mixer sitting idle for weeks at a time, mixer running constantly for more than 30 m…
Main cause: worn carbon motor brushes…
Main causes: bad worm gear, damaged planetary gear assembly…
Main cause: attachment clearance setting needs adjustment…
Main causes: lack of electrical power, wiring failure, worn carbon motor brushes, bad drive motor, tripped overload swit…
Most common repair guides to help fix your stand mixers
These step-by-step repair guides will help you safely fix what’s broken on your stand mixer.

How to replace a stand mixer worm gear
Here’s how to replace the worm gear in your stand mixer if it’s worn or damaged.…
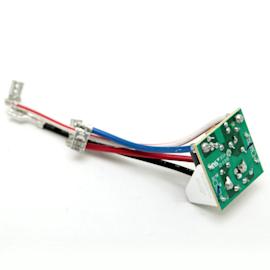
How to replace a stand mixer phase control board
The phase control board works with the governor and control plate to control motor speed. Replace the phase control boar…
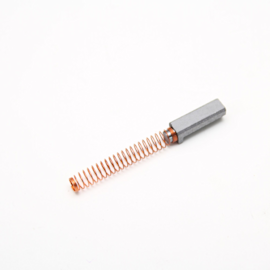
How to replace stand mixer motor brushes
If the carbon brushes are worn and damaged, replace them using these steps.…
Effective articles & videos to help repair your stand mixers
Use the advice and tips in these articles and videos to get the most out of your stand mixer.

Learn about all the convenient features on our Sears PartsDirect website that make your parts purchases easier.…

Learn some of the most common symbols found in a wiring diagram and what they mean.…
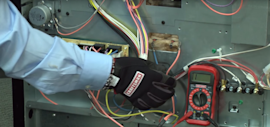
Learn how to use a multimeter to check for wiring problems in an appliance that's not working…