- Kenmore refrigerator water filters
- Whirlpool refrigerator water filters
- Samsung refrigerator water filters
- GE refrigerator water filters
- LG refrigerator water filters
- Frigidaire refrigerator water filters
- KitchenAid refrigerator water filters
- Maytag refrigerator water filters
- Kenmore Elite refrigerator water filters
- Estate refrigerator water filters
- GE Profile refrigerator water filters
- Amana refrigerator water filters
- Bosch refrigerator water filters
- Dacor refrigerator water filters
- Electrolux refrigerator water filters
Top DIY repair help
View All Repair Categories
Appliances
Lawn & Garden
Power Tools
Home Improvement
Sports & Leisure
Heating & Cooling
Quick Links
How to replace a sewing machine drive belt
less than a minute readFeb 18Lyle Weischwill
Repair time and Difficulty
15 minutes or less
Tools Required
- Work gloves
- Phillips screwdriver
This DIY repair guide explains how to replace the drive belt in a sewing machine. The drive belt connects the drive motor to the hand wheel and upper shaft, turning the hand wheel and upper shaft as the motor runs. A broken or worn belt can't turn the hand wheel and upper shaft. Replace a broken or worn sewing machine drive belt using the manufacturer-approved sewing machine part.
Use this basic procedure to replace the drive belt in Kenmore and Brother sewing machines.
Instructions
- 1. Shut off the electricity
Unplug the sewing machine's power cord from the wall outlet.
- 2. Remove the drive belt cover
Remove the screws securing the belt cover to the sewing machine and pull the belt cover off.

PHOTO: Remove the front screw from the belt cover. 
PHOTO: Remove the bottom screw from the belt cover.
- 3. Remove the drive belt
Loosen the 2 motor mounting screws and pivot the motor upward to release the belt tension.
Slide the drive belt off the hand wheel and remove the belt.
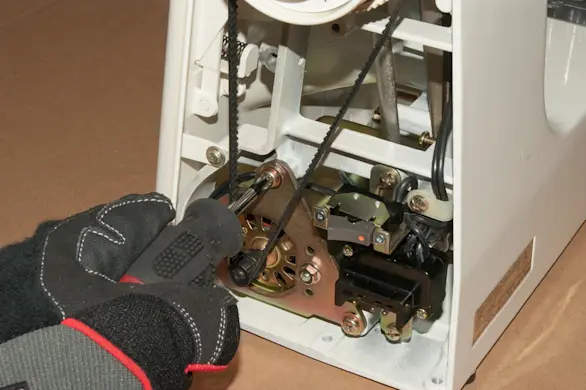
PHOTO: Loosen the motor mounting screws. 
PHOTO: Pivot the motor upwards. 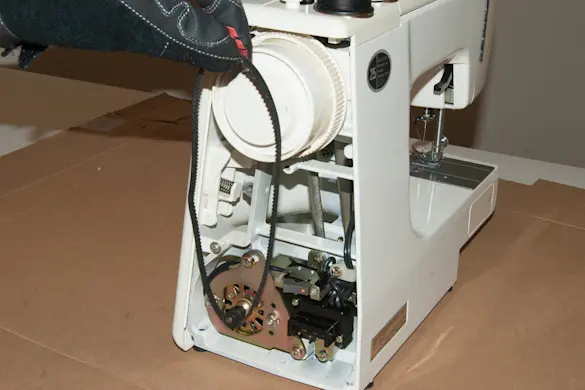
PHOTO: Slide the belt off the hand wheel and remove.
- 4. Install the new drive belt
Position the new drive belt under the motor pulley and then roll the belt onto the hand wheel.
Pivot the drive motor to apply slight tension to the belt and tighten the motor mounting screws firmly.

PHOTO: Position the new drive belt under the motor pulley. 
PHOTO: Tighten the motor mounting screws.
- 5. Reinstall the belt cover
Position the belt cover on the sewing machine and reinstall the belt cover mounting screws.
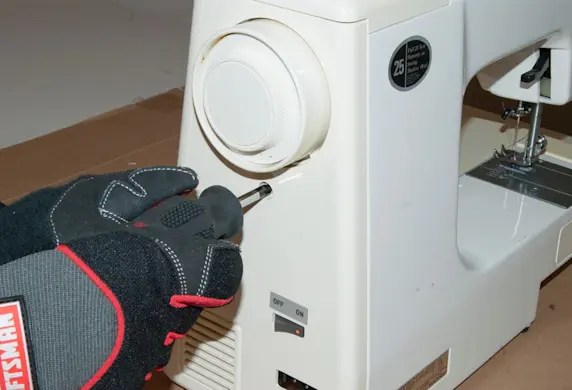
PHOTO: Reinstall the drive belt cover.
- 6. Restore power
Plug the sewing machine into the electrical outlet.