- Kenmore refrigerator water filters
- Whirlpool refrigerator water filters
- Samsung refrigerator water filters
- GE refrigerator water filters
- LG refrigerator water filters
- Frigidaire refrigerator water filters
- KitchenAid refrigerator water filters
- Maytag refrigerator water filters
- Kenmore Elite refrigerator water filters
- Estate refrigerator water filters
- GE Profile refrigerator water filters
- Amana refrigerator water filters
- Bosch refrigerator water filters
- Dacor refrigerator water filters
- Electrolux refrigerator water filters
Top DIY repair help
View All Repair Categories
Appliances
Lawn & Garden
Power Tools
Home Improvement
Sports & Leisure
Heating & Cooling
Quick Links
How to replace a garage door opener battery
less than a minute readAug 05Lyle Weischwill
Repair time and Difficulty
15 minutes or less
Tools Required
- Step ladder
- Phillips screwdriver
- Work gloves
This DIY repair guide explains how to replace the back-up battery in a garage door opener. Located in the motor unit, the battery supplies power to the opener if the power goes out. Test the battery yearly according to the instructions in your owner's manual. If the battery status light indicates a low battery charge when you unplug the garage door opener to test the battery, plug the garage door opener back in and see if the battery charges within 48 hours. If the battery hasn't charged after 48 hours, replace it with the manufacturer-approved replacement part.
This basic repair procedure works for common Craftsman, LiftMaster and Chamberlain garage door openers.
Instructions
- 1. Disconnect power
Use a step ladder to access the garage door opener’s power cord and motor unit.
Unplug the garage door opener.

PHOTO: Unplug the garage door opener.
- 2. Remove the battery
Open the light cover.
Remove the battery compartment cover screw and then remove the cover.
Pull the battery out and disconnect the wires.
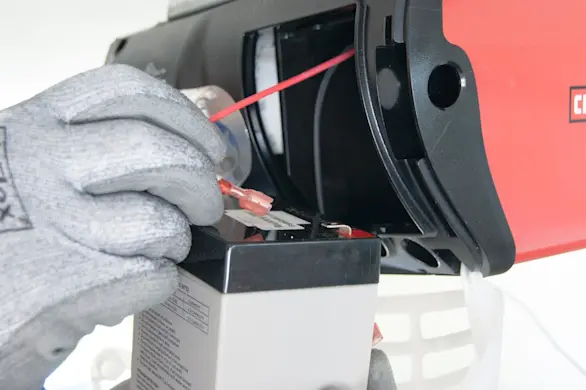
PHOTO: Disconnect the battery wires.
- 3. Install the new battery
Connect the wires to the new battery.
Insert the battery into the compartment.
Reinstall the battery compartment cover and secure it with the screw.
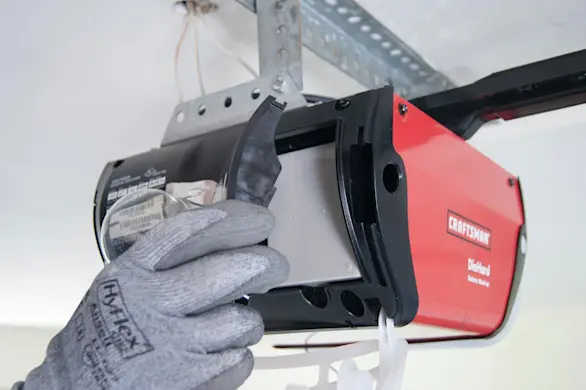
PHOTO: Reinstall the battery compartment cover.
- 4. Reconnect electrical power
Plug in the garage door opener.