How to maintain an oil-free air compressor
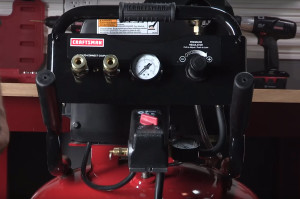

A great advantage of having an oil-free air compressor is the minimal amount of maintenance it requires–the permanently lubed pump cylinder requires no further lubrication, which means no oil changes.
But an oil-free air compressor doesn't mean maintenance-free. You still must perform routine air compressor maintenance steps before each use for safe and efficient operation.
Check the air compressor safety valve
Follow the steps below when checking the safety valve. Remember to wear safety glasses when performing the check.
Plug the compressor in and run it until it reaches shut-off pressure.
Pull out on the safety valve ring to release pressure from the tank.
The valve should close automatically by itself. If the safety valve doesn't close automatically, or if it doesn't allow the release of air when you pull it out, replace the check valve.
Drain the air compressor tank
The air drawn into the air tank on your compressor contains water vapor that condenses like rain inside the tank. Drain the tank of water after every use. The drain valve is located underneath the tank at the very bottom. Be sure you open the drain valve all the way, and allow the tank to drain completely.
Check the air compressor air filter
The location of the air filter varies by air compressor model, but most often it's located underneath the plastic housing around the head–check your owner's manual for the exact location of yours. If the air filter is made of paper or felt, replace it once it shows sign of dirt buildup or wear. If the air filter in your model is a foam filter, you should be able to clean it with soap. Let the filter dry completely before reinstalling. Replace the foam filter if it's damaged or worn.
Visually inspect the air compressor
Inspect the hoses, valves and seals for cracks or signs of wear, and make sure fittings are secure. Check the power cord for damage or fraying and replace if you find any damage. Check the air tank for pinholes, rust or weak spots. If any damage is found, replace the tank–never try to repair, weld or drill into the tank.
These air compressor maintenance tips work for Craftsman, Devilbiss, DeWalt and Porter Cable oil-free air compressors.
If you need repair help or troubleshooting tips for your air compressor, check out our DIY air compressor repair section.
Most common symptoms to help you fix your air compressors
Choose a symptom to see related air compressor repairs.
Main causes: loose air tube fitting connections, bad check valve, faulty safety valve, damaged or corroded air tank, bad…
Main cause: bad check valve…
Main causes: tank drain valve open or leaking air, leaky air tank, bad safety valve, worn pump seals, bad pump valve pla…
Main causes: rusted air tank, loose air tube fitting connections, bad check valve, leaky safety valve, bad tank drain va…
Main causes: bad safety valve, pressure switch failure…
Main cause: faulty output air pressure regulator…
Main cause: bad air tank pressure gauge…
Main causes: lack of electrical power, check valve failure, bad pressure switch…
Most common repair guides to help fix your air compressors
These step-by-step repair guides will help you safely fix what’s broken on your air compressor.
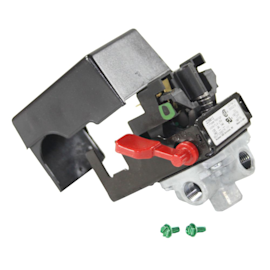
How to replace an air compressor pressure switch
You can replace a broken air compressor pressure switch in about 45 minutes. …
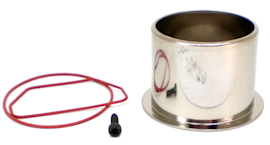
How to rebuild an air compressor pump
If the air compressor won't fill the tank with compressed air, rebuild the pump using these steps in about 45 minutes. …
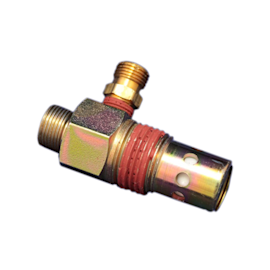
How to replace an air compressor check valve
You can replace a defective air compressor check valve in about 10 minutes.…
Effective articles & videos to help repair your air compressors
Use the advice and tips in these articles and videos to get the most out of your air compressor.
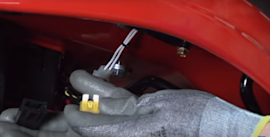
Learn how to tell whether a fuse is blown…
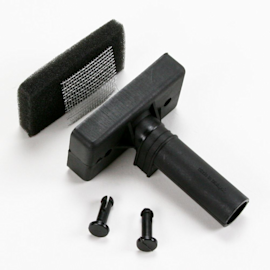
Find out how to reduce air compressor noise.…
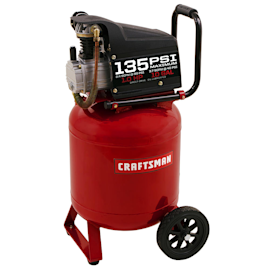
See how to perform routine maintenance on your oil-lubricated air compressor.…