- Kenmore refrigerator water filters
- Whirlpool refrigerator water filters
- Samsung refrigerator water filters
- GE refrigerator water filters
- LG refrigerator water filters
- Frigidaire refrigerator water filters
- KitchenAid refrigerator water filters
- Maytag refrigerator water filters
- Kenmore Elite refrigerator water filters
- Estate refrigerator water filters
- GE Profile refrigerator water filters
- Amana refrigerator water filters
- Bosch refrigerator water filters
- Dacor refrigerator water filters
- Electrolux refrigerator water filters
Top DIY repair help
View All Repair Categories
Appliances
Lawn & Garden
Power Tools
Home Improvement
Sports & Leisure
Heating & Cooling
Quick Links
How to replace an air compressor check valve
less than a minute readAug 05Lyle Weischwill
Repair time and Difficulty
15 minutes or less
Tools Required
- Work gloves
- Wrench Set
This step-by-step repair guide gives instructions for replacing the check valve on an air compressor. The check valve stops compressed air from flowing back into the pump from the tank. If the check valve is stuck open, high air pressure from the tank flows back into the pump head. The high pressure in the pump head won’t allow the piston to move, and the motor can’t start. Replace the check valve with the manufacturer-approved replacement part.
Use these steps to replace the check valve on common Craftsman, Dewalt and Devilbiss air compressors.
Instructions
- 1. Shut off the electricity and drain the air tank
Unplug the air compressor’s power cord from the wall outlet.
Pull the ring on the safety valve to drain all air pressure from the tank. Wear work gloves to protect your hands.
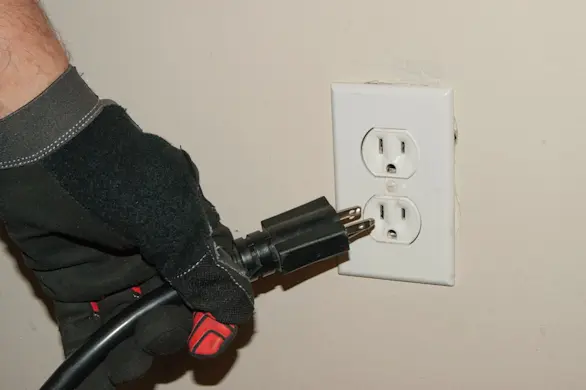
PHOTO: Unplug the power cord. 
PHOTO: Drain the air tank.
- 2. Disconnect the pressure switch tube
Unscrew the pressure switch tube fitting and disconnect the pressure switch tube from the check valve.

PHOTO: Disconnect the pressure switch tube.
- 3. Disconnect the outlet pressure tube
Unscrew the outlet tube fitting and disconnect the outlet tube from the check valve.

PHOTO: Disconnect the outlet tube from the check valve.
- 4. Remove the check valve
Unscrew the check valve and remove it from the tank.

PHOTO: Unscrew the check valve.
- 5. Install the new check valve
Thread the new check valve into the tank.
Tighten the check valve and align the fitting to connect the pressure switch tube.

PHOTO: Install the new check valve.
- 6. Reconnect the outlet tube
Reinstall the outlet tube on the check valve.
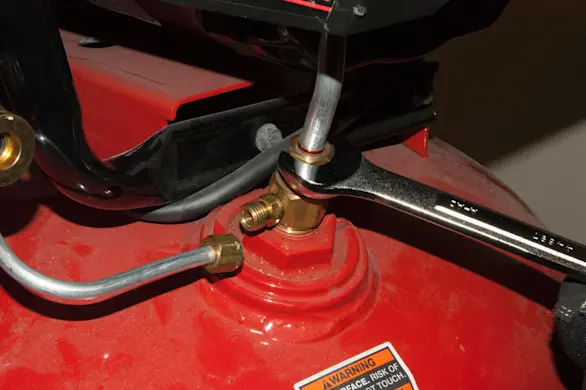
PHOTO: Reinstall the outlet tube.
- 7. Reconnect the pressure switch tube
Reinstall the pressure switch tube on the check valve.
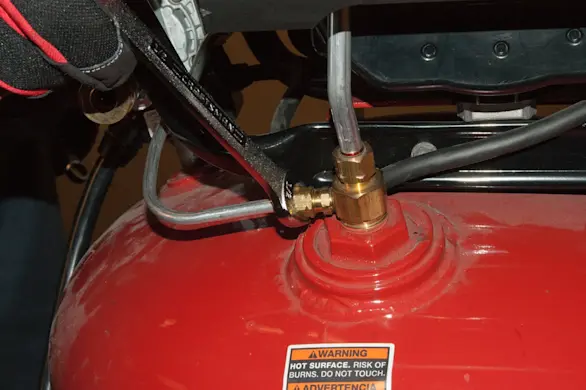
PHOTO: Reinstall the pressure switch tube.
- 8. Restore power
Plug the compressor back in.

PHOTO: Plug the compressor in.