- Kenmore refrigerator water filters
- Whirlpool refrigerator water filters
- Samsung refrigerator water filters
- GE refrigerator water filters
- LG refrigerator water filters
- Frigidaire refrigerator water filters
- KitchenAid refrigerator water filters
- Maytag refrigerator water filters
- Kenmore Elite refrigerator water filters
- Estate refrigerator water filters
- GE Profile refrigerator water filters
- Amana refrigerator water filters
- Bosch refrigerator water filters
- Dacor refrigerator water filters
- Electrolux refrigerator water filters
Top DIY repair help
View All Repair Categories
Appliances
Lawn & Garden
Power Tools
Home Improvement
Sports & Leisure
Heating & Cooling
Quick Links
How to rebuild an air compressor pump
less than a minute readMar 05Lyle Weischwill
Repair time and Difficulty
45 minutes or less
Tools Required
- Work gloves
- Slot screwdriver
- T-15 Torx driver
- Torque wrench
- Wrench set
This DIY repair guide explains how to rebuild the pump on an air compressor. The air compressor motor drives a piston that compresses air in the pump cylinder to fill the compressor tank. Worn pump parts— such as the valve plate and seals—stop the pump from compressing the air and filling the tank. Rebuilding the air compressor pump restores the pump's ability to efficiently compress air.
If the tank won't build pressure because the pump seals or valve plate are worn, rebuild the pump using the manufacturer-approved air compressor parts. Most air compressor models use a kit for rebuilding the air compressor pump. The rebuild kit includes the cylinder sleeve, piston and seals.
Follow the steps in this repair guide and video to install the air compressor pump rebuild kit on Craftsman, Porter Cable, DeWalt and Devilbiss air compressors.
Instructions
- 1. Shut off the electricity and drain the air tank
Unplug the air compressor’s power cord from the wall outlet.
Pull the ring on the safety valve to drain all air pressure from the tank. Wear work gloves to protect your hands.
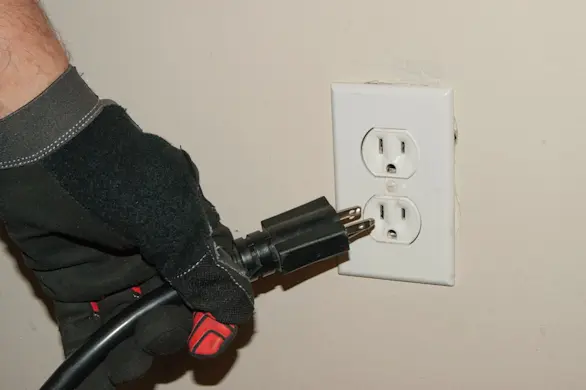
PHOTO: Unplug the power cord. 
PHOTO: Drain the air tank.
- 2. Remove the compressor shroud
Remove the shroud mounting screws.
Using a slot tip screwdriver, pry the shroud halves apart at the locking tabs and remove the shroud.
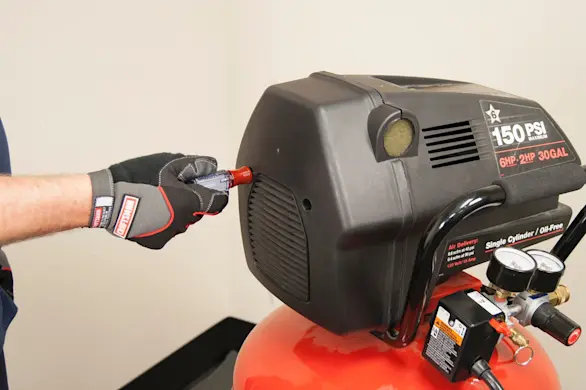
PHOTO: Remove the shroud mounting screws. 
PHOTO: Pry the shroud halves apart.
- 3. Disassemble the pump head
Remove the air outlet tube from the pump head.
Remove the mounting bolts from the pump head and lift the head off the pump.
Lift the valve plate off the pump.

PHOTO: Disconnect the air outlet tube. 
PHOTO: Remove the pump head bolts. 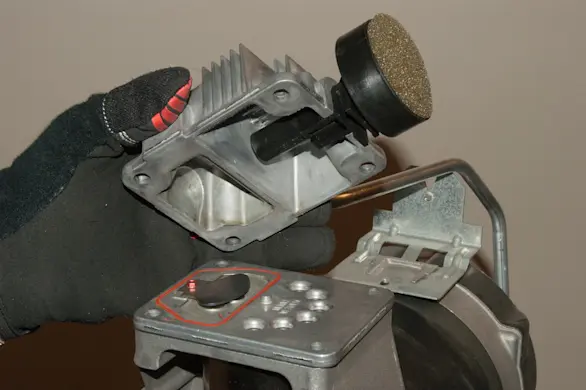
PHOTO: Remove the pump head. 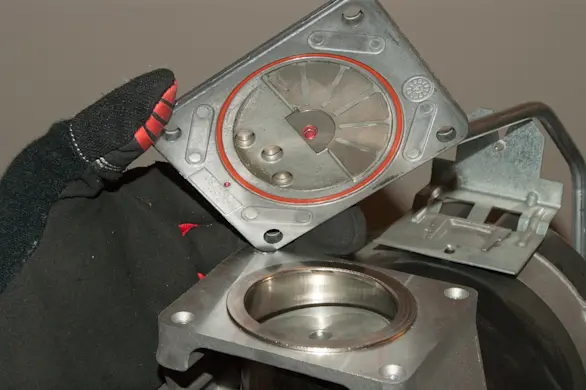
PHOTO: Remove the valve plate.
- 4. Remove the fan
Remove the fan mounting bolt and pull the fan off.
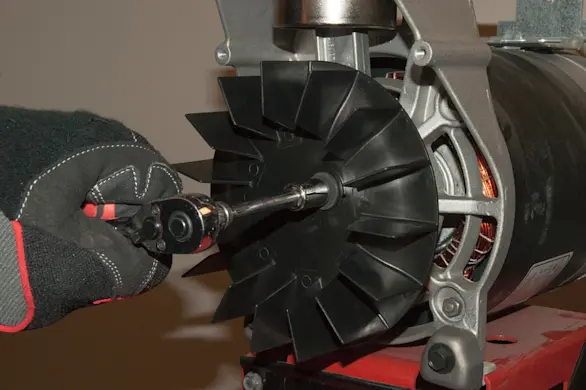
PHOTO: Remove the fan mounting bolt and the fan.
- 5. Remove the piston and sleeve
Loosen the Torx screw that clamps the piston connecting rod to the eccentric bearing. Pull the connecting rod off the eccentric bearing.
Push the piston and cylinder sleeve up and out of the pump body. Push the piston out of the cylinder sleeve.

PHOTO: Loosen the Torx screw. 
PHOTO: Pull the connecting rod off the bearing. 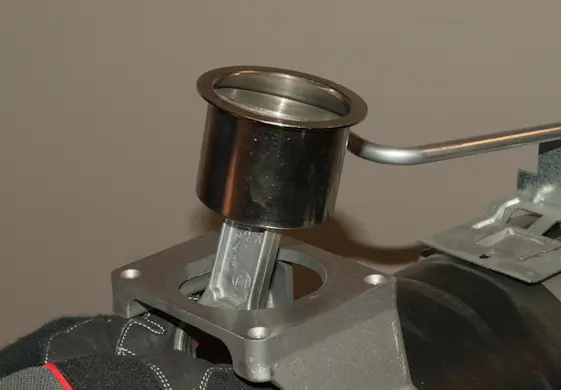
PHOTO: Push the piston and sleeve up and out of the pump body. 
PHOTO: Push the piston out of the sleeve.
- 6. Remove the compression ring
Remove the Torx screw from the top of piston.
Remove the piston cap and compression ring.

PHOTO: Remove the Torx screw. 
PHOTO: Remove the piston cap and compression ring.
- 7. Install the new compression ring
Place the new compression ring on the top of the piston.
Reinstall the piston cap and Torx screw.

PHOTO: Install the new compression ring. 
PHOTO: Reinstall the piston cap and Torx screw.
- 8. Install the new cylinder sleeve
Slide the piston into the new cylinder sleeve.
Insert the piston and cylinder sleeve into the pump body.
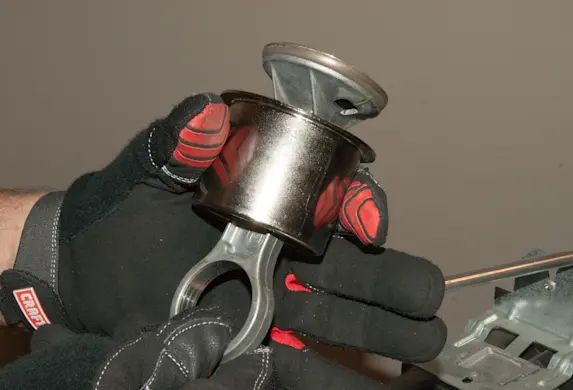
PHOTO: Slide the piston down into the sleeve. 
PHOTO: Insert the piston and cylinder sleeve into the pump.
- 9. Reinstall the piston
Push the piston connecting rod onto the eccentric bearing.
Align the piston connecting rod flush with the eccentric bearing.
Tighten the piston connecting rod Torx screw to 48 inch-pounds using a torque wrench.

PHOTO: Push the connecting rod onto the bearing. 
PHOTO: Tighten the Torx screw.
- 10. Reinstall the fan
Push the fan onto the keyed shaft.
Reinstall the fan mounting bolt.
Tighten the fan mounting bolt to 120 inch-pounds.

PHOTO: Push the fan onto the shaft. 
PHOTO: Install the bolt and tighten.
- 11. Install the new valve plate
Press the new valve plate seals into the seal channels on the new valve plate.
Place the new valve plate on the pump body with the reed valves positioned on the handle side of the air compressor.
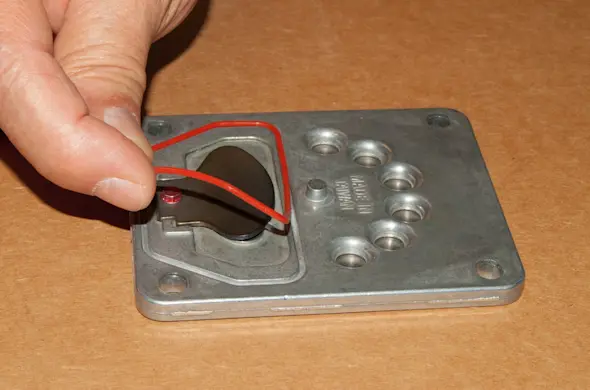
PHOTO: Install the new upper valve plate seal. 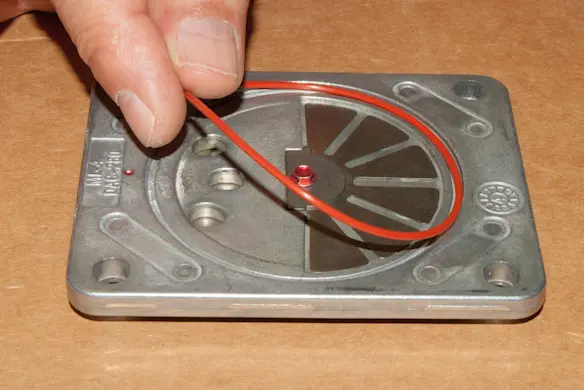
PHOTO: Install the new lower valve plate seal. 
PHOTO: Place the valve plate on the pump.
- 12. Reinstall the pump head
Position the pump head over the new valve plate with the muffler side of the pump head over the reed valves on the valve plate.
Reinstall the pump head mounting bolts.
Tighten the pump head mounting bolts to 7 foot-pounds.
Reinstall the outlet tube on the pump head.

PHOTO: Place the head over the valve plate. 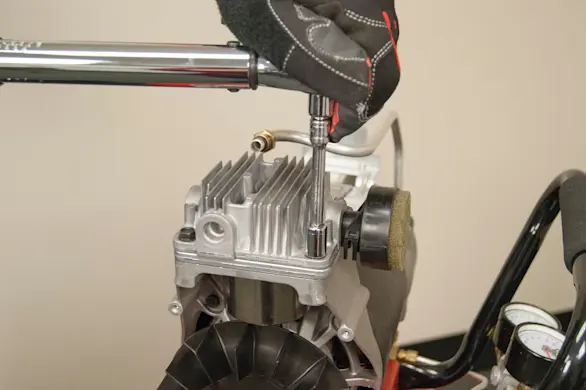
PHOTO: Install the pump head bolts and tighten. 
PHOTO: Reinstall the outlet tube to the pump head and tighten.
- 13. Reinstall the shroud
Position the large half of the shroud over the compressor and install the back screw.
Slide the smaller half of the shroud into the large half of the shroud and engage the shroud locking tabs.
Reinstall the front mounting screws in the shroud.

PHOTO: Install the large shroud. 
PHOTO: Install and tighten the back screw. 
PHOTO: Install the small shroud and tighten the screws.
- 14. Restore power
Plug the air compressor into the electrical outlet.

PHOTO: Plug the compressor in.