How to replace a downdraft vent up/down switch
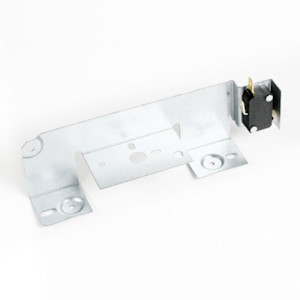
This DIY repair guide explains how to replace the up/down switch on a downdraft vent. The up/down switch, also called a position switch, activates the gear motor to raise and lower the vent when you push the switch button. If the up/down switch won't start the gear motor, replace with switch with the manufacturer-approved downdraft ventilation system part.
Use these steps to replace the up/down switch in Kenmore and Broan downdraft vents.
Replacing a downdraft vent up/down activating switch video.
Instructions
- 01.
Raise the air vent
Push the up/down button to raise the vent.
If the air vent won't rise, pull it up manually and prop up the vent with a block of wood.
- 02.
Shut off the electricity
Unplug the power cord from the wall outlet.
- 03.
Remove the switch cover
Remove the mounting screws and pull the switch cover off.
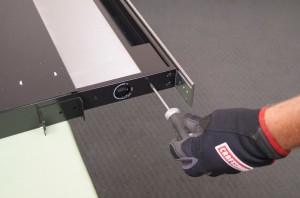
PHOTO: Remove the switch cover screws.
- 04.
Pull out the switch bracket
Remove the screws from the switch bracket.
Slide the switch bracket down and then pull the bracket out.
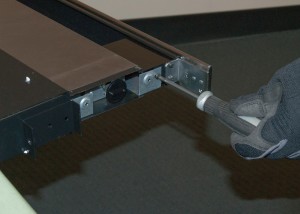
PHOTO: Remove the switch bracket screws.
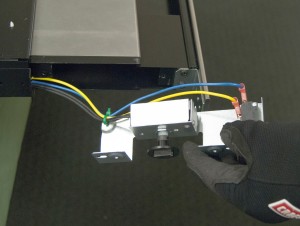
PHOTO: Slide the switch bracket out.
- 05.
Remove the speed control switch
Pull the knob off the speed control switch stem.
Remove the speed control switch mounting nut.
Pull the speed control switch out of the switch bracket.
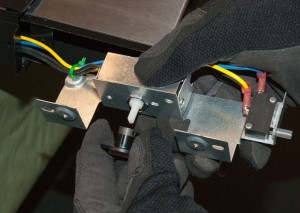
PHOTO: Pull off the control knob.
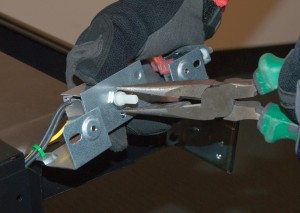
PHOTO: Remove the fan switch mounting nut.
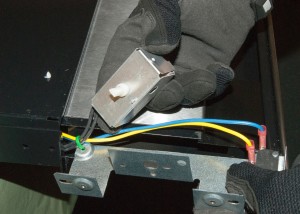
PHOTO: Pull out the fan control switch.
- 06.
Remove the up/down switch
Disconnect the up/down switch wires.
Cut off the wire tie to release the up/down switch and speed control switch wires from the switch bracket.
Remove the up/down switch and switch bracket.
The new up/down switch includes a new switch bracket.
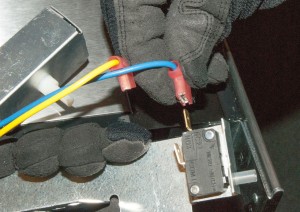
PHOTO: Disconnect the up/down switch wires.
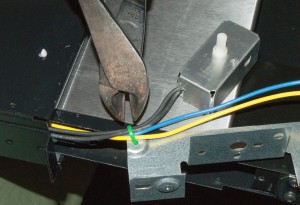
PHOTO: Cut the wire tie that holds the switch wires.
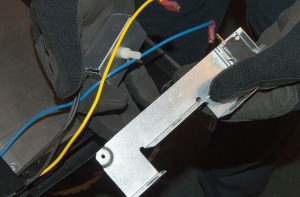
PHOTO: Remove the switch and bracket assembly.
- 07.
Install the new up/down switch
Secure the speed control and up/down switch wires to the new switch bracket using a wire tie.
Connect the up/down switch wires to the up/down switch.
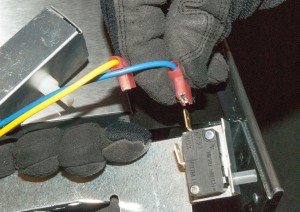
PHOTO: Connect the up/down switch wires.
- 08.
Reinstall the speed control switch
Reinstall the speed switch on the switch bracket and secure it using the mounting nut.
Reinstall the speed control knob on the stem of the speed control switch.
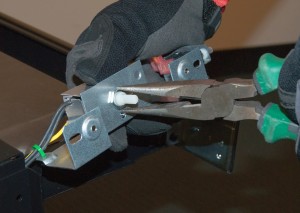
PHOTO: Reinstall the fan control switch.
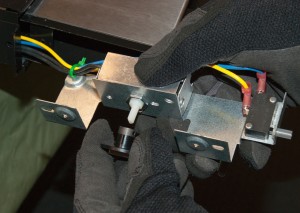
PHOTO: Reinstall the fan control knob.
- 09.
Install the switch bracket
Slide the switch bracket into the vent and reinstall the bracket screws, leaving the screws loose.
Adjust the switch bracket so that the activation switch lightly touches the membrane pad and then tighten the bracket screws firmly.
Tip: Mounting the switch bracket up too high will keep the switch depressed and the vent will raise and lower continuously when power is restored.Warning: Don't pinch any switch wires when installing the switch bracket.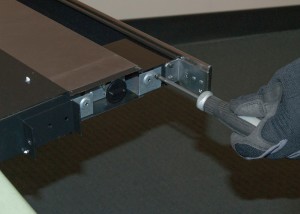
PHOTO: Install the switch bracket.
- 10.
Reinstall the switch cover
Reinstall the switch cover and secure it using the mounting screws.
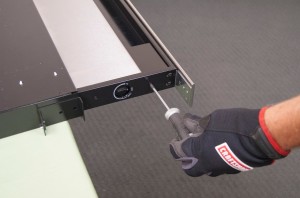
PHOTO: Reinstall the fan control switch cover.
- 11.
Restore power
Reconnect the power cord.
Most common symptoms to help you fix your downdraft ventilation systems
Choose a symptom to see related downdraft vent repairs.
Main causes: lack of electrical power, up/down activation switch failure, bad vent gear motor…
Main causes: electrical power failure, up/down activation switch problems, vent gear motor failure…
Main causes: problems with the vent limit switches, up/down activation switch failure…
Main causes: fan control switch failure, bad blower fan motor, broken blower wheel, wiring failure…
Main causes: clogged grease filters, air duct problems, fan motor failure, broken blower wheel…
Most common repair guides to help fix your downdraft ventilation systems
These step-by-step repair guides will help you safely fix what’s broken on your downdraft vent.
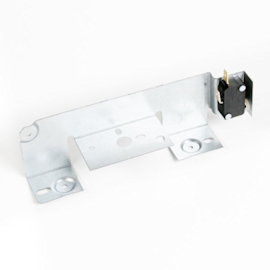
How to replace a downdraft vent up/down switch
The up/down switch starts the gear motor to raise and lower the air vent. Replace the up/down switch if defective.…

How to replace a downdraft vent blower motor
The blower motor spins the fan blade that removes smoke and steam from the cooktop area. Replace the blower motor if it …
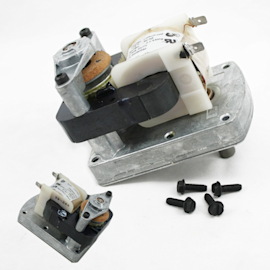
How to replace a downdraft vent gear motor
The gear motor raises and lowers the air vent when you push the activating switch. Replace the gear motor if defective.…
Effective articles & videos to help repair your downdraft ventilation systems
Use the advice and tips in these articles to get the most out of your downdraft vent.

Learn about all the convenient features on our Sears PartsDirect website that make your parts purchases easier.…

Get answers to frequently asked questions about Sears and Sears PartsDirect.…
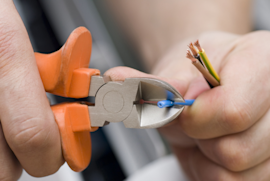
Learn how to repair broken, frayed or damaged wires in your appliances.…