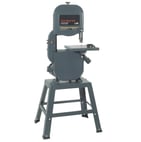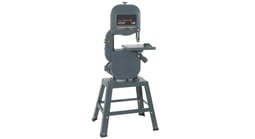
Replacing the blade on your Sears band saw
- Unplug the band saw's power cord from the wall outlet.
- Open the upper and lower cabinet doors. Rotate the blade’s quick-release lever to release the blade tension.
- Remove the table leveling screw from the front of the table. Open the blade cover in the upper cabinet. Pull the blade out of the band saw.
- Position the new blade with the teeth pointing downward and forward. Work the new saw blade into the cabinets and over the drive wheels. Close the blade cover in the upper cabinet.
- Reinstall the table leveling screw at the front of the table. Reinstall the table leveling screw at the front of the table. Reposition the blade on the upper and lower drive wheels. Rotate the blade’s quick release lever to apply blade tension. Close the cabinet doors. Plug the band saw into the electrical outlet.
Tips for fixing your Sears band saw when it's not cutting straight
When the band saw cuts crooked, a dull blade, improper feeding, loose blade tension or not using a work piece guide could be the cause. Use the rip fence or miter gauge to guide the work piece uniformly through the cutting blade to make straight cuts.
Using too much force when feeding the work piece through the cutting area can cause the band saw blade to twist and cut the piece crookedly. Use light pressure when feeding the work piece through the cutting area to achieve a straight cut.
A dull blade will twist when cutting the work piece and cut the piece crookedly. You'll also need to push the work piece harder to move it through the cutting area when the blade is dull. If the blade twists and the work piece is harder to push through the cutting area, replace the blade.
Loose blade tension can also cause the blade to twist and veer off course when cutting the work piece. Check blade tension by pressing in on the side of the blade using a gloved finger. Tighten blade tension if you can easily push the blade in more than a 1/4-inch.