How to replace a spark igniter switch on a gas cooktop
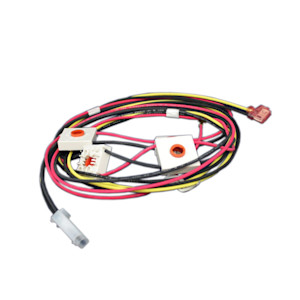
This repair guide provides step-by-step instructions on replacing the spark igniter switch in a gas cooktop. The spark igniter switch is located on the stem of the burner control valve. Replace the spark igniter switch with a manufacturer-approved gas cooktop part if the burners don't spark when you turn the burner control knob to the Lite position or if igniters spark constantly even when the burners are off.
Use these steps to replace a spark igniter switch in Kenmore, Frigidaire, Electrolux, Whirlpool, GE, KitchenAid, Maytag and Amana gas cooktops.
Instructions
- 01.
Shut off power and gas
Unplug the power cord from the wall outlet and then close the gas supply shut-off valve.
- 02.
Remove the burner heads
Remove all the cooktop grates and then lift the gas burner caps off the burner heads. Remove the screws that hold the burner heads in place and then remove the burner heads.
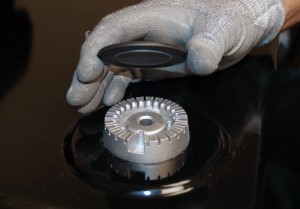
PHOTO: Remove the burner caps.
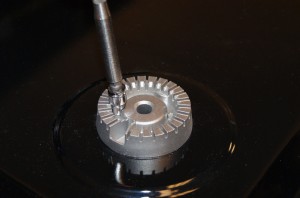
PHOTO: Remove the burner head screws.
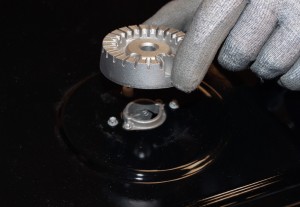
PHOTO: Remove the burner heads.
- 03.
Remove the main top
Pull the control knobs off of the burner control valves. Remove the screws that secure the main top to the top of the burner orifice holders. Lift the main top off of the cooktop and set it aside.
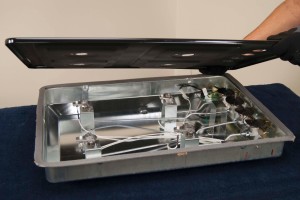
PHOTO: Remove the main top.
- 04.
Remove the spark igniter switches
Take a digital picture of the wires attached to the existing spark module or tag them with labeled masking tape so you can connect them correctly to the new spark module.
Disconnect all the wires attached to the spark module.
Remove the bushings from the stems of the burner control valves. Pull the spark igniter switches off of the burner control valves. Remove the switch and harness assembly from the cooktop and discard it.
Tip: If the wire harness and switches are one component, as on this model, remove all the switches. On models with switches that can be removed individually, remove only the switch you're replacing.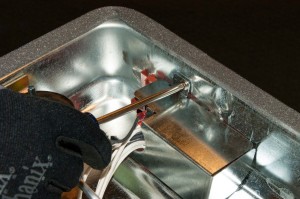
PHOTO: Remove the spark module cover.
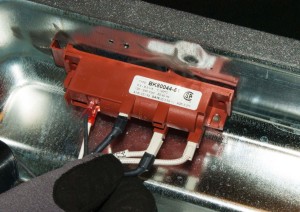
PHOTO: Disconnect the igniter switch wires.
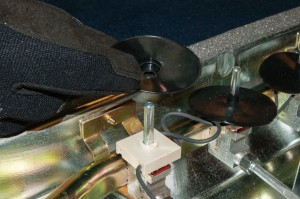
PHOTO: Remove the silicone seals.
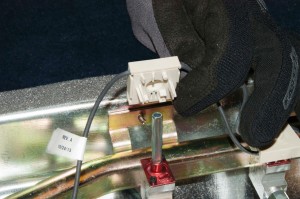
PHOTO: Lift off the igniter switches.
- 05.
Install the new spark igniter switches
Push the new switches onto the stems of the burner control valves.
Reinstall the bushings on the burner control valve stems.
Using the digital picture or marked tape as a guide, connect the wires to the new spark module.
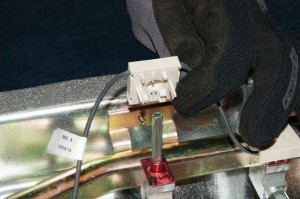
PHOTO: Install the new igniter switches.
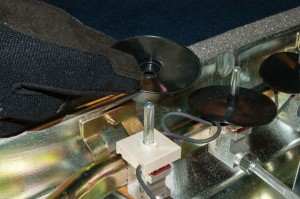
PHOTO: Reinstall the silicone seals.
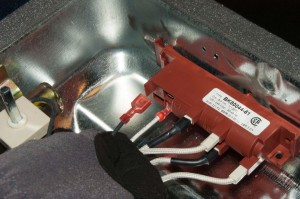
PHOTO: Connect the igniter switch wires to the spark module.
- 06.
Reinstall the main top
Position the main top on top of the burner orifice holders. Insert and tighten the screws that secure the main top to the orifice holders. Push the control knobs on the burner control valves.

PHOTO: Reinstall the main top.

PHOTO: Reinstall the main top screws.
- 07.
Reinstall the burner heads
Position the burner heads in the correct locations, screw them into place and tighten the screws firmly. Cover the burner heads with the burner caps in the correct locations. Set the grates in place on the cooktop.
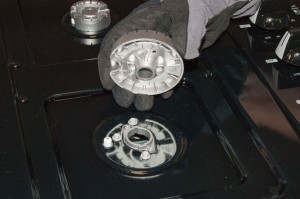
PHOTO: Reinstall the burner heads.
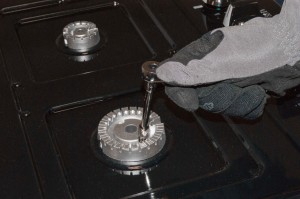
PHOTO: Reinstall the burner head screws.
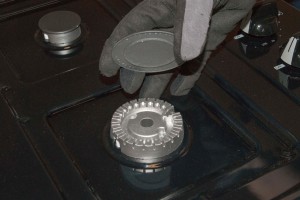
PHOTO: Reinstall the burner caps.
- 08.
Reconnect the gas and power
Plug the power cord into the wall outlet and open the gas shut-off valve.
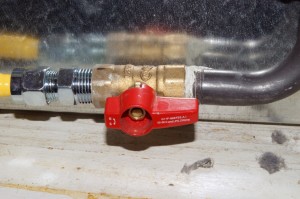
PHOTO: Open the gas supply valve.
Most common symptoms to help you fix your cooktops
Choose a symptom to see related cooktop repairs.
Main causes: lack of electrical power, gas supply failure, bad pressure regulator, control system failure…
Repair guides for gas cooktops
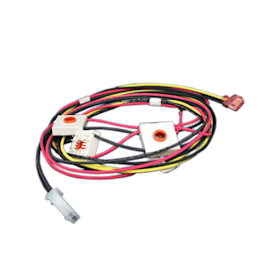
How to replace a spark igniter switch on a gas cooktop
Follow these step-by-step instructions to fix the surface burner ignition system on your gas cooktop by replacing the sp…
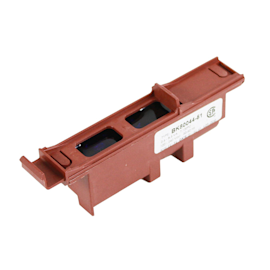
How to replace a spark module on a gas cooktop
No flame on your gas cooktop? Installing a new spark module could be the fix you need.…
Effective articles & videos to help repair your cooktops
Use the advice and tips in these articles and videos to get the most out of your cooktop.

Get tips on completing essential holiday cleaning tasks to brighten your home.…
Learn how to repair broken, frayed or damaged wires in your appliances.…

These common questions can help you make the most of your cooktop.…
