How to display error codes on vertical modular washers (VMWs) video


Kenmore and Whirlpool replaced the common direct drive, top-load washer with the vertical modular top-load washer in 2010.
The vertical modular washer (VMW) has a self-diagnostic system in the electronic control to help you figure out the cause if something goes wrong with the washer.
When a component in the washer fails, the washer stops working, and the lid lock light flashes. The washer won’t work until the problem is corrected.
1. Enter diagnostic mode
To determine the problem, first put the washer into diagnostic mode. Here’s how:
With the washer shut off and all indicator lights off, turn the control dial 1 complete rotation (360 degrees) counterclockwise.
Quickly (within about 6 seconds) turn the control dial 3 clicks clockwise, one click back, and one more click clockwise.
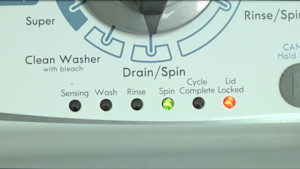
All the green status lights blink when you successfully activate the diagnostic mode.
If the status lights don’t blink, turn the control dial one complete rotation counter-clockwise to reset the control and then try again, this time turning the knob faster.
2. Display the error code lights
With the washer in diagnostic mode, follow these steps to display the error code lights:
Turn the control dial 1 click clockwise.
Press the Start button.
Turn the control dial one click clockwise to display the first saved error code.
Turn the control dial one click clockwise to display the next error code.
The control displays up to 4 error codes. Just the Sensing light flashes if no error code was recorded.
3. Decipher the error codes
Error codes for the VMW washers (see chart below) have two parts: the first is the letter F followed by a number and the second is the letter E followed by a number. Which lights are illuminated indicate the numbers.
For example, for error code F5 E3, when the Sensing light is on, the Rinse (4) and the Cycle complete (1) lights are on. Then, when the sensing light is off, the Spin (2) and the Cycle complete (1) lights are on.
The error code flashes repeatedly until you turn the dial one click clockwise to show the next error code.
| Light | Character |
|---|---|
| Sensing on | F |
| Sensing off | E |
| Wash | 8 |
| Rinse | 4 |
| Spin | 2 |
| Cycle complete | 1 |
4. Exit the diagnostic test mode
Turn the washer off to exit the diagnostic test mode.
Repair guides for top-load washers

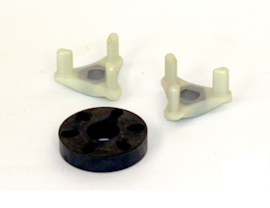
How to replace the motor coupler on a top-load washer
If the washer drains but won’t agitate or spin, the motor coupler might have broken to protect the drive motor from dama…

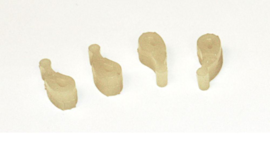
How to replace the agitator dogs in a top-load washer
If the top of the agitator moves both ways instead of just one, replace the agitator dogs, using the steps in this repai…

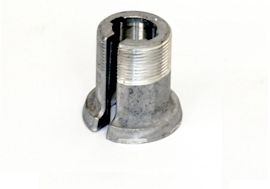
How to replace the drive block on a top-load washer
The drive block rotates the spin basket. If the basket wobbles or rattles in the spin mode because the drive block is wo…
Articles and videos for top-load washers

Find tips for using your washing machine efficiently to save energy and help reduce utility bills.…

Learn about all the convenient features on our Sears PartsDirect website that make your parts purchases easier.…

Get answers to frequently asked questions about Sears and Sears PartsDirect.…