- Kenmore refrigerator water filters
- Whirlpool refrigerator water filters
- Samsung refrigerator water filters
- GE refrigerator water filters
- LG refrigerator water filters
- Frigidaire refrigerator water filters
- KitchenAid refrigerator water filters
- Maytag refrigerator water filters
- Kenmore Elite refrigerator water filters
- Estate refrigerator water filters
- GE Profile refrigerator water filters
- Amana refrigerator water filters
- Bosch refrigerator water filters
- Dacor refrigerator water filters
- Electrolux refrigerator water filters
Top DIY repair help
View All Repair Categories
Appliances
Lawn & Garden
Power Tools
Home Improvement
Sports & Leisure
Heating & Cooling
Quick Links
How to replace a log splitter carburetor
less than a minute readMar 19Lyle Weischwill
Repair time and Difficulty
30 minutes or less
Tools Required
- Phillips screwdriver
- Wrench set
- Needle-nose pliers
- Gas can (to hold fuel drained from the fuel tank)
- Work gloves
This DIY repair guide gives instructions on how to replace a log splitter carburetor. The carburetor mixes air and fuel into a combustible mixture that ignites in the cylinder to power the engine. If the engine won’t start and the tank is full of fresh fuel, remove the air filter and pour about a teaspoon of fuel into the carburetor. If the engine starts and then quickly dies when you pull the starter rope, or if gas pours out of the carburetor, the problem is most likely the carburetor. Replace the carburetor with the manufacturer-approved log splitter part.
Follow the steps in this repair guide to replace carburetor on Craftsman and MTD log splitters.
Instructions
- 1. Disconnect the spark plug wire
Disconnect the spark plug wire so there's no chance that the log splitter engine could accidentally start.
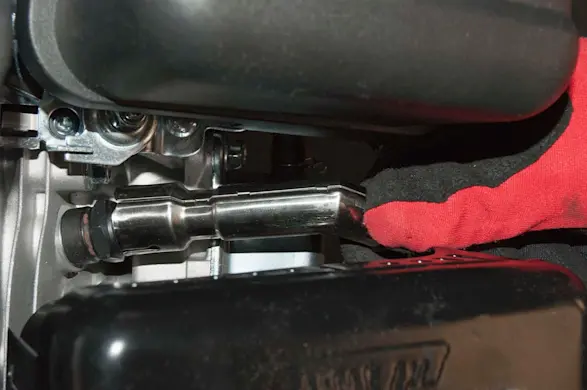
PHOTO: Disconnect the spark plug wire.
- 2. Drain the fuel tank
Release the spring clamp that secures the fuel supply line to the fuel tank.
Disconnect the fuel supply line from the fuel tank and drain the fuel from the fuel tank into an approved container.

PHOTO: Drain the fuel from the fuel tank.
- 3. Remove the air filter cover and air filter
Press the release tab on the air filter cover and lift the cover off of the engine.
Pull the air filter straight up and off the top of the silencer plate.

PHOTO: Remove the air filter cover. 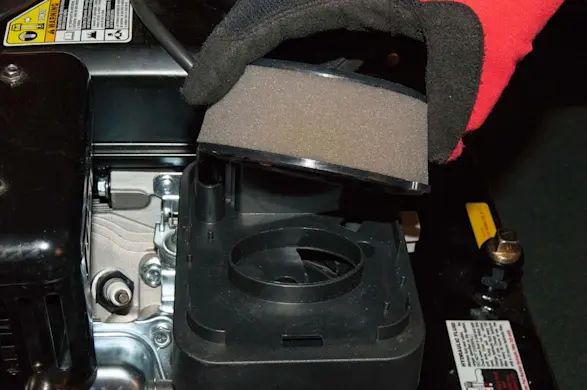
PHOTO: Pull the air filter off. Tip: Clean the filter’s foam element if it’s dirty, following the directions in the owner's manual. Replace the filter elements if damaged.
- 4. Remove the silencer plate
Remove the two Phillips head screws securing the silencer plate to the top of the carburetor and remove the silencer plate.

PHOTO: Remove the silencer plate screws. 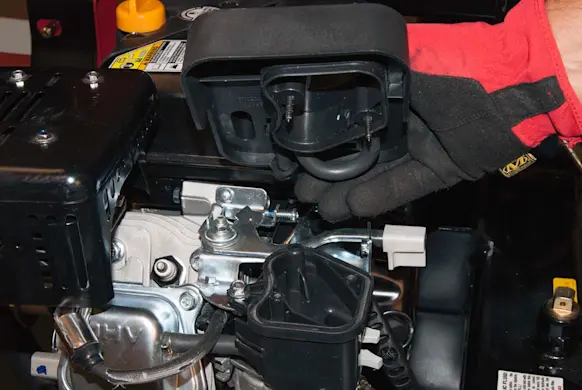
PHOTO: Remove the silencer plate.
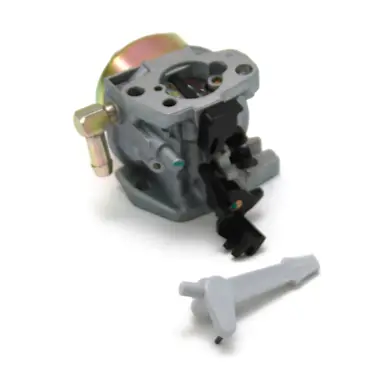
- 5. Remove the carburetor
Remove the two 10mm cap nuts that secure the air cleaner housing and the carburetor to the carburetor mounting studs.
Remove the 10mm mounting bolt from the top of the air cleaner housing.
Disconnect the vent hose from the valve cover.
Pull the air cleaner housing off of the carburetor.
Note the configuration of the carburetor throttle linkage and governor spring before removing them.
Manually pivot the throttle to align the slot at the top of the throttle with the throttle linkage rod. Pull the throttle linkage rod up out of the slot on the top of the throttle.
Disconnect the governor spring from the throttle on the carburetor.
Pull the carburetor off of the carburetor mounting studs.
Release the spring clamp that secures the fuel supply line to the carburetor and pull the fuel supply line off the carburetor.
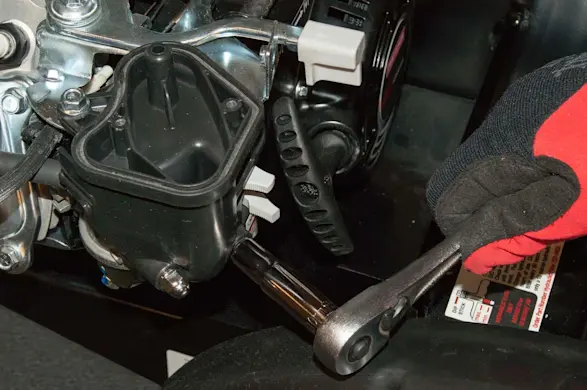
PHOTO: Remove the air filter housing mounting cap nuts. 
PHOTO: Remove the top bolt. 
PHOTO: Disconnect the vent hose from the valve cover. 
PHOTO: Remove the air filter housing. 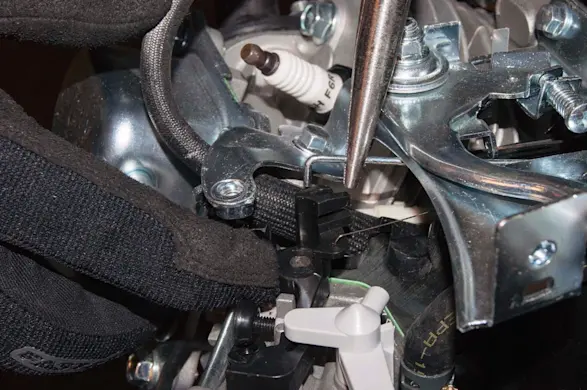
PHOTO: Disconnect the throttle linkage. 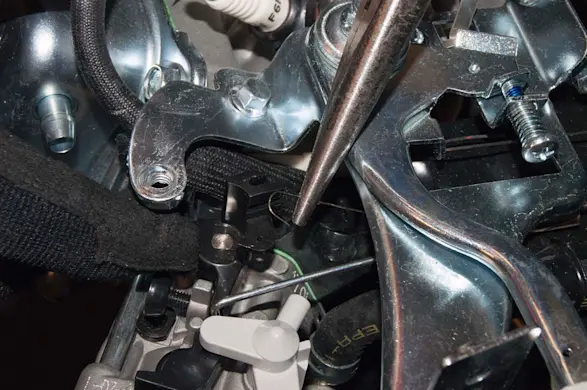
PHOTO: Disconnect the governor spring. 
PHOTO: Pull the carburetor off of the mounting studs. 
PHOTO: Disconnect the fuel line.
- 6. Install the new carburetor
Connect the fuel supply line to the new carburetor and secure the fuel supply line with the spring clamp.
Clean gasket residue off the side of the engine so that the new carburetor gasket can seal properly.
Position the new carburetor gasket on the mounting studs against the side of the engine.
Slide the new carburetor onto the mounting studs and push the carburetor against the engine.
Reconnect the governor spring and the throttle linkage on the carburetor throttle.
Position the gasket plate on the mounting studs and slide the gasket plate against the carburetor body.
Reinstall the air cleaner housing on the mounting studs and connect the vent hose on the valve cover.
Reinstall the 10-mm cap nuts on the ends of the mounting studs and tighten the cap nuts firmly.
Reinstall the 10-mm mounting bolt on the top of the air cleaner housing and tighten the mounting bolt firmly.
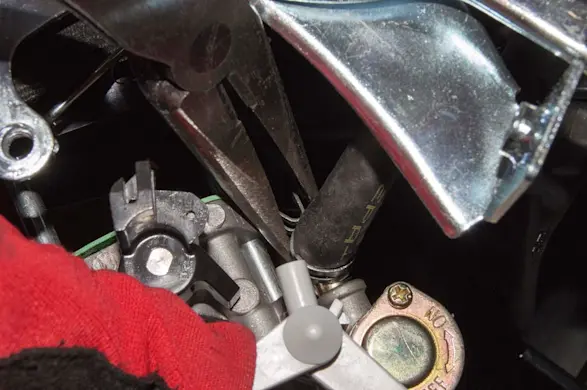
PHOTO: Connect the fuel line to the new carburetor. 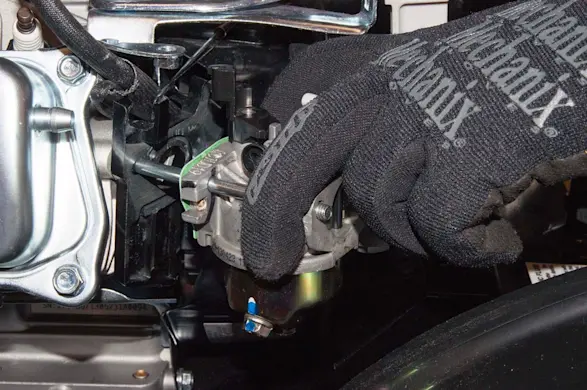
PHOTO: Slide the new carburetor onto the mounting studs. 
PHOTO: Reconnect the governor spring. 
PHOTO: Reconnect the throttle linkage. 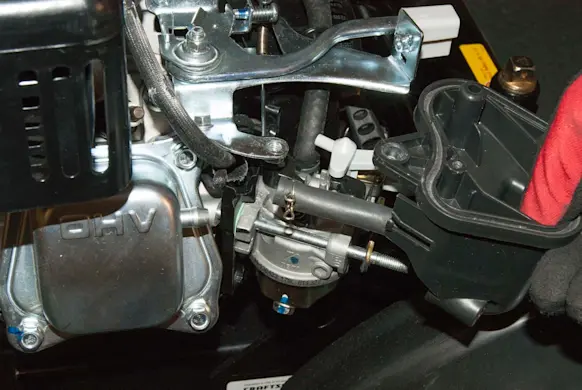
PHOTO: Reinstall the air filter housing. 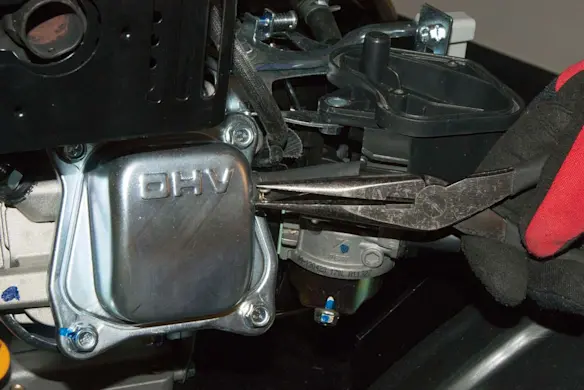
PHOTO: Reconnect the valve cover vent hose. 
PHOTO: Reinstall the cap nuts. 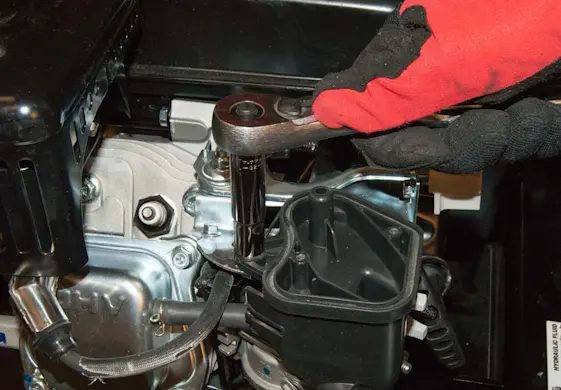
PHOTO: Reinstall the top mounting bolt.
- 7. Reinstall the silencer plate
Reinstall the silencer plate on the top of the carburetor and secure the silencer plate with the screws.

PHOTO: Reinstall the silencer plate. 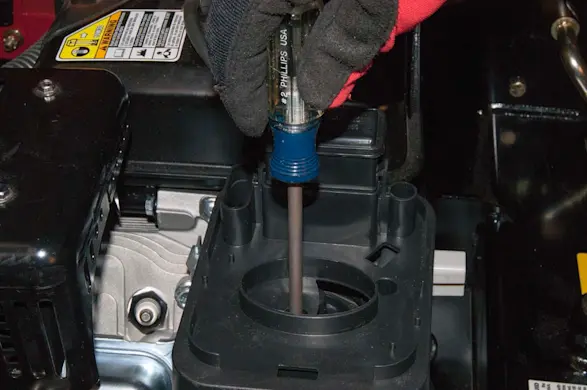
PHOTO: Reinstall the silencer plate mounting screws.
- 8. Reinstall the air filter and cover
Push the air filter into place on top of the silencer plate.
Reinstall the air filter cover.

PHOTO: Reinstall the air filter. 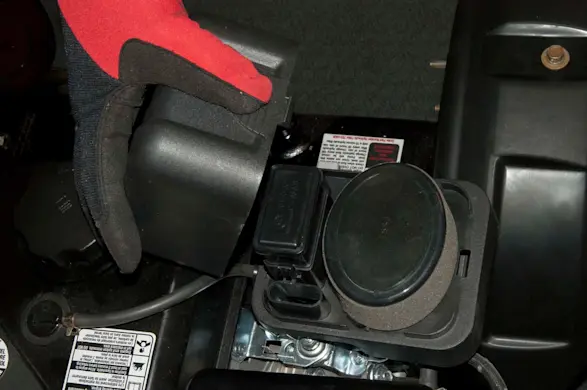
PHOTO: Reinstall the air filter cover.
- 9. Reconnect the fuel line to the gas tank
Reconnect the fuel supply line to the gas tank and secure it with the spring clamp.
- 10. Fill gas tank with fuel
Fill the gas tank with fuel and check for leaks.
- 11. Reconnect the spark plug wire
Connect the spark plug wire and test engine operation.

PHOTO: Reconnect the spark plug.